Select Page
Web Design II
Class 01: Web Code Review

Topics

    • Class Introduction
    • HTML & CSS Review
    • Week 01 Single Page Site (fixed-width) Lab
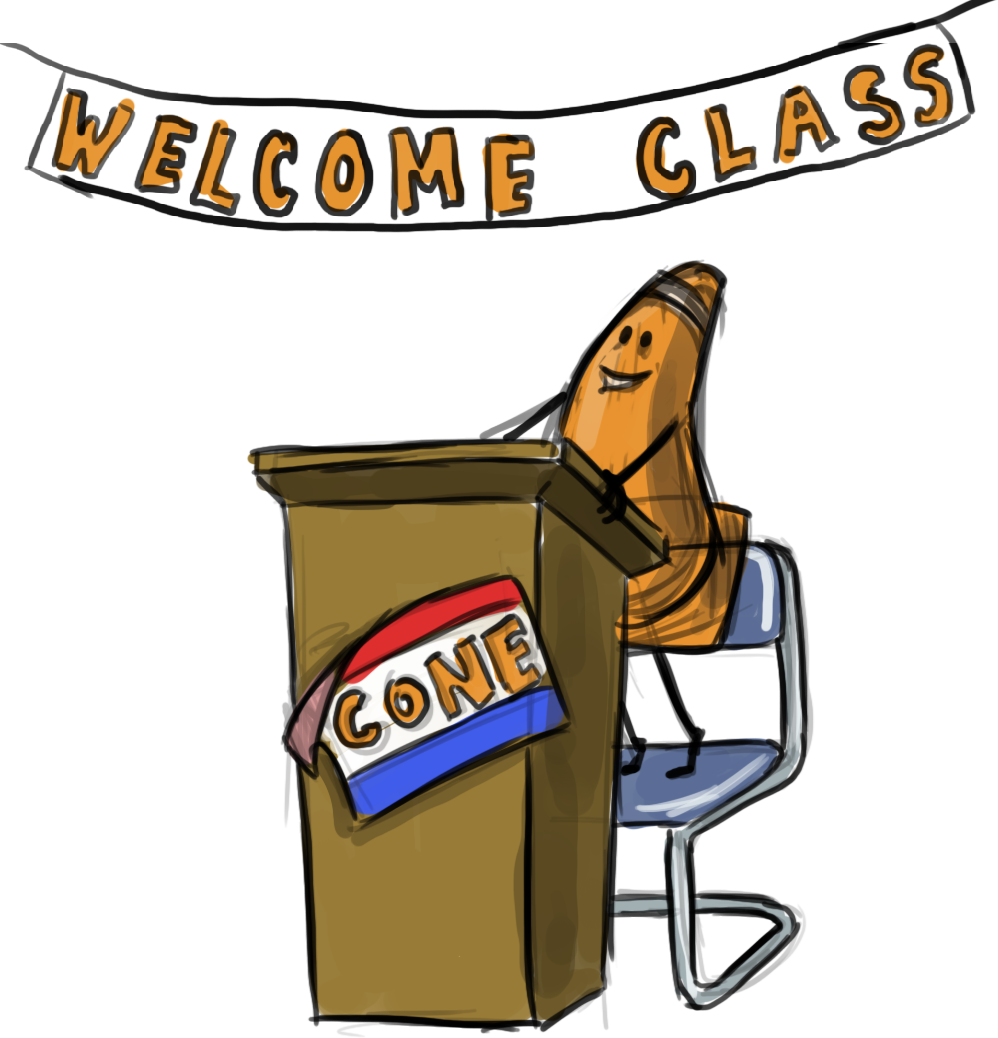
Class Introduction

Hi There!

I'm Jon Cone

I am one of the full-time faculty in Cecil’s Visual Communication Program. I am mostly responsible for the game design and web design programs. I am also a freelance animator typically working on visualizations.

Office Hours
Tues 10:00am - 1:50pm
Wed 1:00pm - 6:20pm
Honestly just e-mail me. I will make time when it works for you.
Contact Information: jcone@cecil.edu (prefered)
(240) 466-1996 (personal)
410-287-6060 X 1470

This is an actual picture of me.

Cone

Assistant Professor, Cecil College

Demo Reel (a short collection of work)

Name:
What’s your name? What do you go by?
Why you are here:
Is this required for your major? Are you taking this course as an elective? Personal Enrichment?
Experience:
Do you have any history with graphic arts or arts in general? Any experience with Adobe or other graphics software?

Think about your response to these questions and post the answers to the Introduction Discusson Board.

Alright here is an actual picture of me.
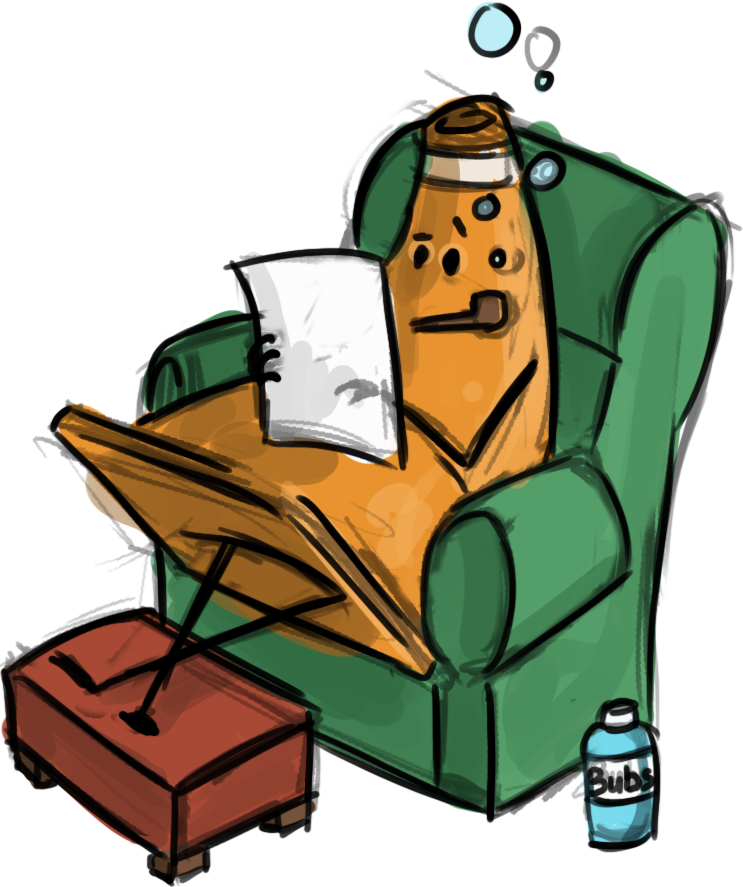
Cone

Assistant Professor, Cecil College

Course Description:

Web Design II – Development builds on the design process covered in VCP 144 Web Design I – Design Fundamentals. This course covers advanced web technologies that make websites responsive, interactive and dynamic: multimedia, forms, HTML5, CSS, and client-side and server-side programming technologies. Other advanced design considerations include design for multiple devices, disability access, maintenance, navigational aids, and search engine optimization. Students will build a complex website using client and server-side technologies, including XHTML, CSS, JavaScript, forms, application programming, and database programming. 3 credits. Pre-requisite: VCP144

Labs:

Each week a new lab assignment will be given.  These mimic the exercises we would do in a face to face course. Think of them as “in class time.” You must simply follow the instructions given as closely as possible. All labs will be submitted by the end of the week on Blackboard.

Projects

Three long form projects will be due by the end of the course. These are similar to completing  many labs at once but with your own designs and without limitation.

Discussion Boards

After each project is completed, the appropriate media should be posted displaying your work along with a brief description. You will also post an introduction video the first week of the course.
You must also reply to two of your peers posts for full credit. You will have two weeks to post and reply from when the Discussion Board opens.

%

13 Labs

%

3 Projects

%

4 Discussion Boards

Canvas:

We will using Canvas pretty significantly throughout the course. Although most materials can be found here you will need to submit assignments via Canvas. This is also where you will find your grades.

Click the image to the right to go to Cecil’s Canvas login page.

HTML & CSS Review

Code Editor:

As you remember HTML, CSS, and JavaScript are simply text that is interpreted by the browser. You may use whatever text-editor you desire but in this course we are going to use Microsoft Visual Studio Code in class.

Visual Studio Code

A free code text editor that is compatible with loads of software languages

Basic HTML:

As a reminder this is how you start your page.

basicHTML.html

<!DOCTYPE html>
<html>
<head>
<title>this is the title</title>
<meta name=“description” content=“basic HTML structure />
</head>
<body>
<h1>This is the first “level” main heading</h1>
<p>This is a paragraph</p>
<h1>This is the second “level” heading</h1>
<p>Another paragraph? Oh wow!</p>
<h1>This is the third “level” heading</h1>
<p>I think you get it now</p>
</body>
</html>
Browser Example

this is the title

This is the first “level” main heading

This is a paragraph

This is the second “level” heading

Another paragraph? Oh wow!

This is the third “level” heading

I think you get it now

Common HTML tags:

<p>
Paragraph. Your basic type.
<h1> <h2> <h3> <h4> <h5> <h6>
Six levels of headings.
<ol>
Ordered Lists: represents lists that have an order such as letters, numbers, roman numerals, etc.
<ul>
Unordered Lists: Simply lists item with bullets.
<li>
Each item is written with this tag.
<img>
Empty element for images.
<a>
(anchor) Creates a link element.
commonHTML.html

<p>this is a paragraph </p>
<h1>level one heading</h1>
<ol>
<li>first numbered item</li>
<li>second numbered item</li>
<li>third numbered item</li>
</ol>
<ul>
<li>first bulleted item</li>
<li>second bulleted item</li>
<li>third bulleted item</li>
</ul>
<img src=“picture.png” width=“720” height=“480” />
<a href=“index.html”>home</a>

Basic CSS:

An example of internal CSS.

aboutMe.html

<!DOCTYPE html>
<html>
<head>
<style>
body {
font-family: times;
background-color: rgb(185,179,175);}
h1 {
color: rgb(255,255,255);}
</style>
</head>
<body>


<p>your content here…</p>


</body>
</html>
Browser Example

this is the title

This is the first “level” main heading

This is a paragraph

This is the second “level” heading

Another paragraph? Oh wow!

This is the third “level” heading

I think you get it now

Common CSS Rules:

width:
Defines the width of the box the content is displayed in.
height:
Defines the height of the box the content is displayed in.
margin:
Defines the space between the element and what is around it.
padding:
Defines the space between the content and the outside of its box.
border:
Defines the line that wraps around the box of the content.
color
Property that allows you to specify the color of text inside an element
background-color
Property that allows you to specify the color of text inside an element
font-family
Specifies what font you would like to apply to the element. You can add multiple values to the same property in case the user does not have your fist choice installed.
font-family: George, Times, serif;
font-size
Specifies the size of the font. Can be specified by pixels, percentages, & EMS. EMS is the width of a letter m.
font-size: 12px;
font-size: 200%;
font-size: 1.3em;

commonCSS.css

p {
width: 500px;
height: 250px;
margin: 25px;
padding: 50px;
border: 3px solid lightPurple;
color:red;
background-color:rgb(51, 204, 51);
font-family: Times New Roman, Times, serif;
font-size:36px;
}

Basic HTML & CSS Together:

Here is an example of a laid out webpage.

aboutMe.html

<!DOCTYPE html>
<html>
<head>
<title>about me</title>
<style>

body {

background-color:#a3a3c2;
color: black;
font-family: ‘Franklin Gothic Medium’, ‘Arial Narrow’,
Arial, sans-serif;}
h1 {
font-size: 4em;
text-align: right;
margin: 0px;
padding: 0px;
position: absolute;
top: 125px;
left: 0px;
transform: rotate(-90deg);}
figure {
position: relative;
left: 250px;}
.content {
background-color: #d69f56;
display: inline-block;
margin: 10px;
padding: 10px;}
.paragraph {
width: 25%;
display: inline-block;}

</style>

</head>
<body>
<div class=“heading”>
<h1>About Me</h1>
<figure>
<img src=“images/coneImage.png” width=“233”
height=“300” />
<figcaption>look upon my majesty</figcaption>
</figure>
</div>
<div class=“content”>
<div class=“paragraph”>
<h2>I am a cone</h2>
<p>Yup that is all you need to know. I am a sentient
primitive object used to direct the public away. In
this case I am used as an example.</p>
</div>
<div class=“paragraph”>
<h2>I am so much more</h2>
<p>This is actually not true. I was just trying to
draw you into the next paragraph and it worked!
Sucker.</p>
</div>
</div>
</body>
</html>
Browser Example

about me

About Me

look upon my majesty

I am a cone

Yup that is all you need to know. I am a sentient primitive object used to direct the public away. In this case I am used as an example.

I am so much more

This is actually not true. I was just trying to draw you into the next paragraph and it worked! Sucker.

You may download the example here.

References:

HTML Tags
w3Schools HTML tag reference.
CSS Rules
w3Schools CSS rules reference.
Color Picker
w3Schools color picker tool.
Adobe Color
Adobe online tool that helps you design a color scheme.
Google Fonts
Use this tool to embed a plethora of fonts into your work.
PhotoPea
An online Photoshop clone you may use to adjust your images.

Week 01 One Page Flyer (fixed-width) Lab

Week 01 Single Page Site (fixed-width) Lab:

This first lab is more like a review of web design I. A single web page will be produced using HTML and CSS code that should be familiar.

You will be graded on the following:
  • Basic Document & File Structure:
    • Master folder created with correct sub folders.
    • All files named and placed correctly.
    • Basic HTML and CSS structure produced.
  • HTML:
    • Variety of tags utilized
    • Images attached
    • Error free text
  • CSS:
    • Variety of rules utilized
    • Color is applied
    • Fonts are manipulated.
  • Aesthetics:
    • Interesting and appealing design.
    • Descriptive and well-written text
Resources:
Assignment Video Tutorials
You may watch these tutorial videos below to help you complete your assignment.
Assignment Lab Materials
You may download the images used in lab here: webWeek01LabMaterials.

Lab Tutorial Slideshow

This tutorial will review the HTML and CSS that was covered in Web Design I.

Lab Introduction
Single Page Site (fixed-width) Lab
PlayPlay
Introduction

If you have taken Web Design I hopefully the format of this slider tutorial is familiar. If not, all you need to do is follow the directions on each page and once completed, submit for a grade. You should follow the directions exactly but exploration and creativity is highly encouraged. Don't be afraid to make it your own.

If you run into any issues please do not hesitate to contact me:
jcone@cecil.edu
(240) 466-1996

Click on the > to start

Good luck!

Software and Image Setup
Single Page Site (fixed-width) Lab
PlayPlay
Instructions
  1. Open a new tab and visit visual studio code site (
Hint:

This slideshow is meant to be displayed on half your screen. You should put this on the left or right and put your work on the opposite side.

File Folder Setup
File and Folder Setup
Single Page Site (fixed-width) Lab
PlayPlay
Instructions
  1. Create a folder on your desktop (or wherever you keep your homework files) called lastName_site (your last actual name, not literally "lastname". Come on guys!)
  2. Inside the folder you just made, create three more folders. Name them css, js, and images.
  3. Drag and drop the image you downloaded (or your own) into the images folder.
  4. Open Microsoft Visual Studio Code.
  5. Select File > New File. A new tab will appear labeled Untitled-1 or something similar
  6. Select File > Save. In the popup window navigate to the root folder of what will be your site, lastName_site
  7. Enter index.html and press Save
  8. You now have an empty webpage we can start coding in!
Structure

Your file/folder structure should appear as above. There should be a root folder named lastName_site. Inside that folder should contain three folders, css js & images, and a file named index.html, and an image file in the images folder (that is one run-on sentence. I teach web design, not Grammar!).

Basic HTML Setup
HTML Content
Single Page Site (fixed-width) Lab
PlayPlay
index.html

 <!DOCTYPE html>
<html>
<head>
    <title>About Cone</title>
</head>
<body>
            <h1>About Cone</h1>
            <figure>
                <img src="images/coneImage.png" width="233" height="300" />
                <figcaption>Look upon my majesty</figcaption>
            </figure>
            <h2>I am Cone</h2>
            <p>Yup that is all you need to know. I am a sentient primitive object used to direct the public away. In this case I am used as an example</p>
            <h2>I am so much more!</h2>
            <p>This is actually not true. I was just trying to draw you into the next paragraph and it worked! Sucker.</p>
</body>
</html>
Instructions
  1. first we need to create the basic content inside the HTML document.
  2. Inside the index.html type:
    <!DOCTYPE html>
    <html>
    <head>
       <title>About Cone</title>
    </head>
    <body>
        <h1>About Cone</h1>
       <figure>
          <img src="images/coneImage.png" width="233" height="300" />
          <figcaption>Look upon my majesty</figcaption>
       </figure>
       <h2>I am Cone</h2>
       <p>Yup that is all you need to know. I am a sentient primitive object used to direct the public away. In this case I am used as an example</p>
       <h2>I am so much more!</h2>
       <p>This is actually not true. I was just trying to draw you into the next paragraph and it worked! Sucker.</p>
    </body>
    </html>
CSS Style
CSS Style
Single Page Site (fixed-width) Lab
PlayPlay
index.html

<!DOCTYPE html>
<html>
<head>
    <title>About Cone</title>
    <style>
        body {
            background-color: rgb(94, 139, 165);
            color:black;
            font-family: Arial, Helvetica, sans-serif;
            margin: 0px;
            padding: 0px;
            width: 960px;}
        h1 {
            font-size: 54px;
            text-align: right;
            position:absolute;
            top:125px;
            left: 0px;
            transform: rotate(-90deg);}
        figure {
            position: relative;
            left: 250px;}
        .content {
            background-color: rgb(190, 159, 56);
            display: inline-block;
            margin: 10px;
            padding: 10px;}
        .paragraph {
            width: 400px;
            display: inline-block;
            vertical-align: top;
        }    
    </style>
</head>
<body>
    <div class="header">
        <h1>About Cone</h1>
        <figure>
            <img src="images/coneImage.png" width="233" height="300" />
            <figcaption>Look upon my majesty</figcaption>
        </figure>
    </div>
    <div class="content">
        <div class="paragraph">
            <h2>I am Cone</h2>
            <p>Yup that is all you need to know. I am a sentient primitive object used to direct the public away. In this case I am used as an example</p>
        </div>
        <div class="paragraph">
            <h2>I am so much more!</h2>
            <p>This is actually not true. I was just trying to draw you into the next paragraph and it worked! Sucker.</p>
        </div>
    </div>
</body>
</html>
Instructions
  1. After the content is entered (text, images, etc.) via HTML the next step is to apply CSS. This will apply design rules to our page and give it more "oomph."
  2. First we will add some div tags and classes to group elements and target them specifically.
  3. Wrap the <h1> and <figure> elements with a div and add a class called header.
  4. Wrap the remaining h2 and p elements with a div and give it a class name content.
  5. Two more div's should wrap around the h2 and p pairs.
  6. Now create the CSS rules and target the elements and classes. Inside the head add:
    <style>
       body {
          background-color: rgb(94, 139, 165);
          color:black;
          font-family: Arial, Helvetica, sans-serif;
          margin: 0px;
          padding: 0px;
          width: 960px;}
       h1 {
          font-size: 54px;
          text-align: right;
          position:absolute;
          top:125px;
          left: 0px;
          transform: rotate(-90deg);}
       figure {
          position: relative;
          left: 250px;}
       .content {
          background-color: rgb(190, 159, 56);
          display: inline-block;
          margin: 10px;
          padding: 10px;}
       .paragraph {
          width: 400px;
          display: inline-block;
          vertical-align: top;
       }
    </style>
  7. The body CSS rule will target all elements to set our defaults. The h1 and figure rules will format the heading and image areas. The .content and .paragraph rules target the the div's with those classes.
Final Review and Submission
Single Page Site (fixed-width Lab
PlayPlay
Instructions
  1. Before you submit you should review your code and Save your file (File > Save), navigate to your file on your Desktop, and double-click it to open and preview it in your browser.
  2. Look for any errors. If there are any, look through your code and fix them. When you are happy, proceed
  3. Remember your site is not just the single HTML document you have created but the root folder and all contents therein. You MUST submit the ENTIRE folder
  4. You cannot submit folders on Blackboard. Instead we can zip the folder and submit that. Navigate to the location of your site folder. Right-click over top of it and select Send to > Compressed (zipped) folder on Windows and Compress on MacOS. A new zipped file will be created
  5. Lastly, log into Blackboard (Here) and click on this course. Inside the course, select Week 01, then the Week 01: Single Page Site (fixed-width) Lab folder, then the assignment with the same name. Finally, Attach the zipped file.
Browser

About Cone

Look upon my majesty

I am Cone

Yup that is all you need to know. I am a sentient primitive object used to direct the public away. In this case I am used as an example

I am so much more!

This is actually not true. I was just trying to draw you into the next paragraph and it worked! Sucker.

Lab Synopsis
Lab Synopsis
PlayPlay
Reflection

Hopefully this lab was pretty simple. Feel free to modify it anyway you want. It is better to explore and warm up for the semester to come. It was mostly meant as review although we are going to build upon it next lab. Next week we are going to make it Responsive.

If you run into any issues please do not hesitate to contact me:

  1. jcone@cecil.edu
  2. (240) 466-1996
 

Wait! Before you go!

Did you remember to?

  • Familiarize yourself with Blackboard
  • Read through this webpage
  • Watch the videos
  • Submit Week 01 Single Page Site (fixed-width) Lab on Blackboard
  • Post an introduction on the Introduction Discussion Board