
Digital Imaging I
Class 01: Introduction to Digital ImagingTopics
- Class Introduction
- Digital Imaging
- Apple, Windows, & Adobe
- Intro to Photoshop
- Assignment 01

Class Introduction
Hi There!
I'm Jon Cone
I am one of the full-time faculty in Cecil’s Visual Communication Program. I am mostly responsible for the game design and web design programs. I am also a freelance animator typically working on visualizations.
- Office Hours
- Tues 10:00am - 1:50pm
Wed 10:00am - 1:50pm, 4:30pm - 6:20pm - Honestly just e-mail me. I will make time when it works for you.
- Contact Information: jcone@cecil.edu (prefered)
- (240) 466-1996 (personal)
- 410-287-6060 X 1470
This is an actual picture of me.
Demo Reel (a short collection of work)
- Name:
- What’s your name? What do you go by?
- Why you are here:
- Is this required for your major? Are you taking this course as an elective? Personal Enrichment?
- Experience:
- Do you have any history with graphic arts or arts in general? Any experience with Adobe or other graphics software?
Alright here is an actual picture of me.

Assignments:
Each week a new assignment will be given. All assignments will be submitted before class on Blackboard.
Exam:
There will be a final exam given on the last week of the course. You will be tasked with creating an image based on specific criteria.
| Weekly Assignments | 6 | 80% |
| Final Exam | 1 | 20% |
Canvas:
We will using Canvas pretty significantly throughout the course. Although most materials can be found here you will need to submit assignments via Canvas. This is also where you will find your grades.
Click the image to the right to go to Cecil’s Canvas login page.

Digital Imaging
Digital Imaging:
Digital Imaging is the creation of visual objects through the use of electronic systems such as a camera or computer that is stored as code.

Digital Imaging History:
Image manufacturing begain when people started first creating art. A very early example of this would be the cave paintings of lascaux. You can see how the people of that time tried to capture the essence of the animals they saw.
Painting was the preferred method for image production for hundreds of years, reaching perhaps its peak during the renaissance in the 1300’s. Master painters, such as the ninja turtles (leonardo, donatello, michealangelo, raphael), were commisioned to render life-like portraits as well fantastic scenes.
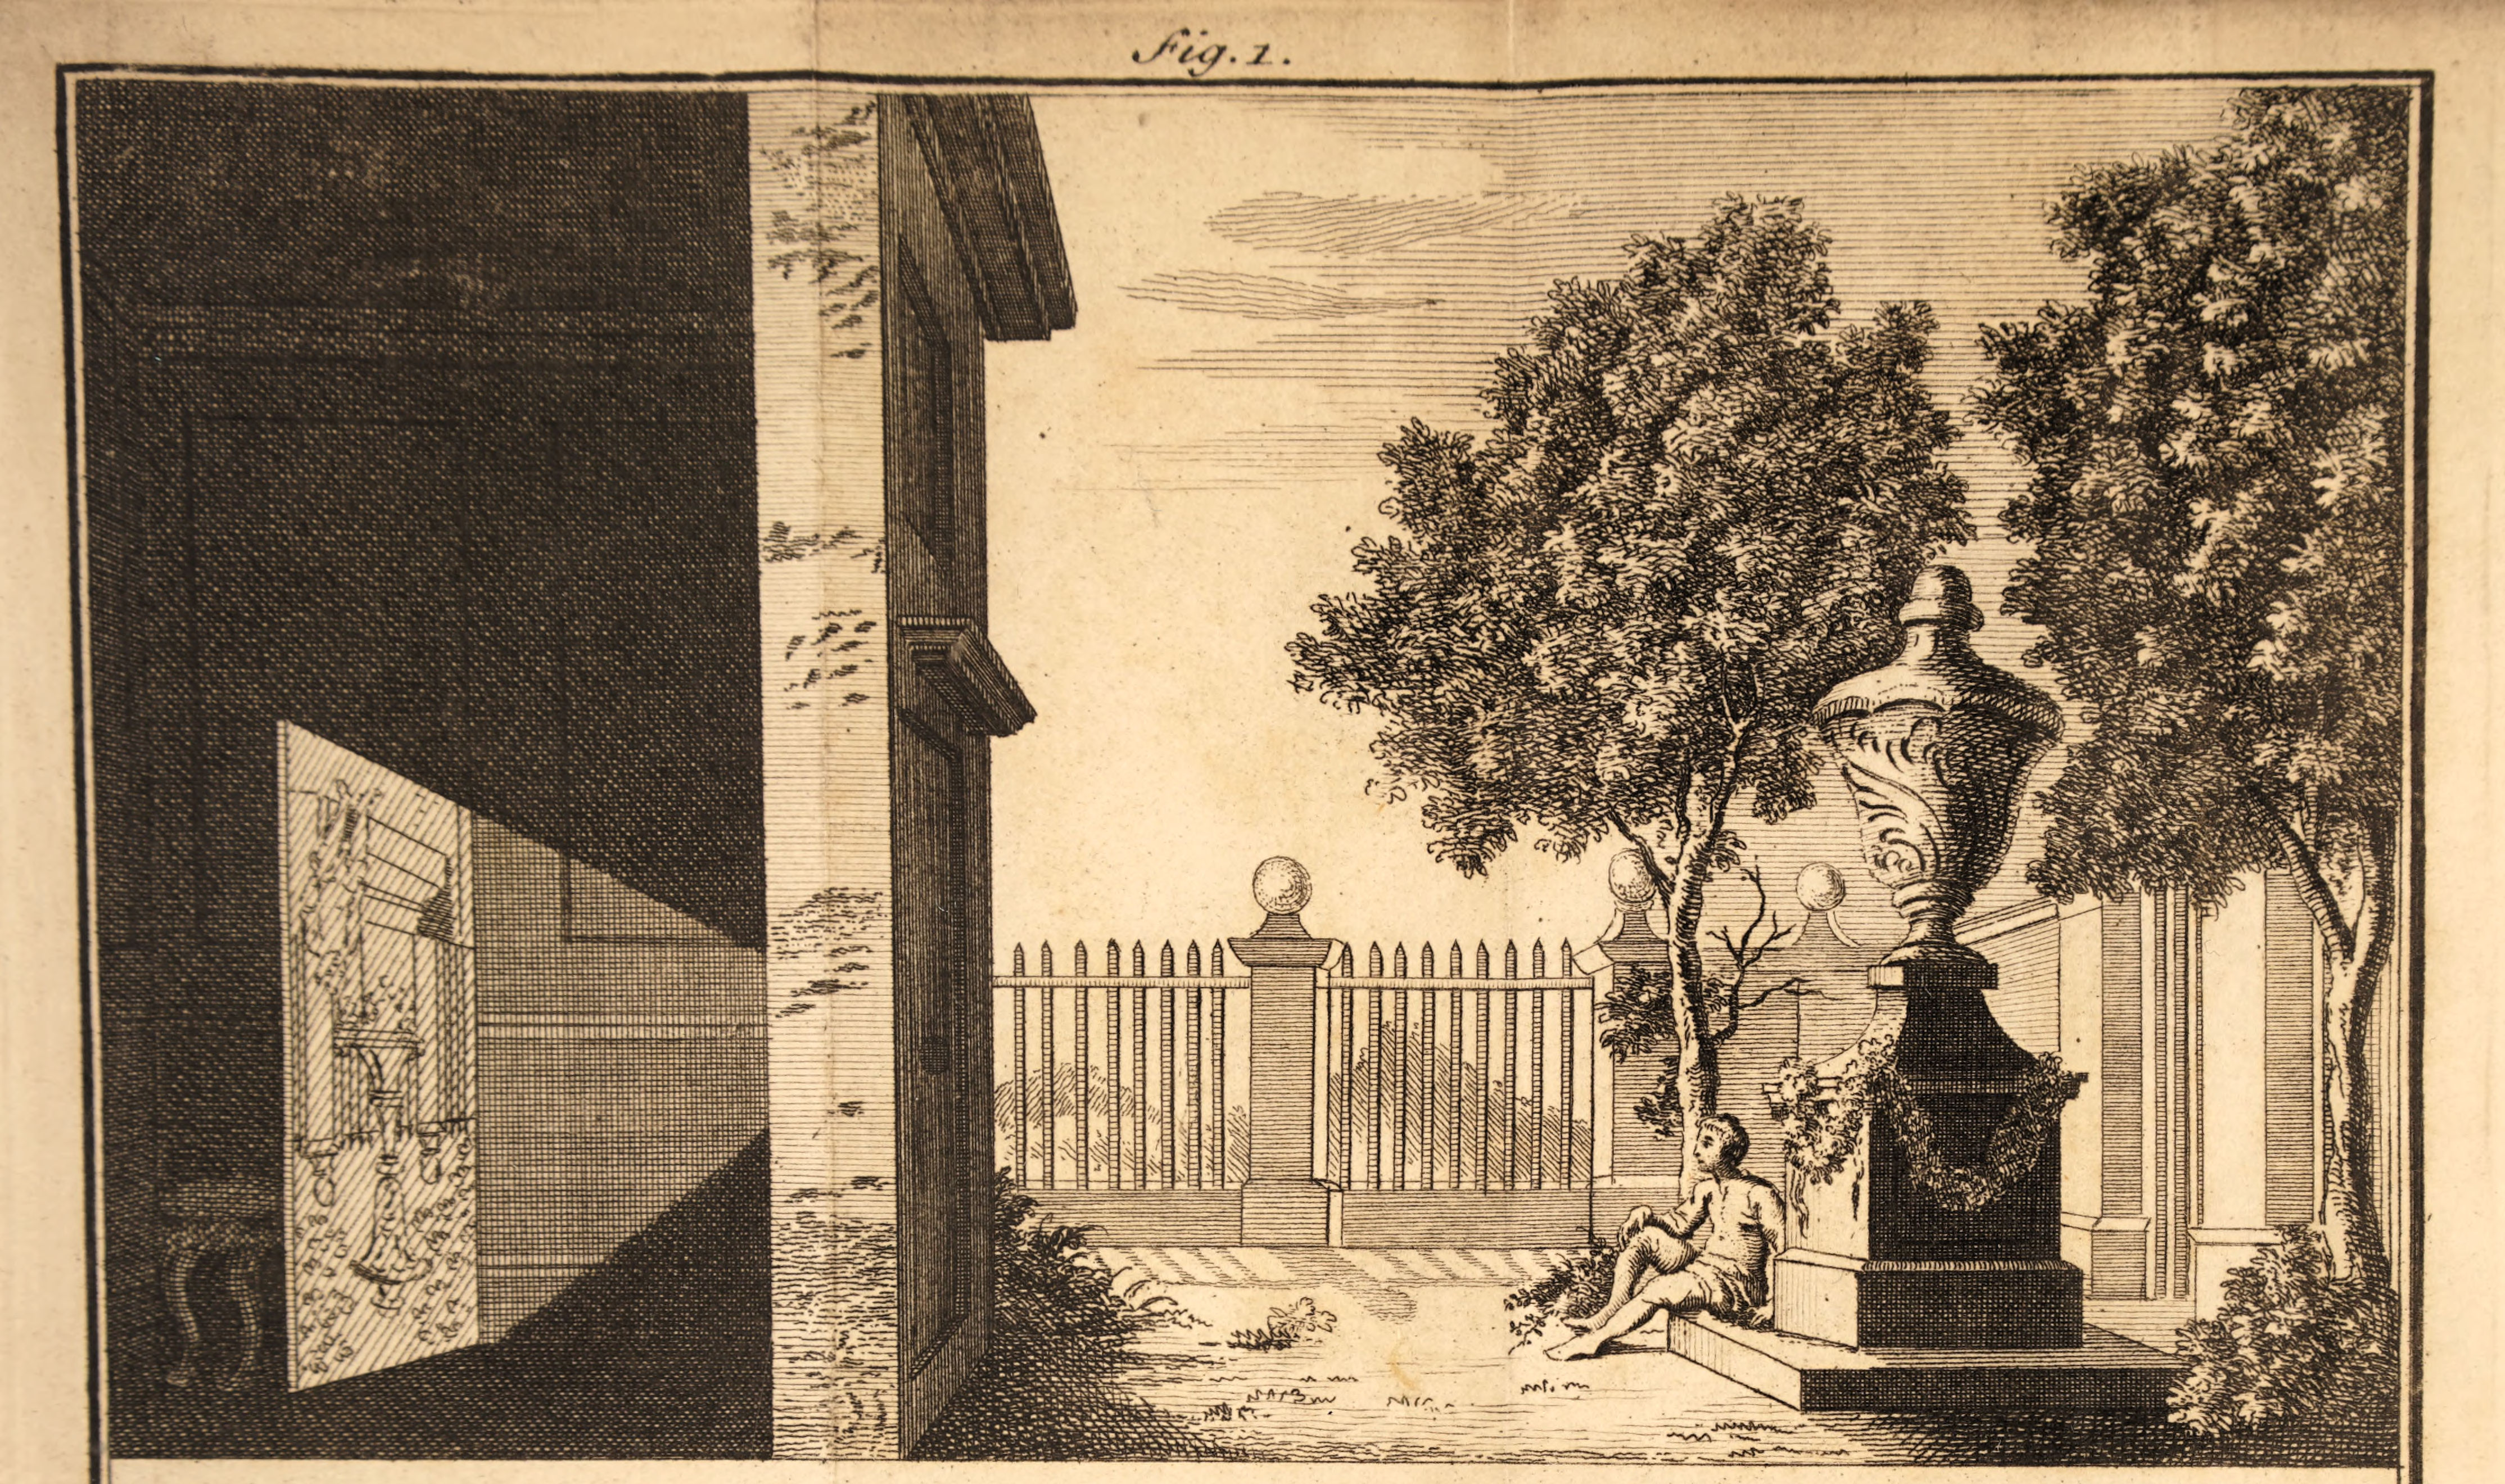
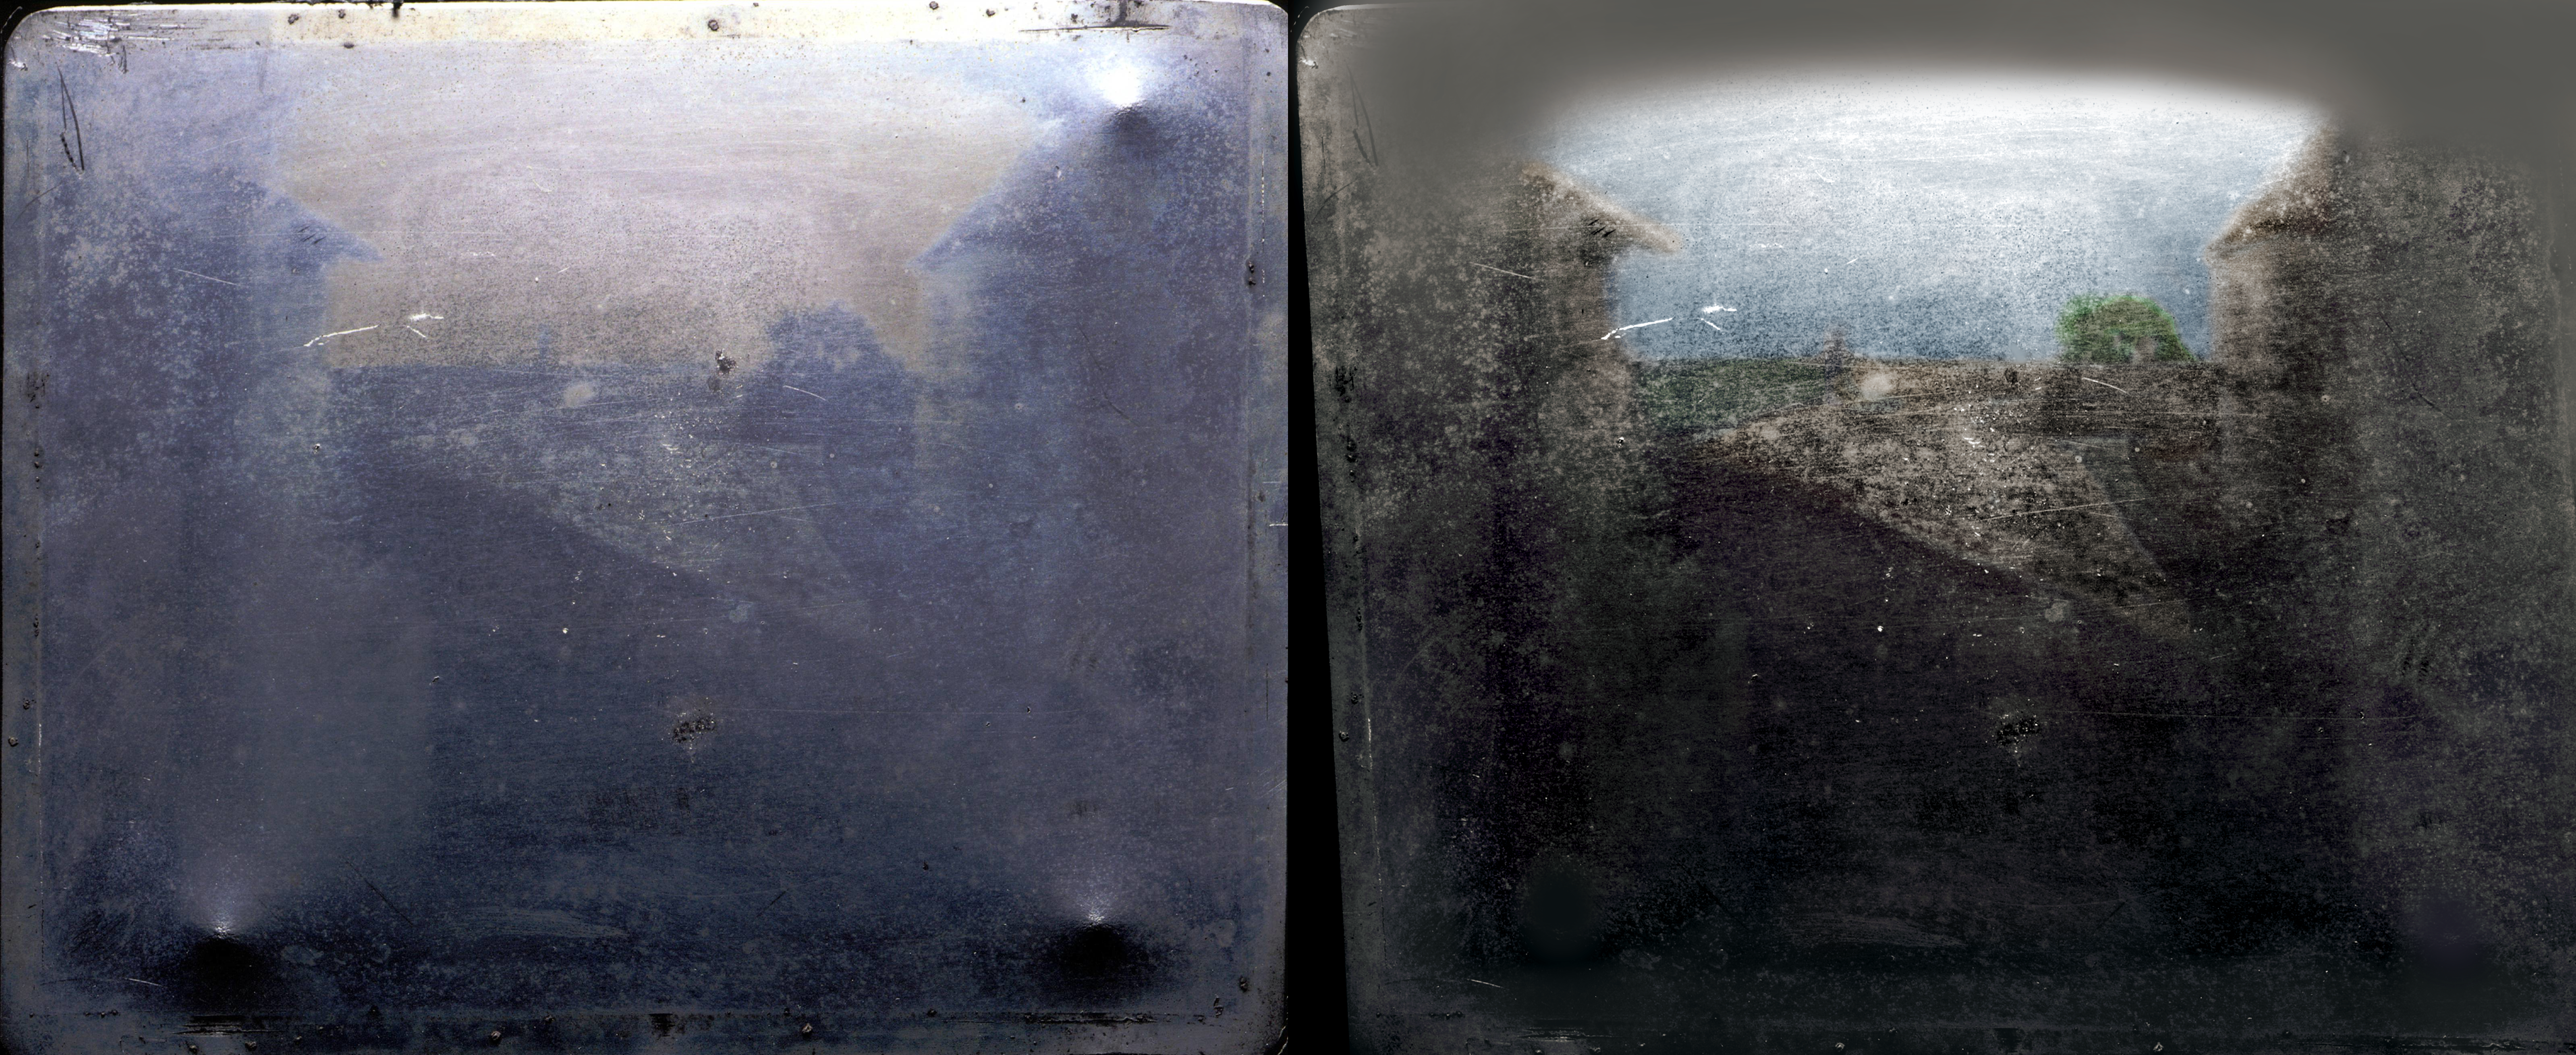
Some artists used a camera obscura (a box with a pinhole that allows light to project through it and against the opposing wall, resulting in an image that may be used as a reference) to create accurate landscape illustrations. The next major issue was capturing the image permanently. Slowly different processes were developed utlizing various chemicals (silver based) in order to capture the image directly on various materials. Finally by the early 1900’s film based photography became prominent and popularize by George Eastman who founded Kodak.
Analog photography was the preferred method for image capture even when digital cameras became commercially available in the 1980’s. In 1990 Adobe Photoshop was introduced. Initially it mimiced the same dark room processes of traditional photography but eventually more advanced tools were implemented allowing artists to manifest images not tied to the real world.
Digital photography has become ubiquitous with the advent of modern cell phones. Along with cell phones, digital imaging apps have become abundant and accessible. More and more advanced tools have developed. First was basic selection and masking, then content-aware, and now generative imagery (AI).

Raster/Pixel/Bitmap:
Raster graphic images are a data structure representing a generally rectangular grid of pixels, or points of color, viewable via a monitor, paper, or other display medium.
A pixel is one picture element. (like putting picture and element together).
A bitmap is the grid that contains all the pixel information (it is inherently rectangular).
Raster images are great for photos or anything with detail. They tend to be larger files so often a codec is used to lower the file size.
- DPI:
- Dots per inch.
- Used for print.
- PPI:
- Pixels per inch.
- Used for screens.
The greater number of dots/pixels, the higher the resolution the image but the larger the file size.
300 dpi is the excepted standard for printed content. 72 ppi is the standard for screens (tv, monitor, etc.) any less and things get pixelated.
Zoomed in face becomes “pixelated.”

Typically a codec will look for redundancies in order to compress the information. In the image above there is a lot of white pixels that could be stored in a block as opposed to each pixel individually for example.
Common Raster formats:
- JPEG (Joint Photographic Experts Group, they developed it):
- lossy, but are small and compatible with most computers.
- Best for images with smooth transitions (paintings, photographs, not line art).
- Very common on the internet.
- GIF (graphics interchange format):
- Very small lossy format, also supports simple animations (like those smiley face animations).
- PNG (portable network graphics):
- Made to replace GIF, very small, good for transferring images over the internet.
- TIFF (Tagged Image File):
- Not lossy and can contain an alpha channel.
- Adobe owns the rights and is often used for publishing and page layouts.
- PSD (Photoshop document)
- Adobe Photoshop’s native format. This can only be opened with Photoshop so it is not ubiquitous. It does however, store all of things you have done in the program. This should be your default format you save to.
- Camera Raw (CR2, NEF, SRF, and many more)
- When you take photos with a professional camera it is possible to save them to the camera’s native format. These are very large and difficult to work with but are high fidelity. It is generally not suggested to use this format for this course initially.


RGB (additive mixing)

CMYK (subtractive mixing)
Color Modes:
Photoshop has a variety of color modes available. This will affect how the image’s color is encoded (or not).
Color Bit Depth:
This determines how many colors are available. It is determined by basic math, basically just square the number.
This is great article on it that will explain it better: Cambridge in Color.

Adobe Photoshop Color Modes
Color Space:
Color Space represents the range of color possible. This means how much color can be represented. For instance, the amount of green you can see in person is less than what sRGB can represent.
Here is a nice article explainiing it better: The Essential Guide to Color Spaces.

(we generally use sRGB or Adobe RGB)
Apple, Windows, & Adobe
Mac:
You will notice that the VCP lab is full of Mac machines. We will be using them in all face to face classes. If you are taking this class online it doesn’t affect you. If you are not familiar with the Apple platform you should not be concerned, it is more similar to Microsoft Windows than you might think.
The largest difference you may notice when switching from a PC to Mac is that many commands replace the ctrl key with the cmd key.
You do not need a Mac for this class. Adobe photoshop is available for both PC and Macintosh systems.
For more information about the iMac you may visit the iMac support page.
Windows:
My home computer is a Windows machine. Therefore all tutorials will be utilizing that operating system. You can however use a Mac just as well for this course.


Introduction to Photoshop
Photoshop
Digital Imaging I will focus entirely on using Adobe Photoshop to manipulate and create imagery. This program has become the standard in many industries including photography and graphic design.
The Interface
click on accordion below to learn about the different panels in Adobe Photoshop.
1: The Main Menu
Basic file management such as open, close, save,etc. Change preferences, settings, display etc. Drop-downs for whole image adjustments, etc.
2: The Toolbar
Settings specific to the current tool selected.
3: The Toolbox
Contains major tools used most to affect specific areas of an image or to generate imagery itself.
4: The Work Area
Area where your workable images is located.
5: The Panels
Customizable panes that store tools, functions, and general information.
6: The Layers Panel
A significant panel that allows you to navigate through the layered “sheets” of your image.

Introduction to Photoshop’s Interface Video
These videos quickly explain the areas of Photoshop. You may download the image used in this tutorial here: digitImaginWeek01LabMaterials.
Assignment 01
Exploration Assignment:
For your first assignment in the course you will submit three versions of an image; an unedited version, an enhanced version, and a creative version. The undedited version will just be the original image so that I can see what you started with. The enhanced version will be the same image with adjustments to fix the overall quality of the image, enhancing its color, value, contrast, etc.. The creative version is really anything you want it to be. You should just explore the tools and apply as many techniques as you’d like. It is better to do too much than too little. The purpose of this assignment is to get acquainted with Adobe Photoshop.
Your image should be 6 by 9 inches with 300 ppi. Once completed you will submit a single Adobe Photoshop Document (.psd) with three layers labeled, “original”, “enhanced”, and “creative”. The name of the file should be “yourLastName_assignment01.psd”. Upload the file on Canvas, here.
You will be graded on the following:
- Project Cover Sheet
- Thoroughly completed and thoughtfully written with little or no grammatical errors.
- Assignment Specific Requirements
- Single Photoshop Document at 6″ x 9″, 300 ppi
- Three layers (original, enhanced, creative)
- Original layer with no changes
- Enhaced layer with adjustments made for improvment
- Creative layer with loads of exploration completed. Go hog wild!
- Craftsmanship
- Clean high-quality work
- Creativity
- Interesting and novel.
Resources:
- Project Cover Sheet
- You may download the project cover sheet here.
- Assignment Video Tutorials
- You may watch the tutorial videos below to help you complete your assignment.
- Ghost-It
- This application allows you to apply transparency to a window. This mean you can make a tutorial video see-through behind the document you are working on. It could be helpful while completing tutorials. You may download it here.
Assignment Video Tutorials
This tutorial covers making basic image adjustments, creative exploration to enhance a portrait photo. You may download the image used in this tutorial here: digitImaginWeek01LabMaterials.
Wait! Before you go!
Did you remember to?
- Familiarize yourself with Blackboard
- Read through this webpage
- Submit Week 01Basic Image Editing Assignment on Blackboard
- original image, enhanced image, creative image, and project cover sheet
