
3D Character Creation
Class 04: Character DesignTopics
- Basic Character Design
- Bipedal Model Project

Here comes class fore!
Basic Character Design
Foundation Shapes:
Everything you create in animation will be viewed flat, even if in 3D.
Always look at your designs from a compositional 2D point of view. Sometimes in 3D computer animation people get carried away with things that the viewer will never see. You care what the audience sees first and foremost, everything else is to help inform yourself.
There are three primary shapes:
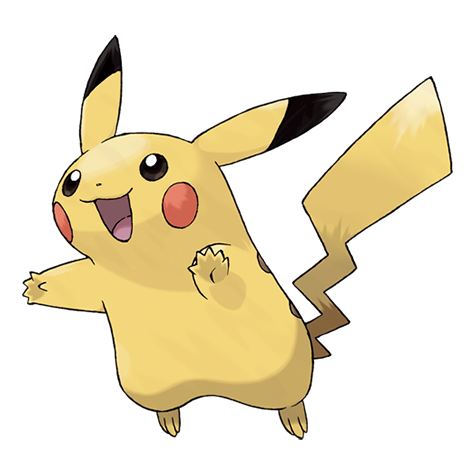
Circles:
Circles are the most common shape utilized. The reason for this is more than likely because animated characters have a deep foundation in children’s entertainment and circles are the least threatening shape.
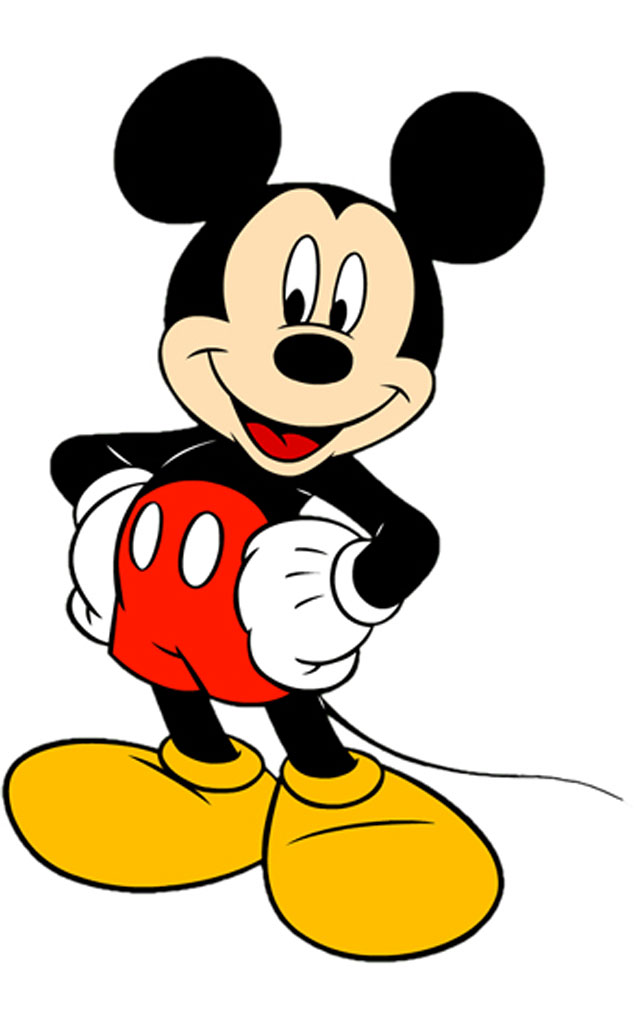
Squares:
Squares represent stability. They are un-moving resistant shapes. Squares are strong, dependable, solid, sometimes dumb. Often the “hero” or “strong arm” characters are squares.
Triangles:
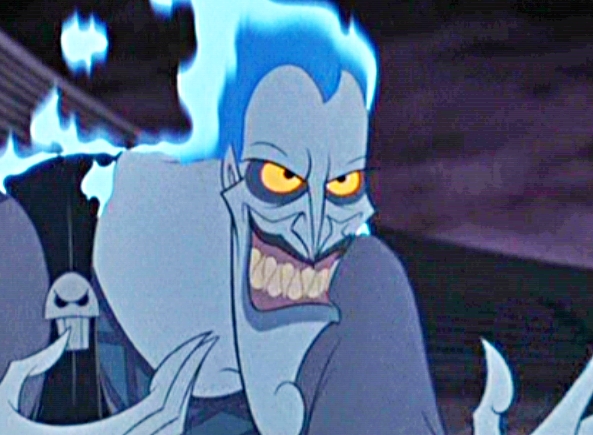
Triangles are the most directional, aggressive, often the catalyst. Often the “villain” or “sly” characters are triangles.


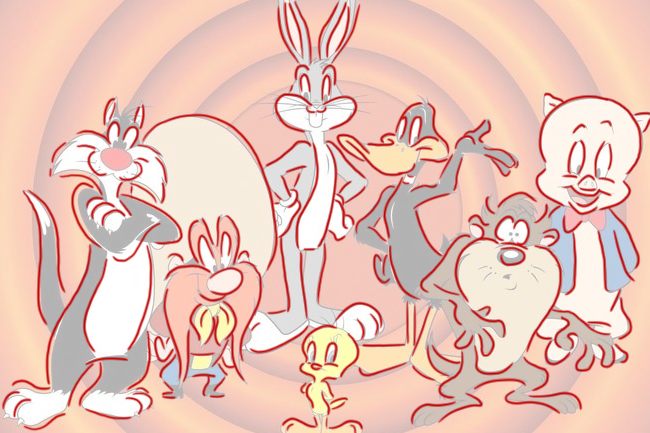
Cast of Shapes:
It is best to use a variety of shapes. Notice the various shapes in the examples below

Angles:
It all really comes down to angles. The more angular the character the more aggressive they will appear.
Acute: Sharp hurts. Sharp is scary.
Obtuse: Round is soft. Blunt is non-threatening.
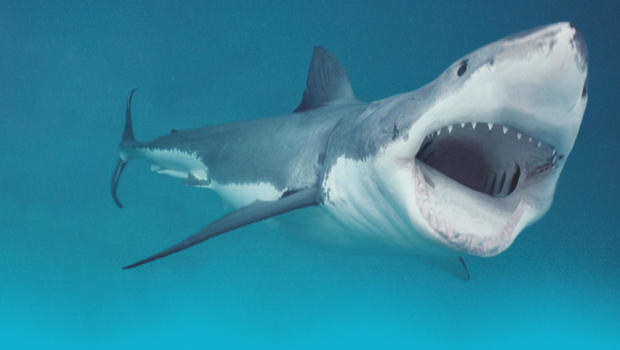
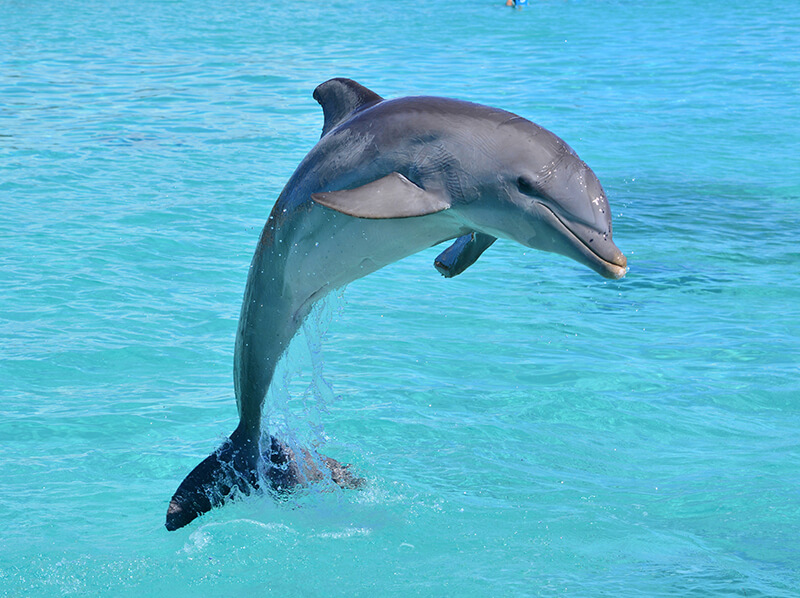
A dolphin and shark are the same basic shape. However the shark is sharp and the dolphin is not. Dolphin good. Shark bad.
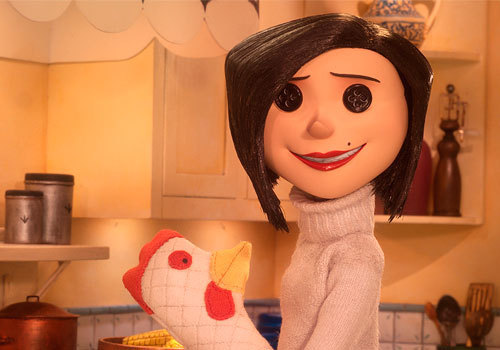
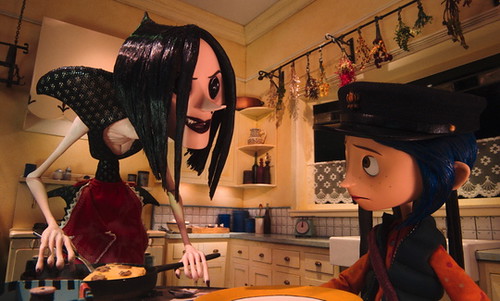
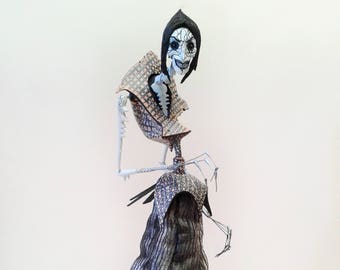
Notice how “The Other Mother” gets more and more angular and feels more threatening.
Complimentary and Whole Shapes:


Your characters should work as whole shapes, not a bunch of individual one’s. There should be one dominating mass that all other elements are drawn from.
You should utilize repeating and complimentary (similar but not same) sub-shapes throughout your design to make it more cohesive.
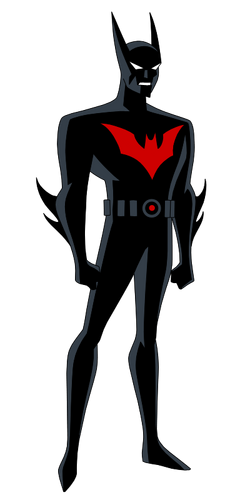
If you look at these three interpretations of Batman you can use the bat symbol as a guide. Notice the first is the most “middle of the road” design. The middle version is square-ish. All other elements are also (head, shoulders, cape, etc.) Gives strength but slowness. The last version is much more sharp. All elements are very pointed. This Batman is weaker but fast and agile looking.
Lines:
Shapes are made of angles and lines.
Straights and Curves:
Curves should never be more complicated than an ‘S’ or ‘C’. Anything more does not read well. This includes animated movements.
The simpler you go, and you want to go simple, the more precise and accurate your lines must be.
Do not only use one type of line you must use a selection of both straights and curves. You need the contrast (like big hand and small forearms). Straight lines are fast and curves are slow.
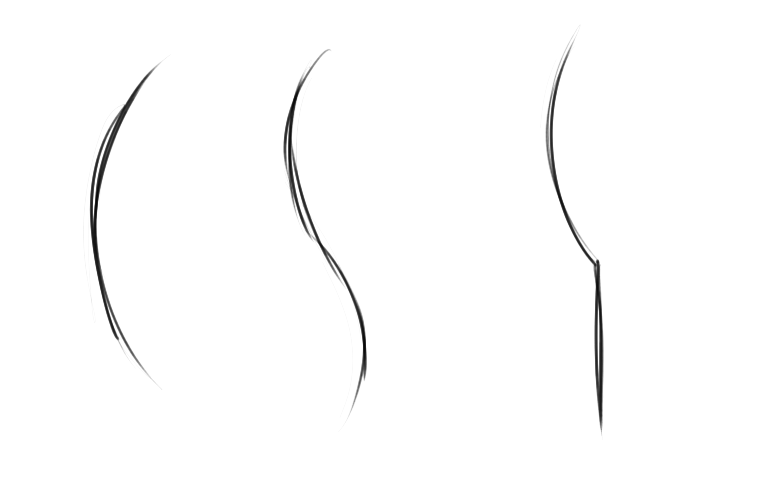

You can see that the characters are made up of only ‘C’, ‘S’, and straight lines.
Bipedal Model Project
Bipedal Model Project
The first project is to complete a realistic bipedal model. It doesn’t have to be human. That means is that you may do an elf, dwarf, or other humanoid person.The model should be as accurate and believable as possible. The final product should be something that would be suitable for a triple A game.
You will be graded on the following:
- Geometry:
- There are no errors in the geometry. Few tris used. Appropriate polycount.
- Topology:
- Gridflow is strong. Topology follows architecture well. Should fully support quality deformation.
- Texturing:
- Well-crafted UV’s and elaborate materials are developed. Painted textures are fully developed with a strong sense of color theory. Fully “fleshed” out details are included.
- Creativity & Craftsmanship:
- Well structured, clean model. Novel, unique design.
Resources:
- Assignment Video Tutorials
- You may watch any previous tutorial videos.
Project Instructions Video
Wait! Before you go!
Did you remember to?
- Read through this webpage
- Submit the Bipedal Model Project on Blackboard
