
Introduction to 3D Modeling and Animation
Class 01: Introduction to Computer AnimationTopics
- Class Introduction
- 3D Animation & Production
- Introduction to Autodesk Maya
- Week 01 Primitive Animal Render Lab

Class Introduction
Hi There!
I'm Jon Cone
I am one of the full-time faculty in Cecil’s Visual Communication Program. I am mostly responsible for the game design and web design programs. I am also a freelance animator typically working on visualizations.
- Office Hours
- Tues 10:00am - 1:50pm
- Wed 1:00pm - 6:20pm
- Honestly just e-mail me. I will make time when it works for you.
- Contact Information: jcone@cecil.edu (prefered)
- (240) 466-1996 (personal)
- 410-287-6060 X 1470
This is an actual picture of me.
Demo Reel (a short collection of work)
- Name:
- What’s your name? What do you go by?
- Why you are here:
- Is this required for your major? Are you taking this course as an elective? Personal Enrichment?
- Experience:
- Do you have any history with graphic arts or arts in general? Any experience with Adobe or other graphics software?
Think about your response to these questions and post the answers to the Introduction Discusson Board.
Alright here is an actual picture of me.

Labs:
Each week a new lab assignment will be given. These mimic the exercises we would do in a face to face course. You must simply follow the instructions given as closely as possible. All labs will be submitted by the end of the week on Blackboard.
Projects
Three long form projects will be due by the end of the course. These are similar to completing many labs at once but with your own designs and without limitation.
Discussion Boards
After each project is completed, the appropriate media should be posted displaying your work along with a brief description.
You must also reply to two of your peers posts for full credit. You will have two weeks to post and reply from when the Discussion Board opens.
| Labs | 13 | 50% |
| Projects | 3 | 40% |
| Discussion Boards | 4 | 10% |
3D Animation and Production
3D Animation is best known for its use in the entertainment industry, movies and games. More than likely this is what drew you into the desire to learn it. Although you should follow your dreams you should also realize that is has lots of uses in a variety of industries:
- Entertainment: Film, Visual Effects, Games, Advertisement, etc.
- Visualization: Architectural, Medical, Legal, Scientific, Product, Educational, etc.
- Fringe/Experimental: Virtual Reality, Augmented Reality, 3D Printing, Holograms, etc.
3D Film Production
The animation process can be broken down into three stages of development:
-
- Pre-Production
- Pre-production involves all of the work necessary to develop the story and look of the film but itself, does not show up in the final film.
-
- Production
- Production involves all of the asset creation, rigging, animation, and rendering that results in the footage of the film.
-
- Post-Production
- Post-production involves the editing and sound design to create the final film.
Pre-Production Stages
Production Stages
Post-Production Stages
Introduction to Autodesk Maya
Autodesk Maya
Maya is a 3D computer graphics application capable of developing models, rigging, animation, simulations, and lighting & rendering.
It has become an industry standard used to produce content for animated films, visual effects, video games, and much more.
As a student you may download and use Maya for free. Create an educational account and download the software here.
The Interface
click on accordion below to learn about the different areas in Autodesk Maya.
1: Menus
Basic file management such as open, close, save,etc. Change preferences, settings, display etc. The menu items at the right change based on the selected menu set. These items contain tools, functions, etc. for manipulating your objects in the scene.
2: Menu Sets/Status Line
The menu set box changes the menu above to specific tools for various stages of production. The status line contains shortcuts for things related to selection, snapping, rendering, etc.
3: Shelves
Contains major tools used most to affect specific areas of an image or generate imagery.
4: Tool Box/Quick Layout Buttons
Area where your workable images is located
5: Workspace/Viewport/Panel Toolbar
The workspace is the central area where you interact with the elements of your scene. The viewport is the three-dimensional space where your scene elements are visible. The panel toolbar exists at the top of each panel and gives options for visibility, functions, tools, etc.
6: Channel Box/Attribute Editor/ Modeling Toolkit/Layers
You can switch this panel between the channelbox, attribute editor, and modeling toolkit but currently the channelbox and layers are visible. The channelbox contains editable transform (translate, rotate, scale) information. The layers panel can be used to control visibilty, rendering, and animation. The attribute editor is similar to the channelbox but contains even more detailed information about the currently selected object. The modeling toolkit contains tools relating to modeling.
7: Time Slider/Range Slider/Playback/Character Menu
The time slider shows the frames and keys in the scene. The range slider determines the frames visible in the time slider. Playback works like any media player to play your animated scene. The character menu allows you to control character sets on your animated characters.
8: Help Line/Command Line
The help line gives you feedback on what you are currently doing letting you know if an action has succeeded or not. The command line is used for entering MEL (Maya Embedded Language) into Maya.

Introduction to Autodesk Maya Video
Follow this video to become acquainted with Maya’s basic workspace.
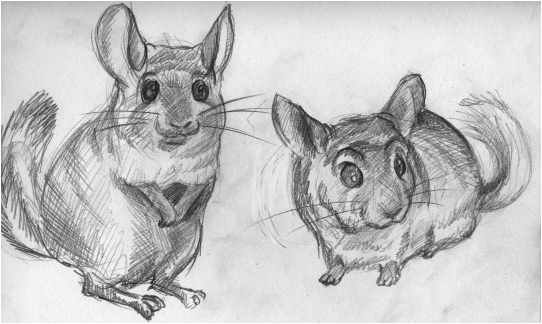
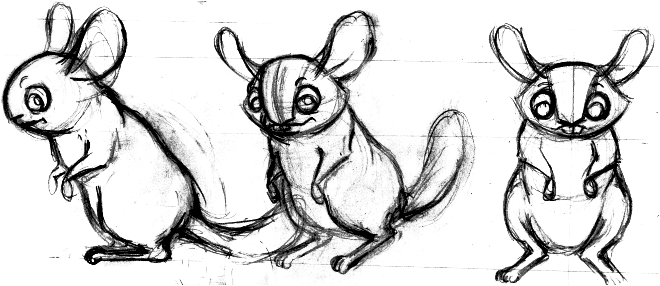
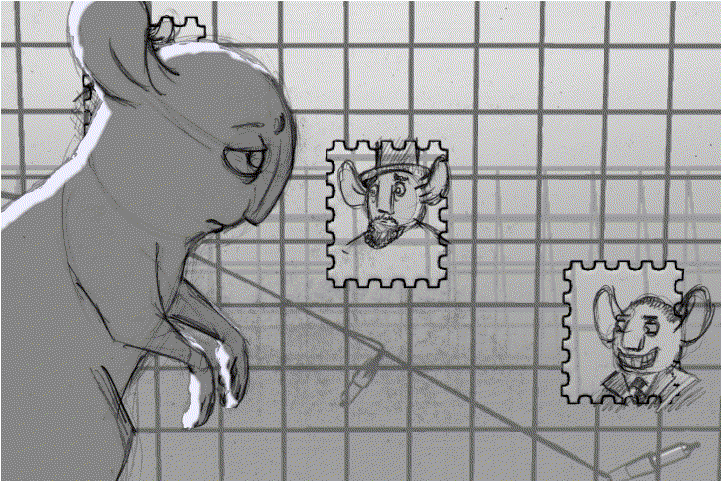
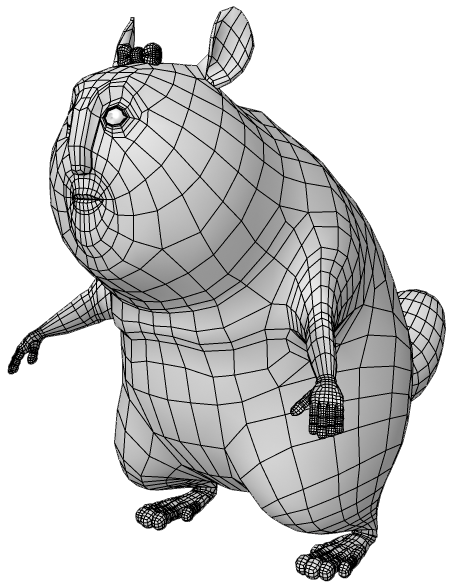
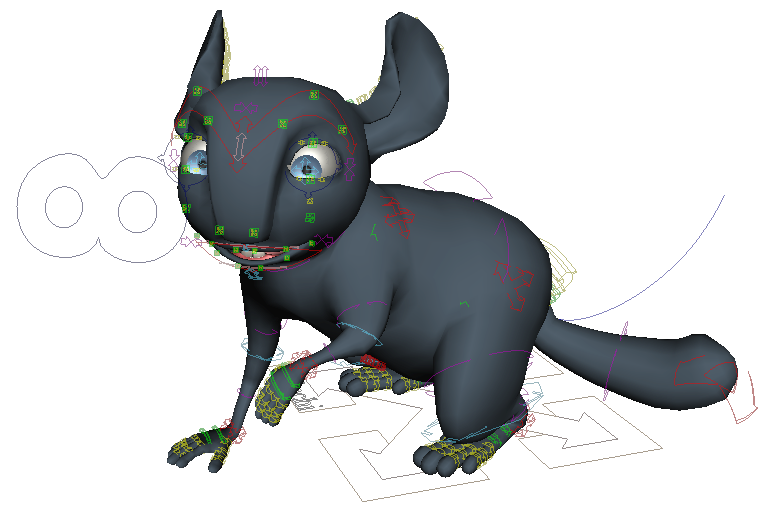
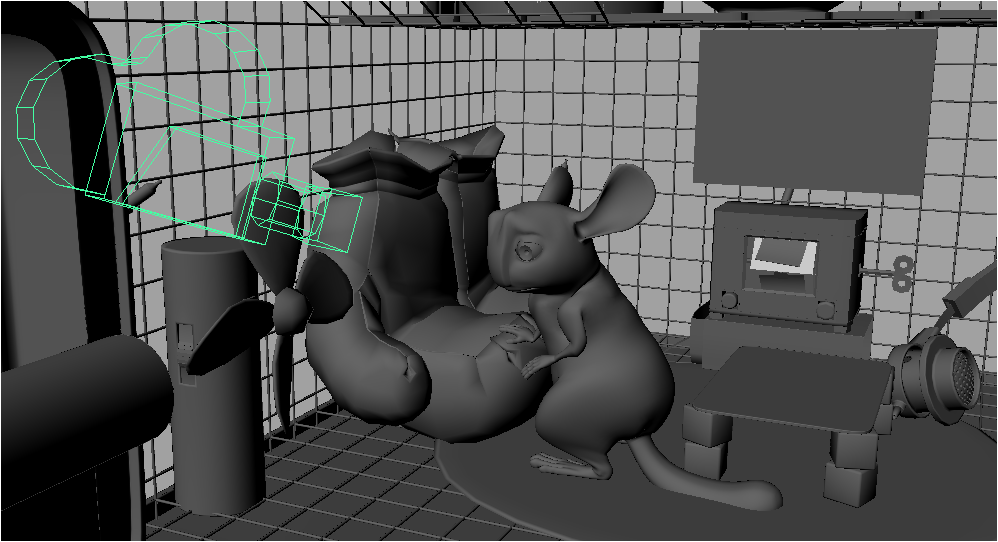
Week 01 Primitive Animal Render Lab
Week 01 Primitive Animal Render Lab:
Using primitives you will create a caricature of an animal of your choosing. First you will model it, then apply materials (color), light it, and render a final image. Once completed, the image and Maya project folder will be zipped and submitted on Blackboard for grading.
You will be graded on the following:
- Modeling
-
Create and manipulate a variety of primitives to form the shape of an animal.
-
- Surfacing
-
Apply materials and basic painting to color your animal model.
-
-
Lighting & Render
-
Create and direct lights to illuminate your animal model then render the results as a png image.
-
-
File Submission
-
Organize your Maya project folder and rendered image appropriately, zip the contents, and submit to Blackboard successfully.
-
Resources:
- Assignment Video Tutorials
- You may watch these tutorial videos below to help you complete your assignment.
- Ghost-It
- This application allows you to apply transparency to a window. This mean you can make a tutorial video see-through behind the document you are working on. It could be helpful while completing tutorials. You may download it here.
Assignment Video Tutorials
Wait! Before you go!
Did you remember to?
- Familiarize yourself with Blackboard
- Read through this webpage
- Watch the videos
- Submit Week 01 Primitive Animal Render Lab on Blackboard
- Post an introduction on the Introduction Discussion Board
