Digital Imaging I
Class 03: Content Aware ToolsTopics
- Composition
- Content Aware
- Photoshop Hotkeys
- Scanning
- Assignment 03
Welcome to Class 03! It will be just right.
Composition
Composition:
Composition in art refers to the arrangement of elements in a framework. Generally speaking you want to follow certain rules and employ various techniques to create something functional and appealing within a space. This is the overall appearance of the work and should be the first thing considered (after the concept of course).
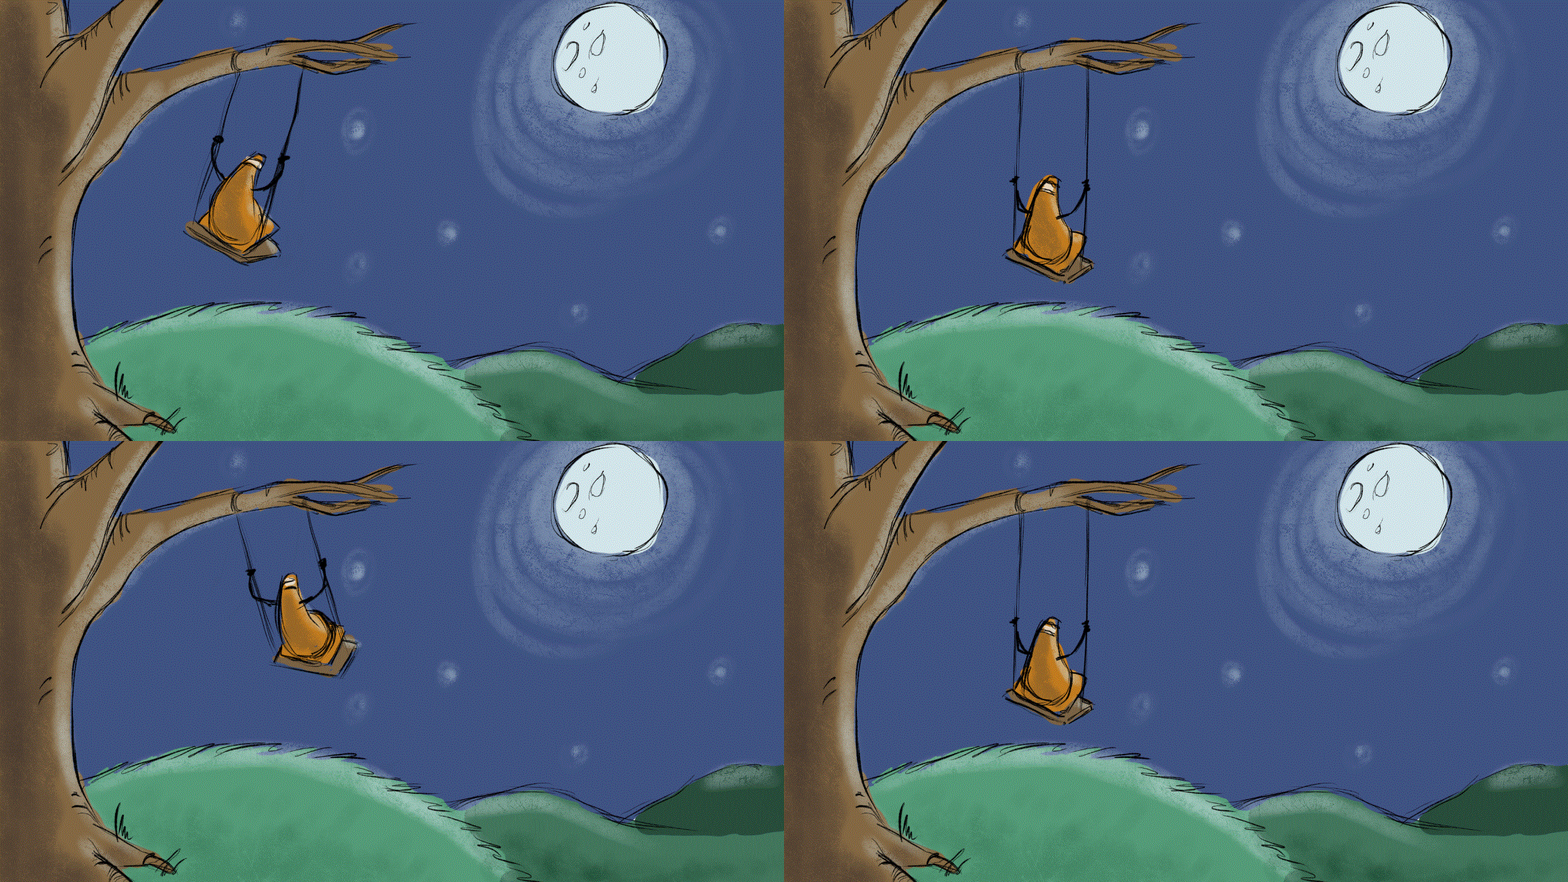
Bad Composition
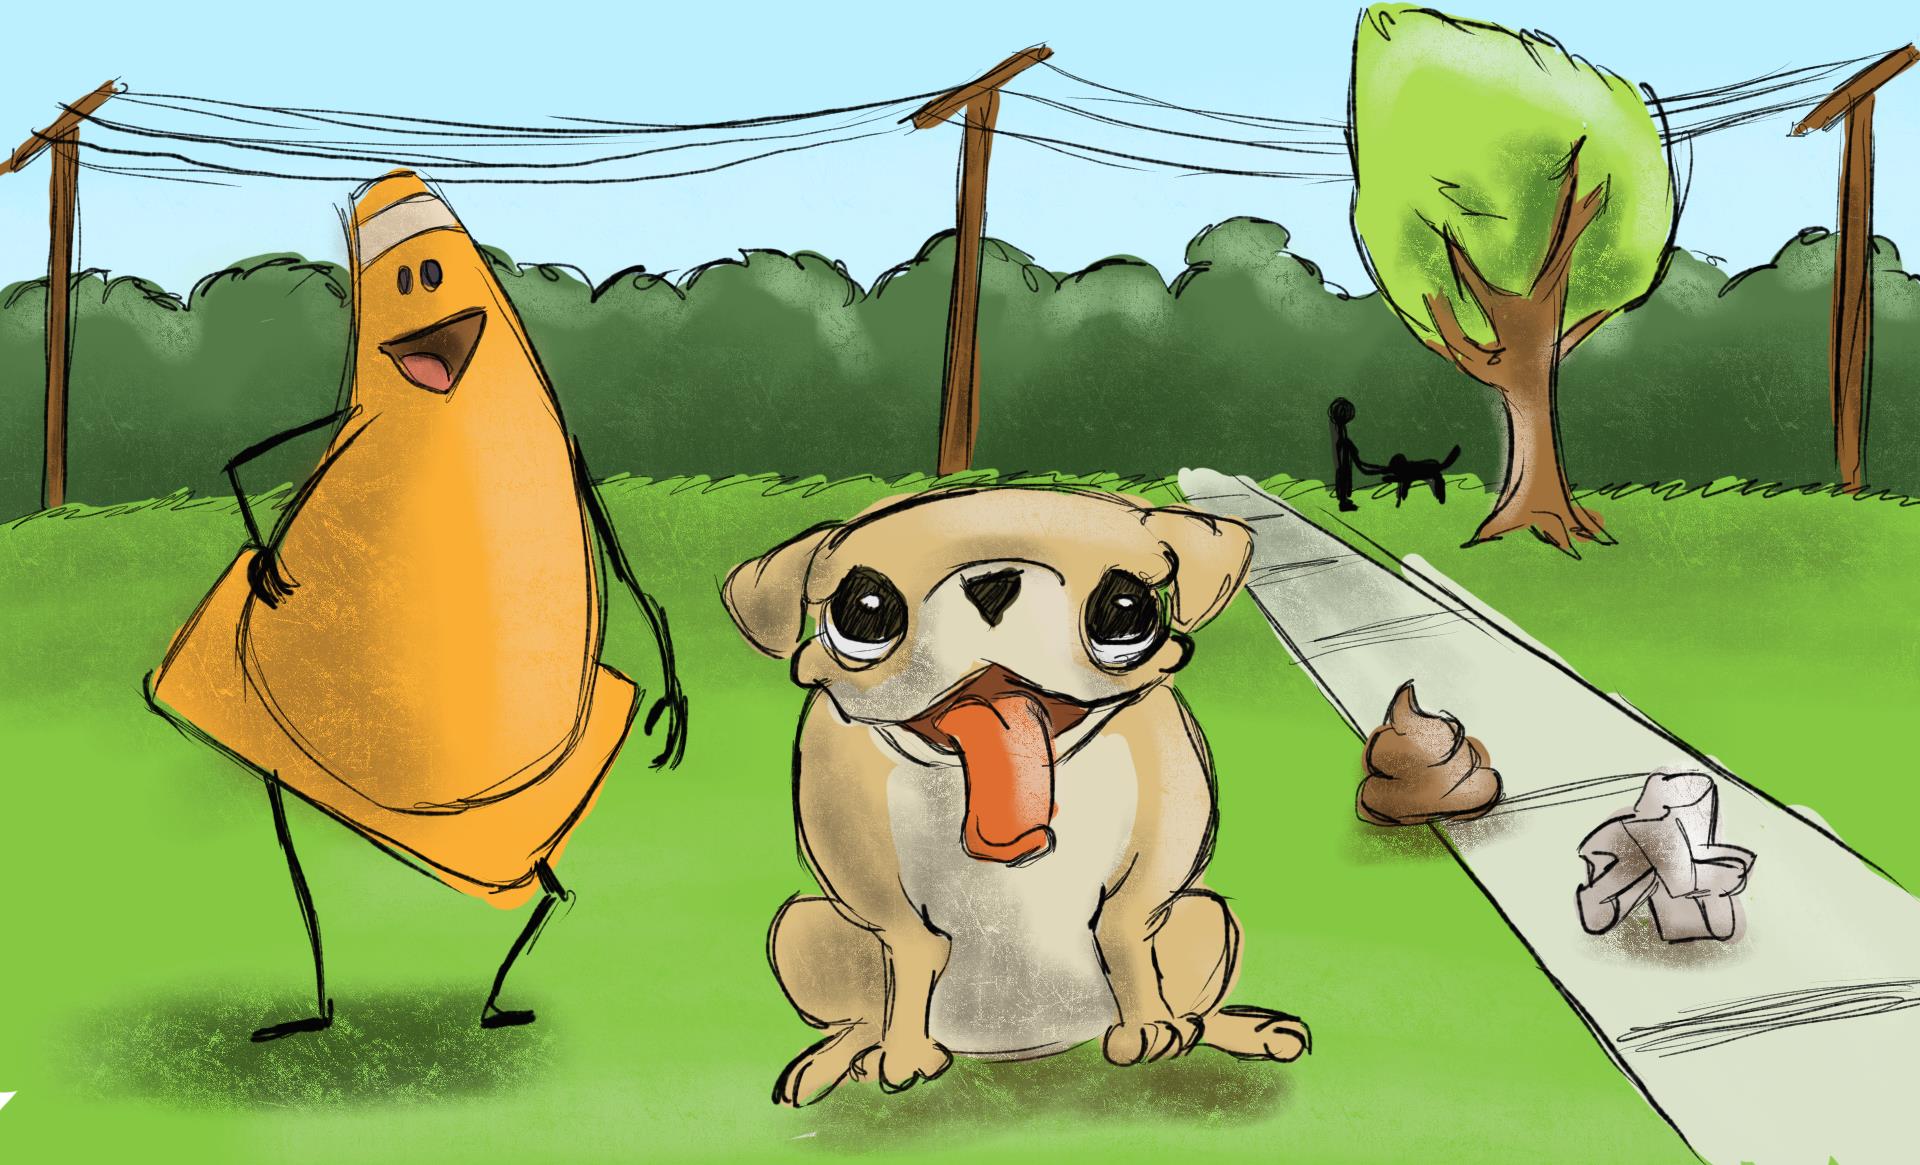
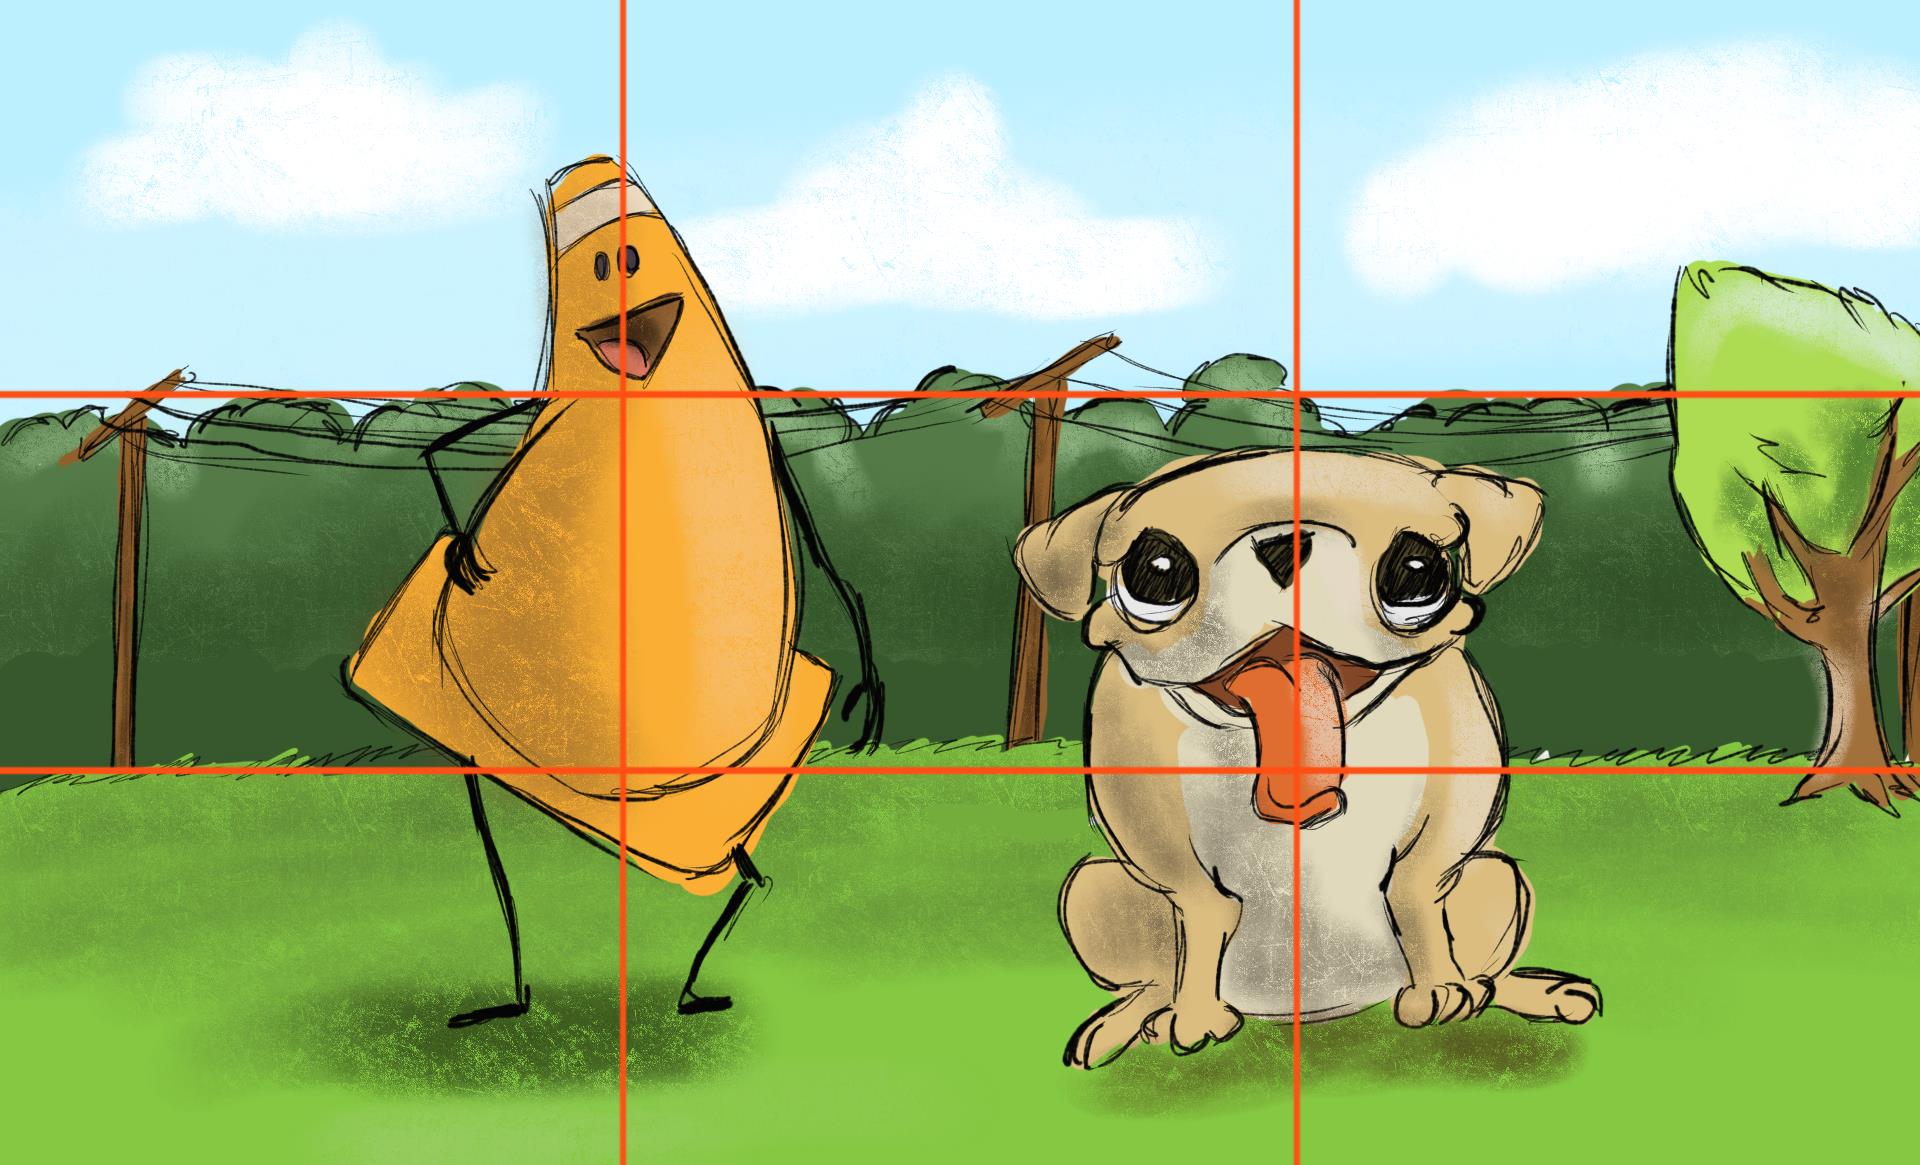
Framing:
Cropping is usually the first decision you make when capturing or editing and image that affects your composition. You could also argue this has the largest affect on the composition.
- When taking images, actively think about the frame abstractly. This is the job of the photographer.
- Avoid tangents. You don’t want shapes or lines touching the border. Leave a gap or cut them off.
- Use the rule of thirds, golden spiral, grids, etc. to help you choose how to crop.
Space:
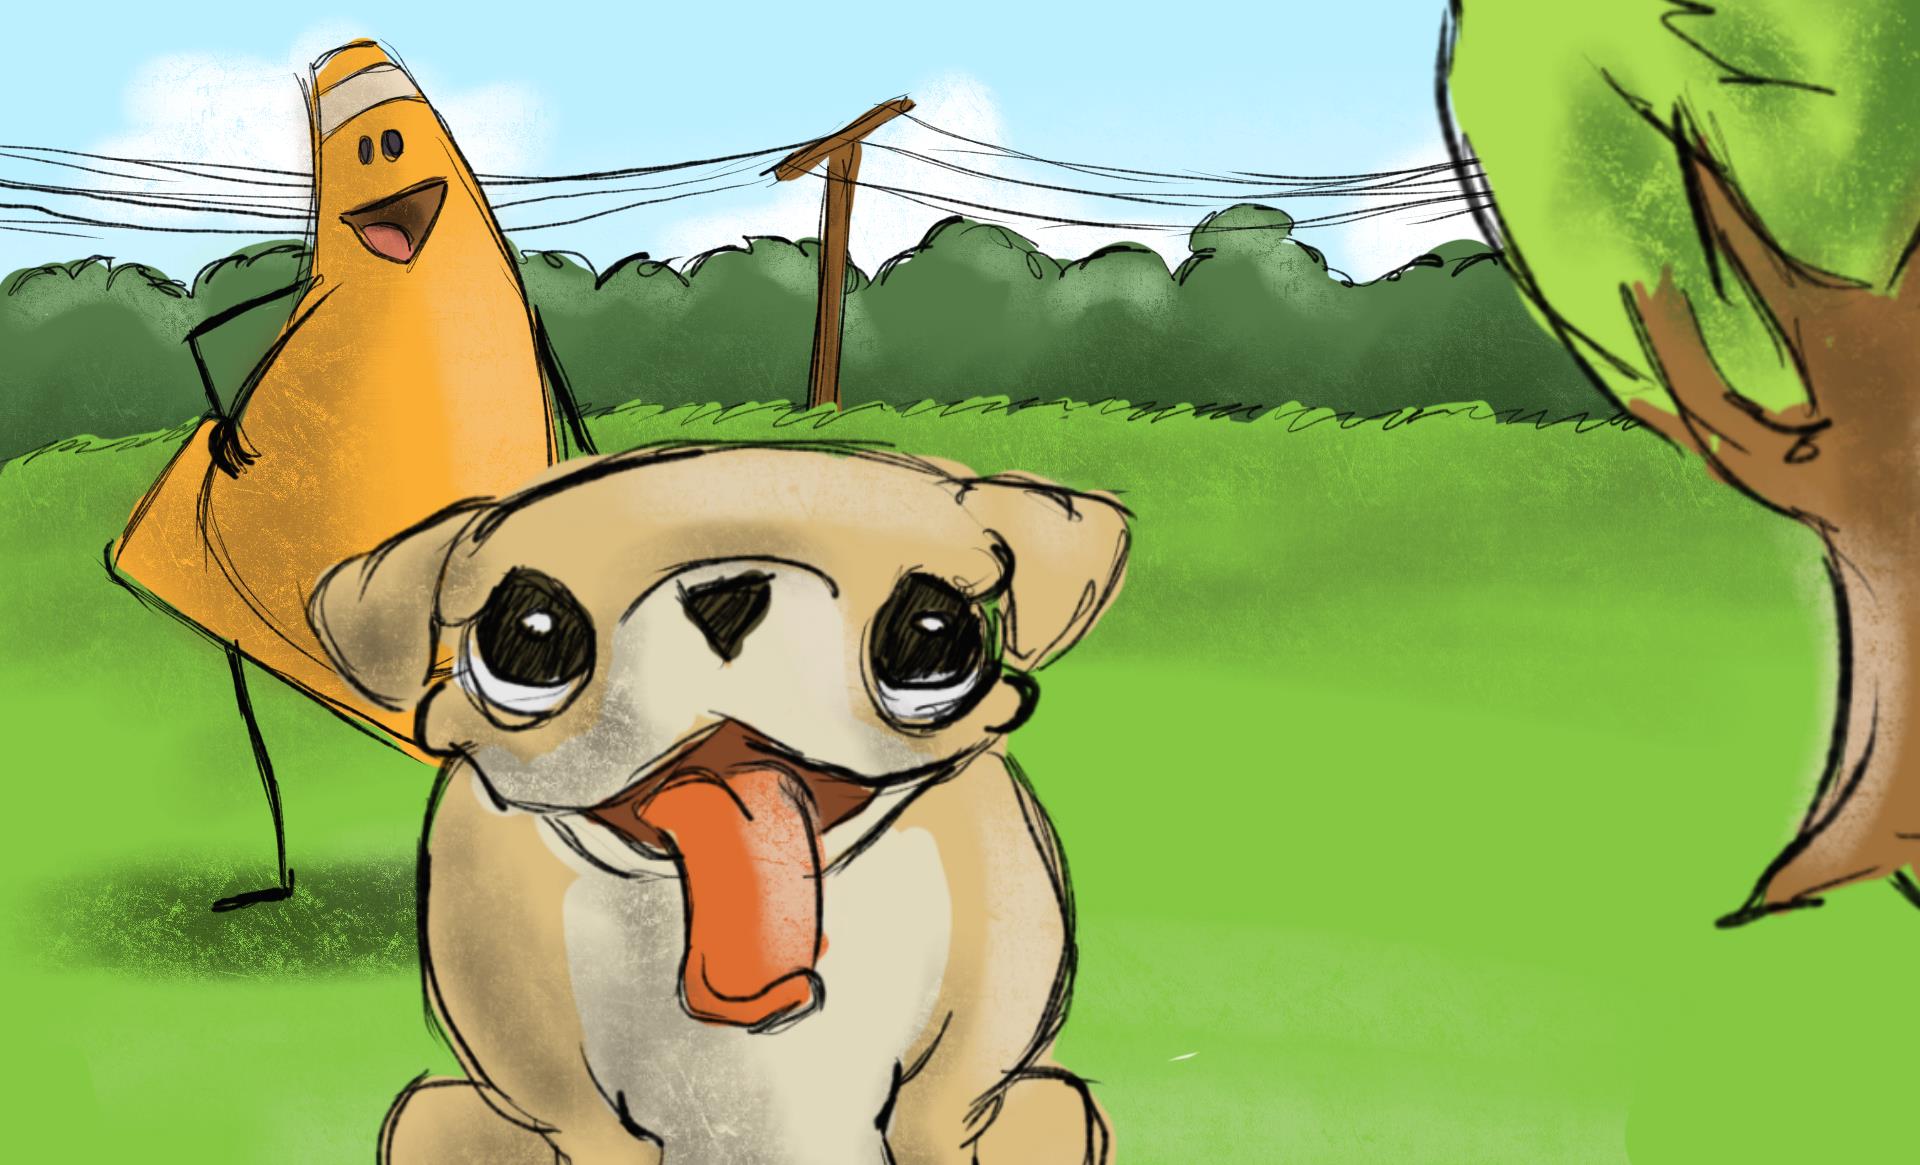
Space is the final frontier (any trekkies?). Space in art represents the area that the elements of the piece take up (and do not). It is a good idea to look at your work abstractly by the negative and positive space it embodies.
- Most compositions will benefit from the rule of odds. This means not allowing any positive or negative space be equal.
- Avoid alignments. You don’t want your components to line up.
- Incorporate overalapping shapes. This implies depth in the image. A common technique is to include a foreground, midground, and background in a work of art.
Focus:
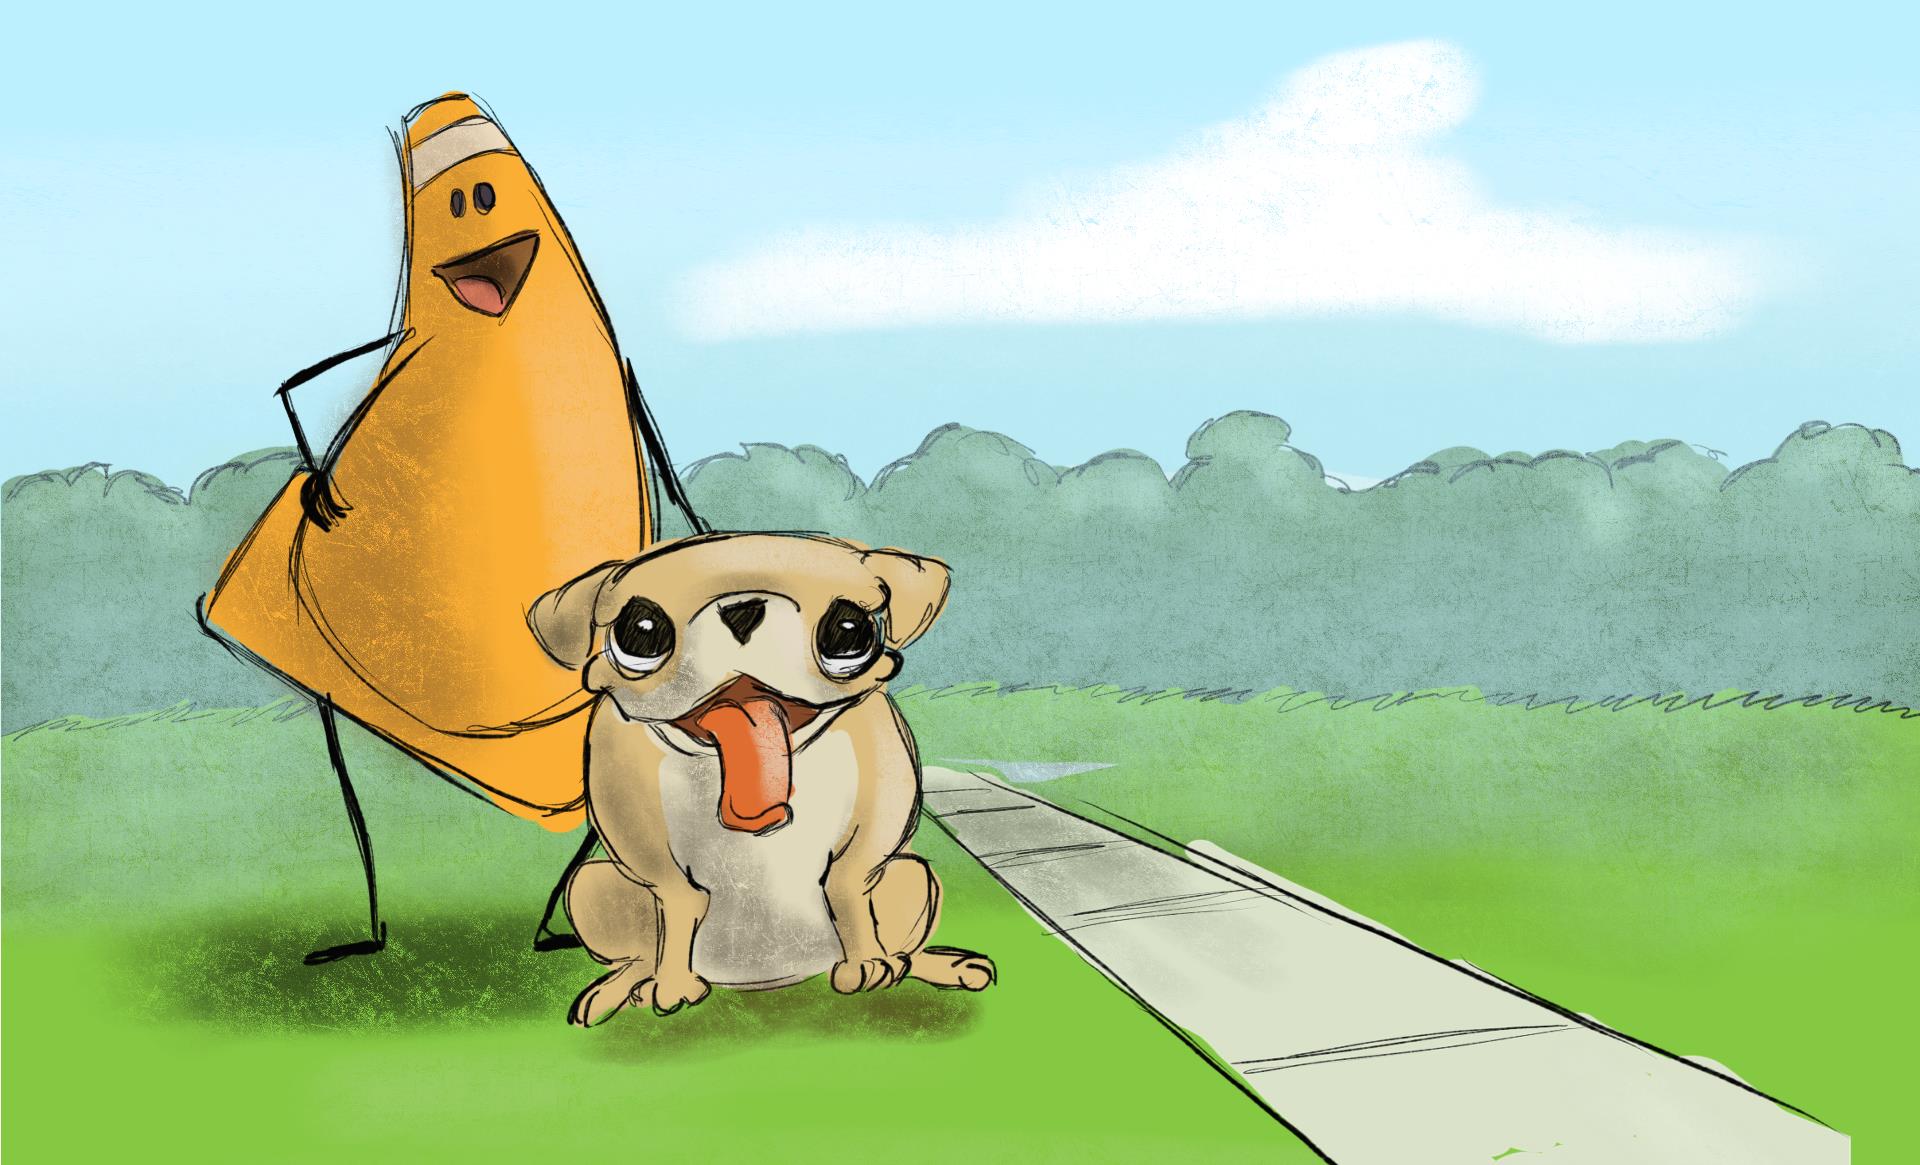
This is not just making sure that elements are sharp in camera (although that is one way of achieving focus). This is about highlighting points of interest in the image.
- Use the elements of art and principles of design to emphasize what you want the viewer to see (and in what order). We will cover these in a later class but if you know them, use them.
- Utilized linear and aerial perspective. You can have the perspective “pointing” towards the main subject. You can have elements meant to recede but less saturated and blurry.
- Strive for clarity. Which means you may need to clean up items or remove them altogether. Examples would be cleaning up stray hairs, wires, foliage, etc. or removing trees, people, trash, etc.
Lines:
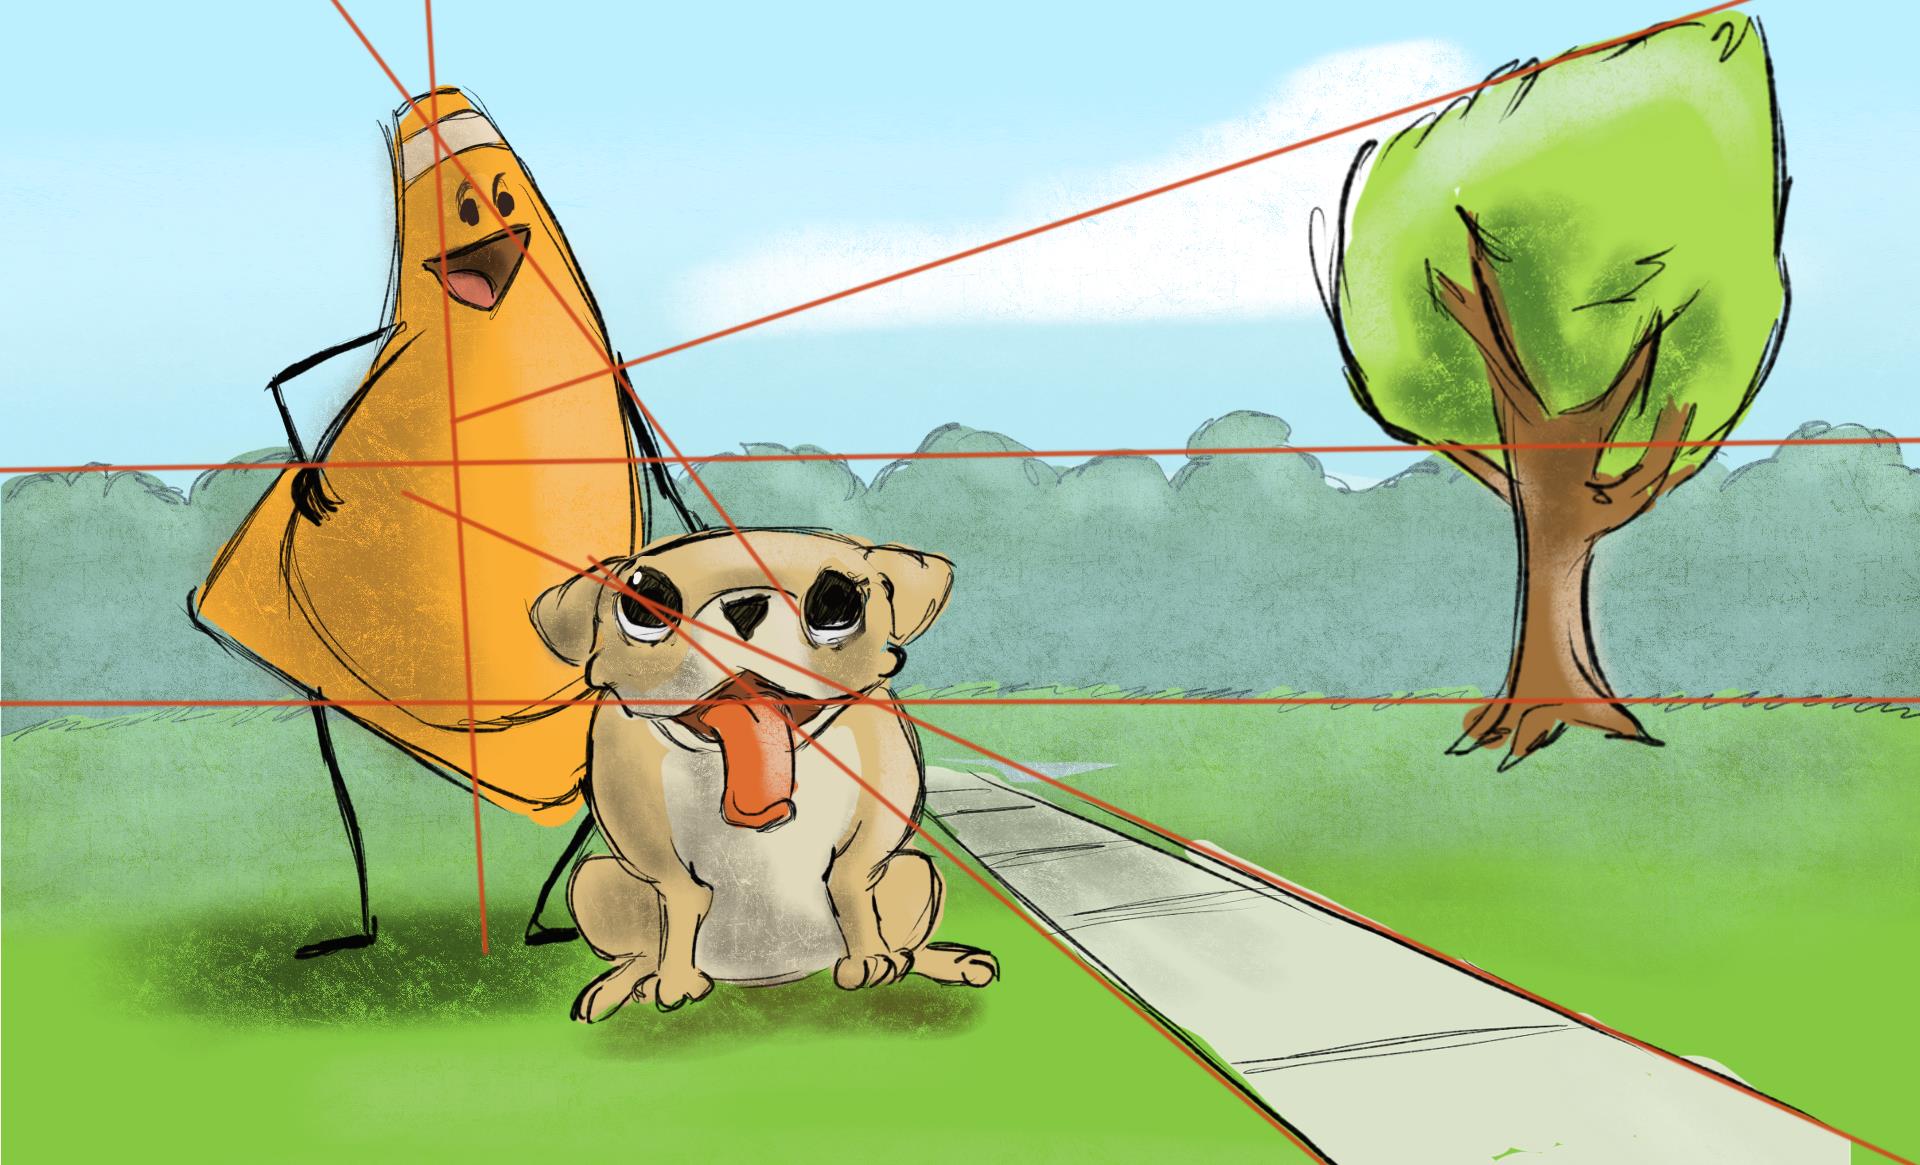
Composition lines are the explicit visible lines you are familiar with, but also implicit lines that are merely hinted at through perspective, eye lines, shapes, etc. All these are used to help move the viewers eyes through the page. When used with movement and rythm these become even more powerful tools.
- When capturing an image be mindful of the implicit compositional lines.
- Rearrange elements when necessary to help push movement in your image.
Content Aware
Content Aware:
Content aware is a generic term used to describe the function of multiple tools in Photoshop. Content aware tools use either an area selected or area around a selection to replace “holes” in an image caused by cutting, scaling, removal, etc.. Like the name suggests the tools are “aware” of the “content” they are used in. Using that information they will replace the holes with that content.
The Tools:
- Content-Aware Fill:
- Marquee select and area and replace it automatically to remove it.
- Content-Aware Scale:
- Scale an image while keeping selected areas free from distortion.
- Content-Aware Move Tool:
- Move elements in an image and automatically replace the space left behind.
- Patch Tool:
- Select an area and choose a different area that is sampled to replace it
- Healing Brush Tool:
- Use a brush to target an area to sample from then brush it where you want it.
- Spot Healing Brush Tool:
- Using a brush remove small areas automatically.
- Red Eye Tool:
- Use a brush to remove red eye.
- Remove Tool:
- Use a brush to remove elments.

Photoshop Hotkeys
Common Commands:
- cmd/ctrl + z:
- Undo/Redo
- cmd/ctrl + alt + z:
- Step backwards (undo)
- cmd/ctrl + shift + z:
- Step forwards (redo)
- cmd/ctrl + c:
- Copy
- cmd/ctrl + v:
- Paste
- cmd/ctrl + t:
- Free transform (move, rotate, scale)
- cmd/ctrl + j:
- Duplicate layer
- cmd/ctrl + d:
- Clear selection
- cmd/ctrl + +:
- Zoom in
- cmd/ctrl + -:
- Zoom out
- cmd/ctrl + s:
- Save
Tools:
- v:
- Selection tool
- m:
- Marquee select tool
- l:
- Lasso select tool
- w:
- Magic wand/smart select tool
- c:
- crop
- i:
- Eyedropper tool
- j:
- Healing brush tool
- b:
- Brush tool
- s:
- Clone stamp tool
- y:
- History brush tool
- e:
- Eraser tool
- g:
- Fill tool
- o:
- dodge/burn/sponge tool
- p:
- Pen tool
- t:
- Text tool
- a:
- Direct selection tool
- u:
- Rectangle tool
- spacebar:
- Hand tool (panning)
- z:
- Zoom tool
- q:
- Quick mask mode
Scanning
Scanners:
Flatbed image scanners are computer periphereals that capture imagery (pictures, documents, text, etc.) for use digitally. The most common scanners use the same CCD (charge coupling device) system that digital cameras use but does not contain the same lense distortion which make better suited for flat documents.


Scanner Settings:
Both the physical size of your image and the dpi/ppi settings affect the total file size of your scanned image.
To determine the scanned image size simply multiply the image you are scanning by the dpi/ppi setting you are using.
For Example: if you scan a 3″ x 4″ image at 400 dpi/ppi your scanned image will be 1200 px by 1600 px.
300 dpi/ppi is considered the standard for printing. The majority of your projects should be printed 6″ x 9″. This means 1800 px by 2700 px.
For Example: if you have a 3″ x 4″ picture you simply divide 2700 by 4 and get 675. You will need at least 675 dpi/ppi to end up with 2700 px wide.
When in doubt just scan at a higher resolution than you think you need. You can always crop and/or lower the resolution before printing.
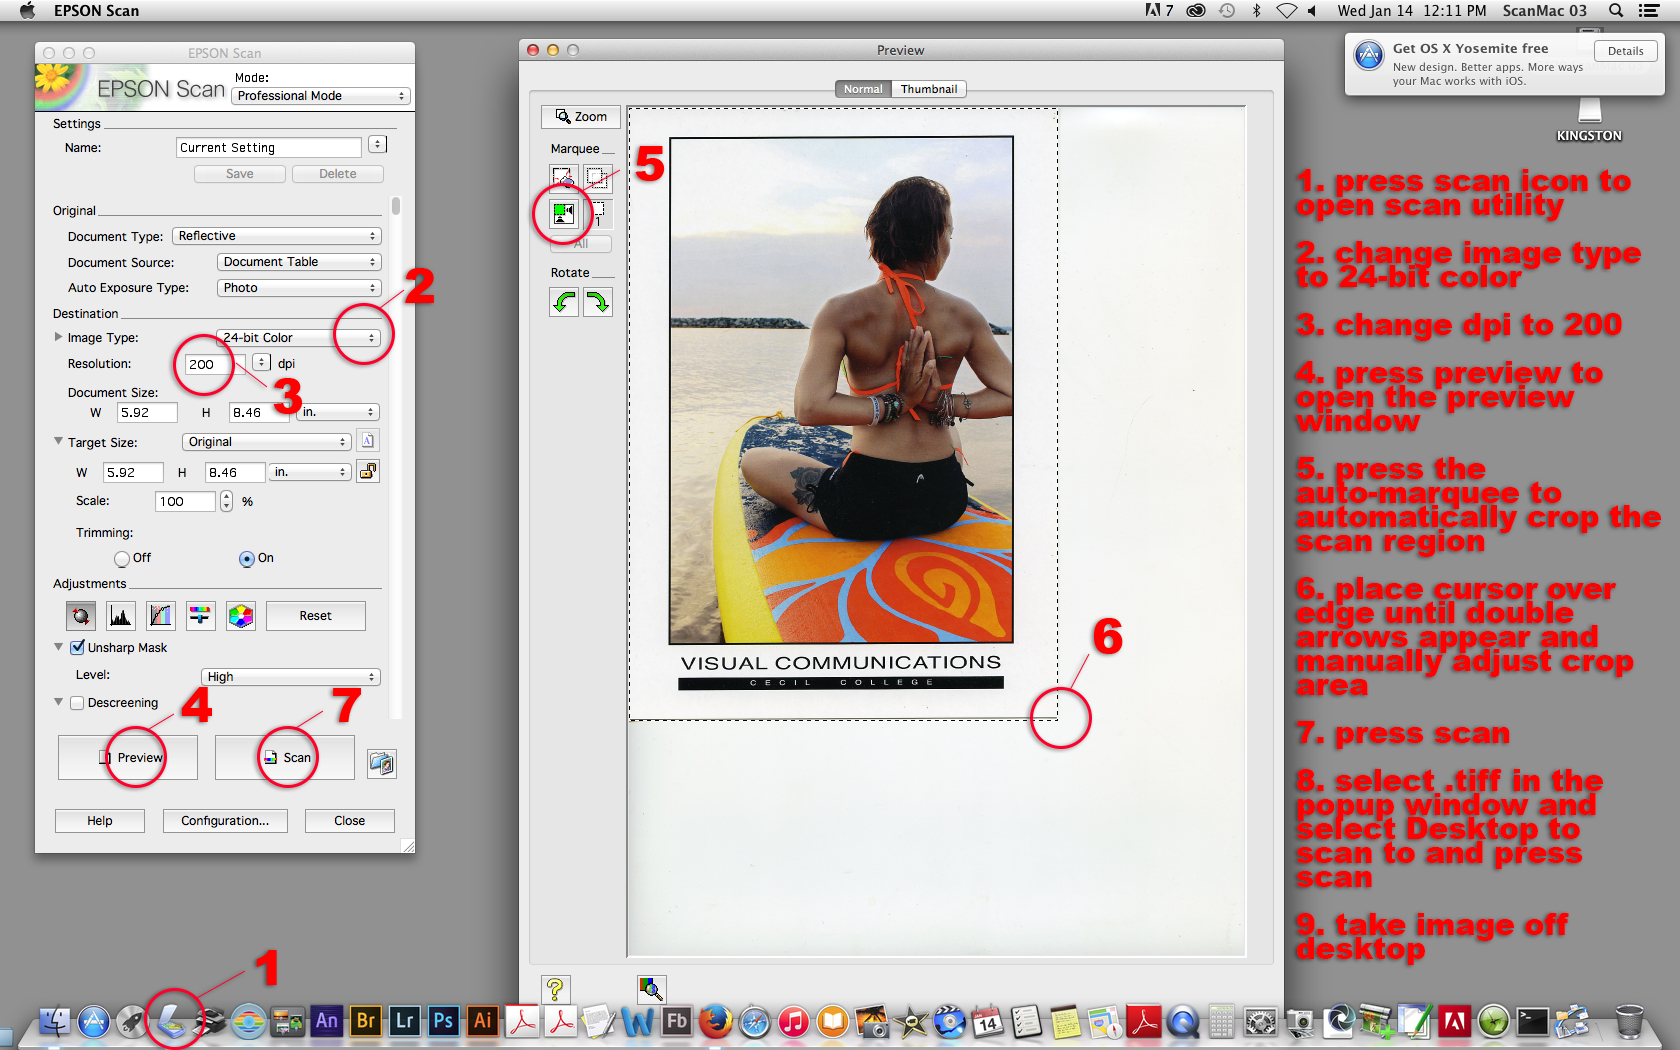
The image above describes the process for scanning an image on the Epson flatbed scanner in the lab. Depending on the size of the image you may need to adjust the dpi setting.
Assignment 03
Content Adjustment:
It is beneficial to take your own photos for a project. However, there are many times when this is not the case and instead you have to work with what you are given or able to find. Often these images may have issues such as damage, undesired content, or poor compositions. In this assignment you will either repair a damaged/old photo or make significant adjustments to a photo with content/composition issues. If you choose to repair a photo make sure it has a decent amount of issues such as tears, scratches, spots, etc. This is an excellent opportunity to revitalize an old family photo as a gift to a parent or grandparent. If you choose to adjust an image be sure that there are major elements to be fixed such as removing people, trash, telephone poles, etc. Vacation photos work well for this since there are usually other tourist or elements you want to remove. Be sure to make general adjustments to the image such as contrast and color correction.
Your image should be 6 by 9 inches with 300 ppi. You should have multiple layers but one should be labeled “original” so that I may see what the original image looked like. Once completed name your file “yourLastName_assignment03.psd” and submit here.
All assignments will also include the project cover sheet. You can grab it here. Just answer the questions in the document.
You will be graded on the following:
- Project Cover Sheet
-
Thoroughly completed and thoughtfully written with little or no grammatical errors.
-
- Assignment Specific Requirements
-
Single Photoshop Document at 6″ x 9″, 300 ppi with original image on its own layer
- Content removed/added/shifted using content aware tools
- Non-destructive editing (adjustment layers, smart objects, etc.)
-
-
Craftsmanship
-
Clean high-quality work
-
-
Creativity
-
Interesting and novel.
-
Resources:
- Project Cover Sheet
- You may download the project cover sheet here.
- Assignment Video Tutorials
- You may watch the tutorial videos below to help you complete your assignment.
Assignment video Tutorials
These tutorials covers adjusting content and composition on new images and/or restoring an old/damaged photo. Download this file for the example below.
Wait! Before you go!
Did you remember to?
- Read through this webpage
- Submit Week 03 Content Adjustment Assignment on Canvas
