
Outline:
- Drawing
- Human Anatomy
- Human Skeleton
- Mesh Generation: ZSpheres
- Lab Time
- Assignment 02 (base sculpt)
Drawing
Class Lecture Part 01
Importance of Drawing:
The students that are the best artists tend to be the best modelers. You will have a better understanding of form and be able to replicate and enhance nature.
An astute drawer can make better observations that improve their animations.
You will take notes when doing research and development for your projects by drawing.
Programs are becoming more and more intuitive. Programs like Z-Brush, Mudbox, and Mari are making it possible for the traditional artist to create digital assets at higher quality than the technically inclined persons.
Programs and pipelines are constantly changing. It is your fundamental art skills that are applicable no matter what medium you are working with that will keep you hired and gain you promotion.
Tim Burton is renowned for his style and it shows in his films.
James Cameron can draw (he drew the drawing in Titanic).
The ability to draw is like the ability to write or speak; it’s communication.
The better you draw the better you can communicate.
So how did drawing in animation begin? Glad you asked.


Practical Example: Disney
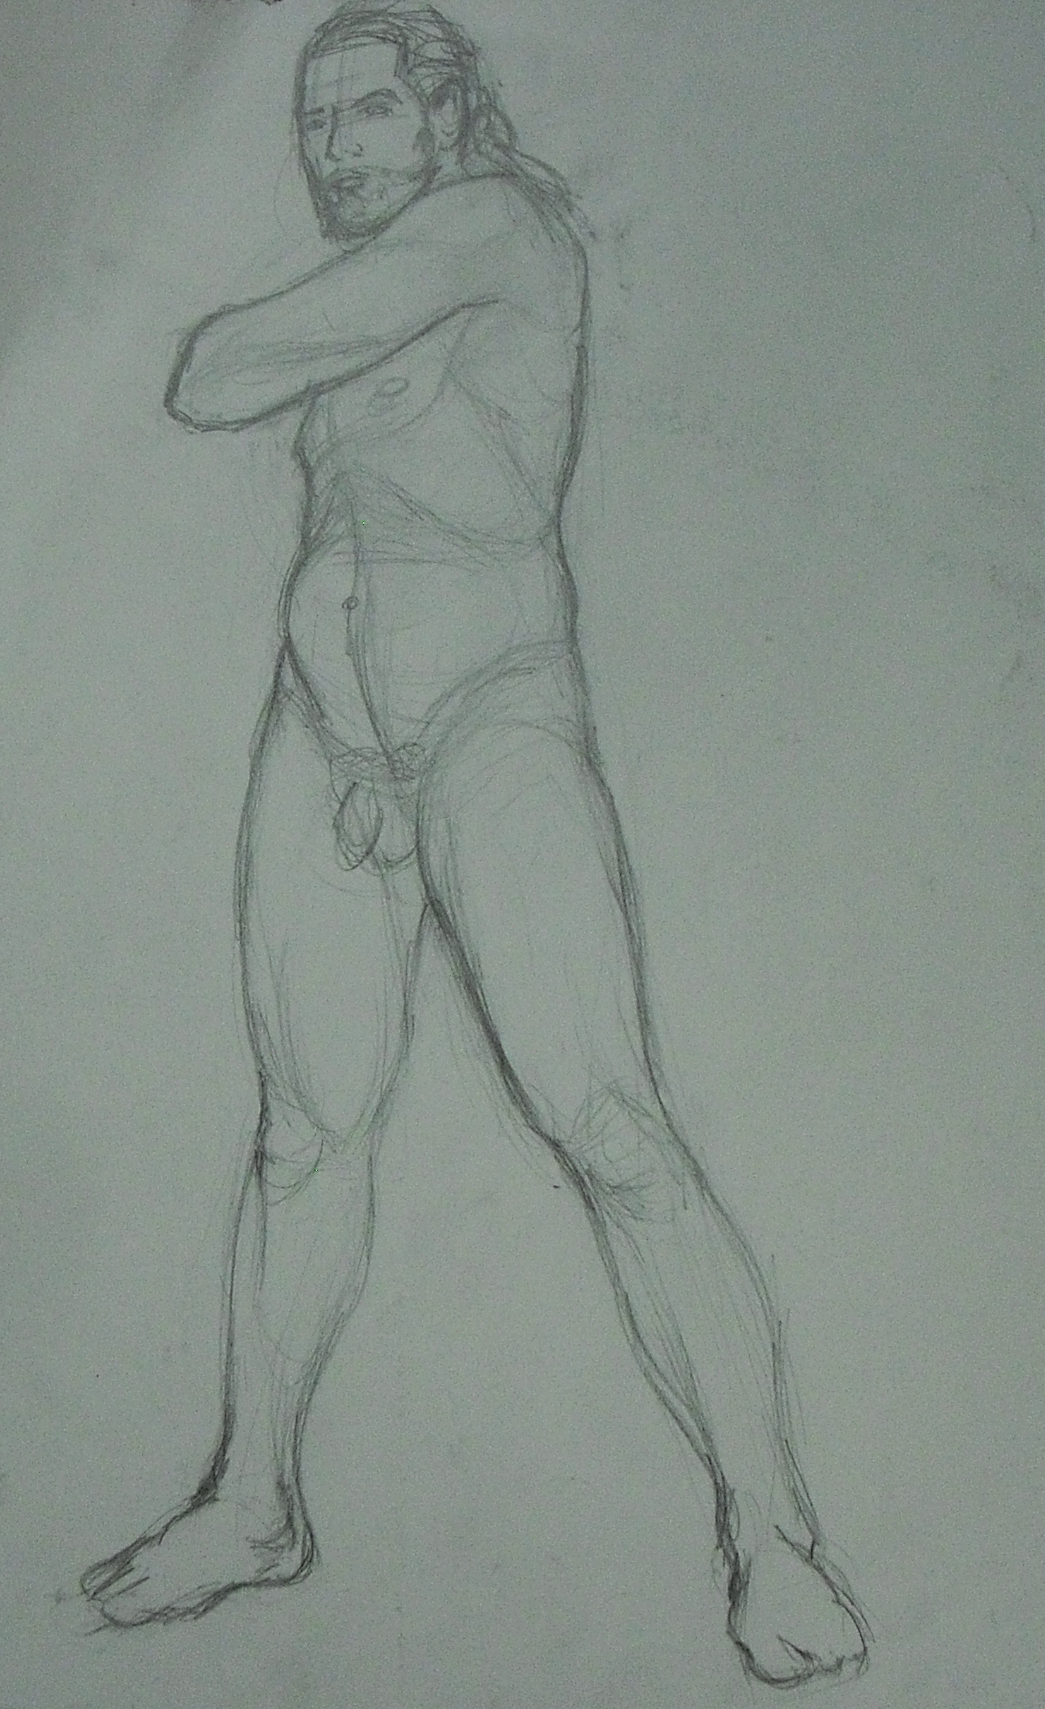
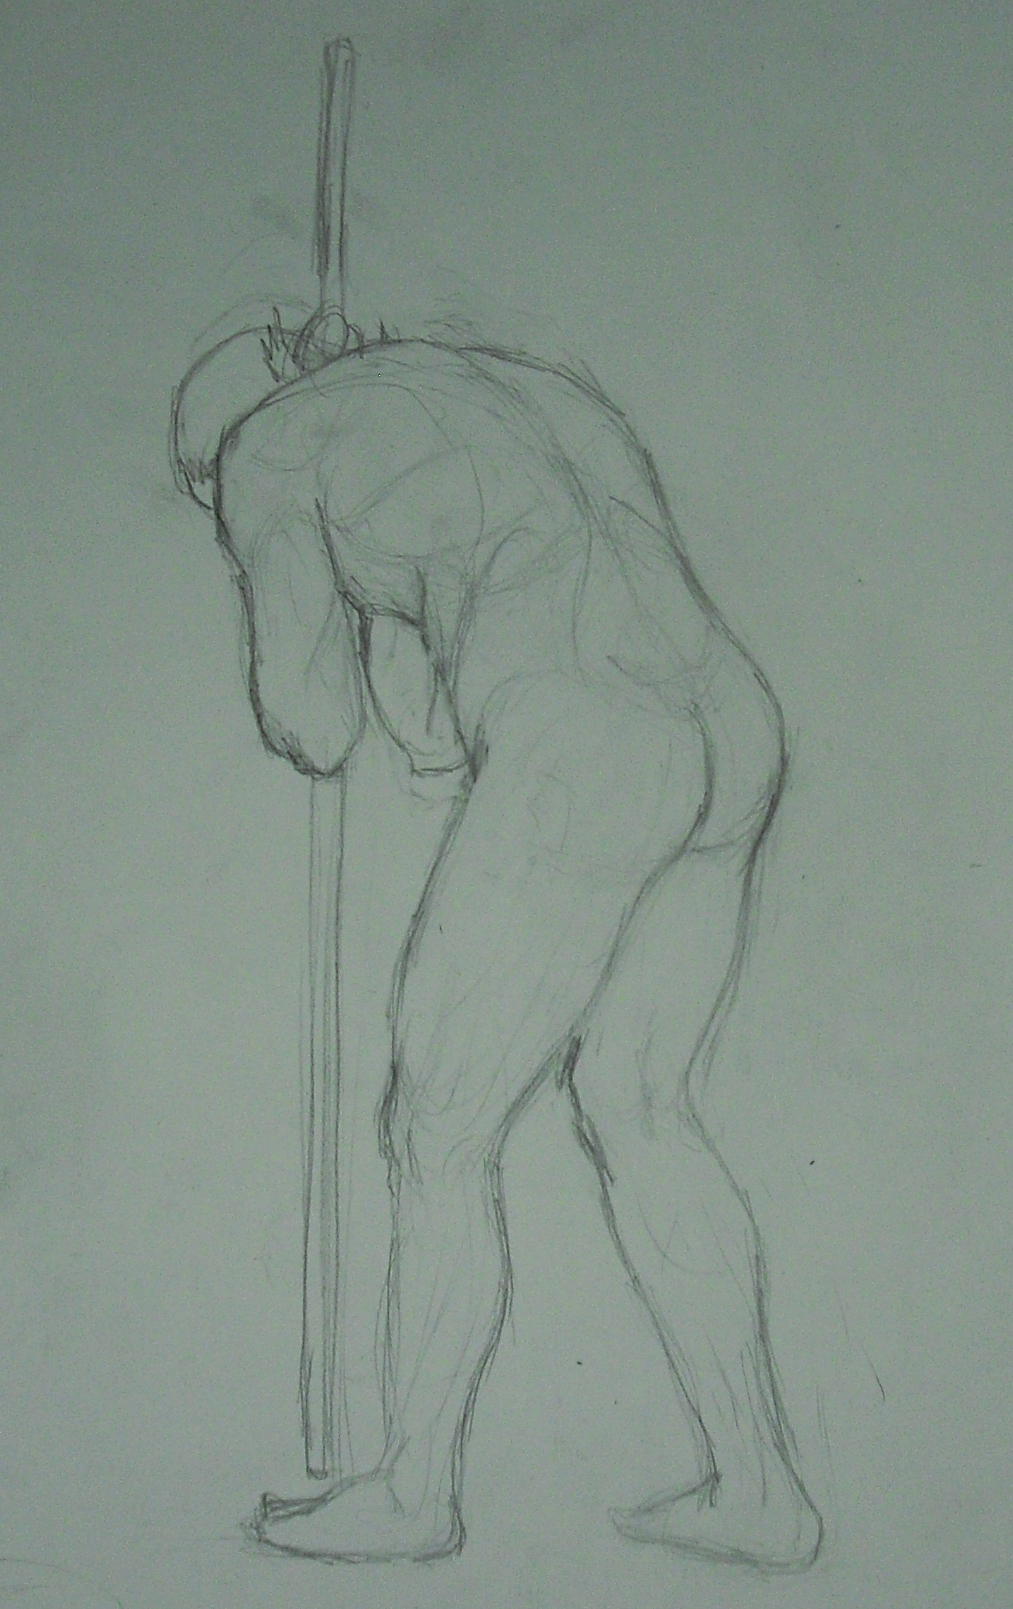
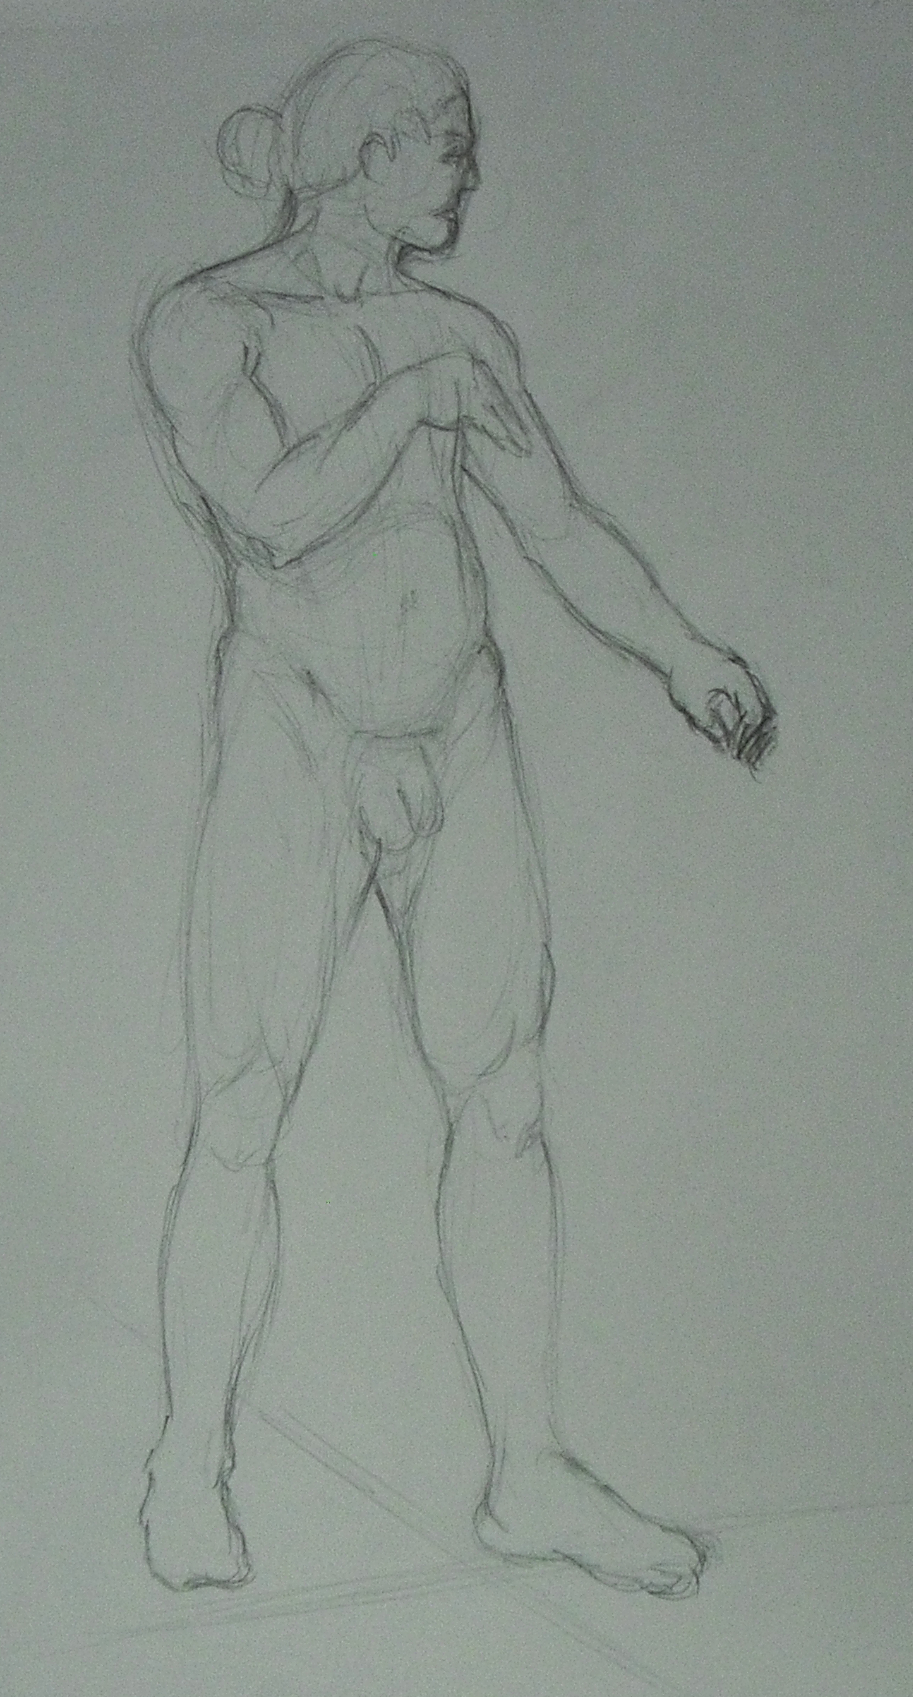
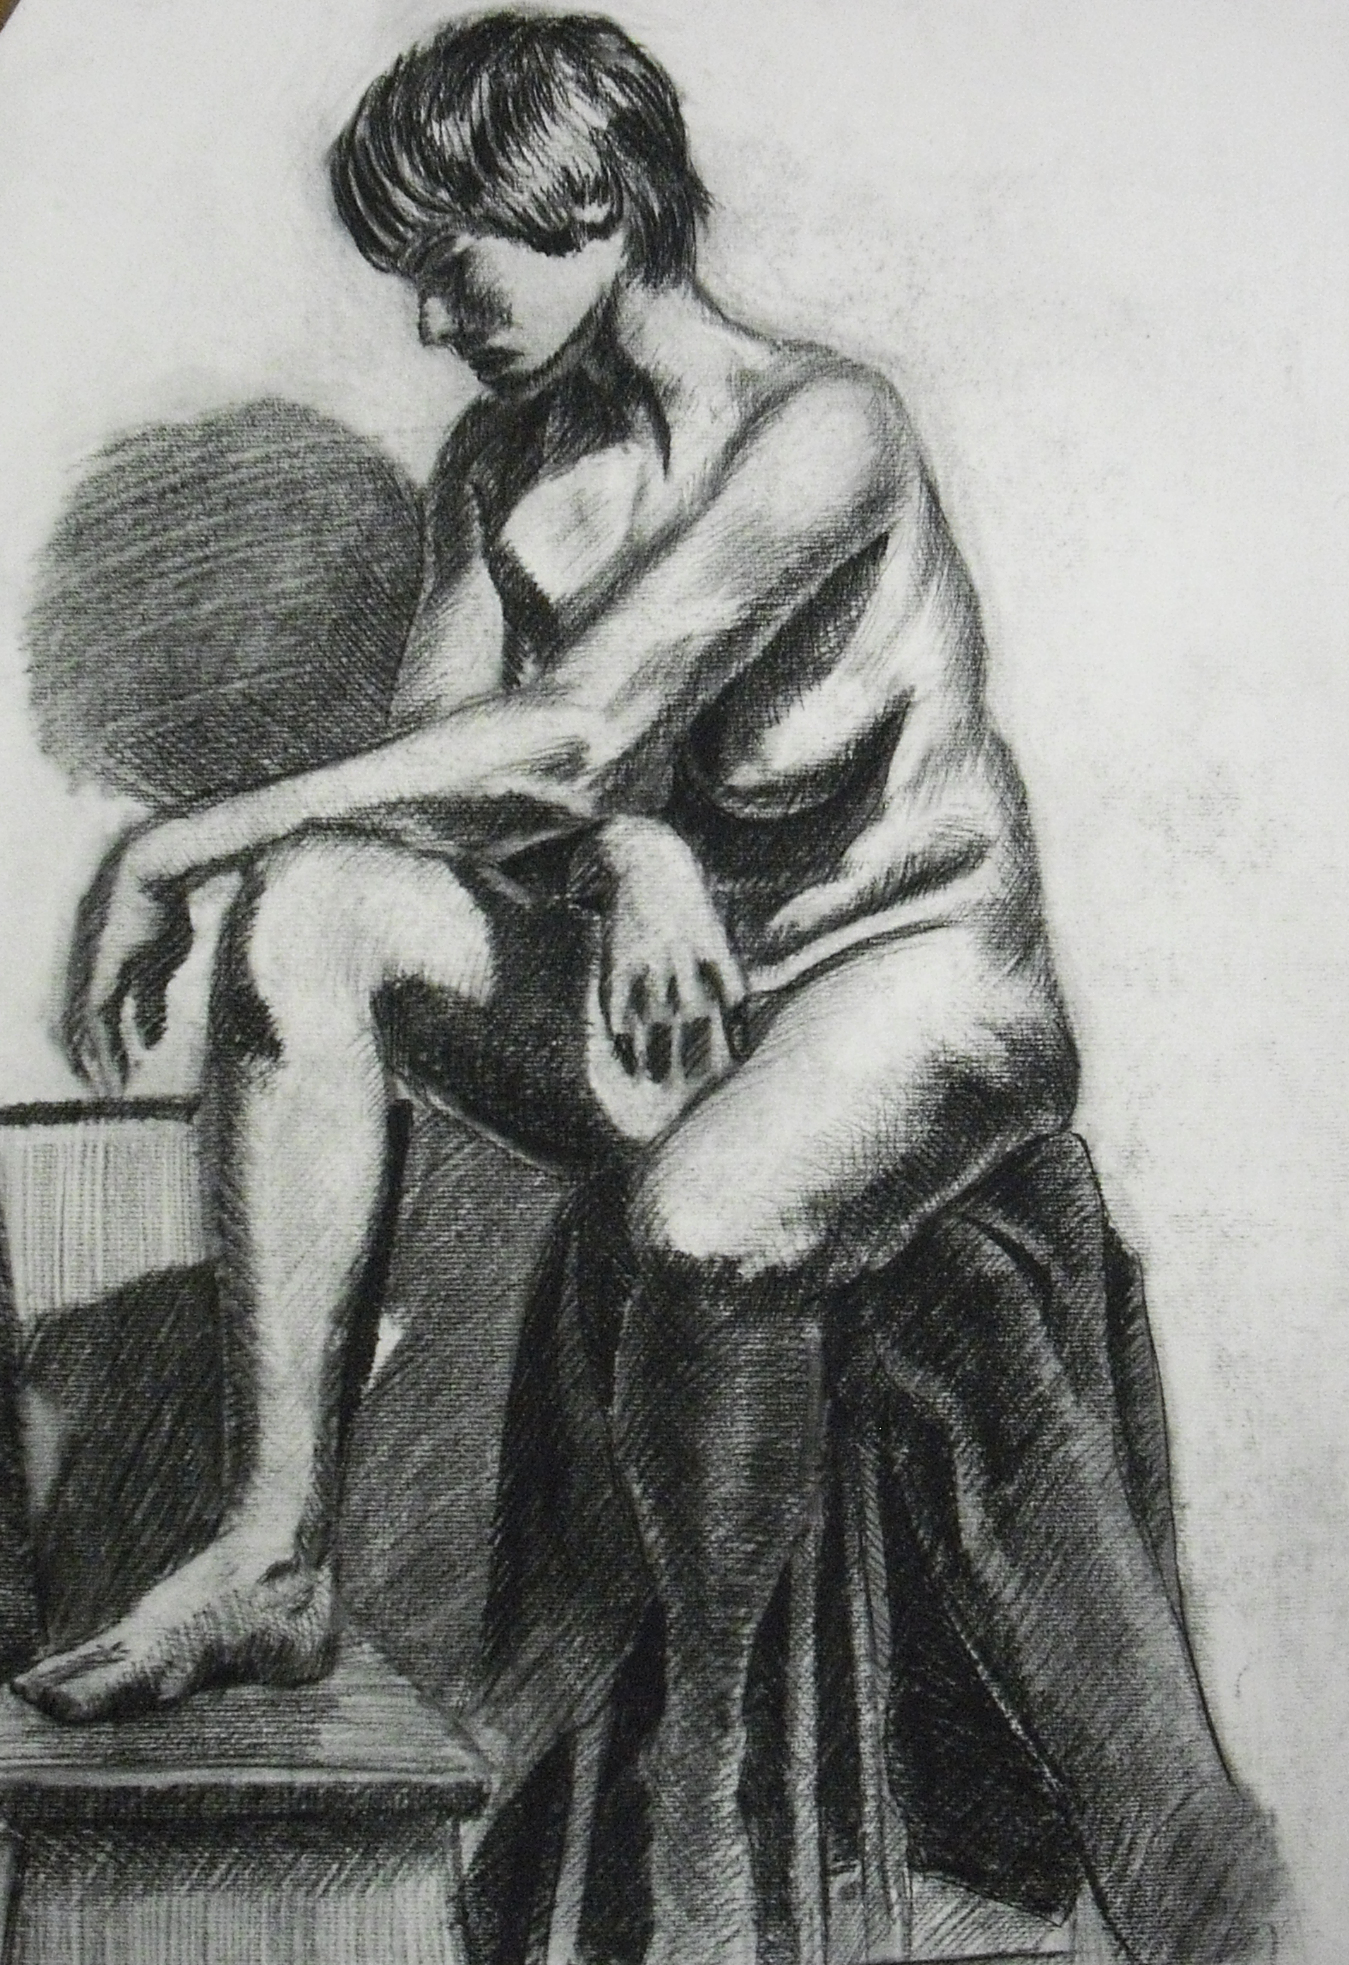
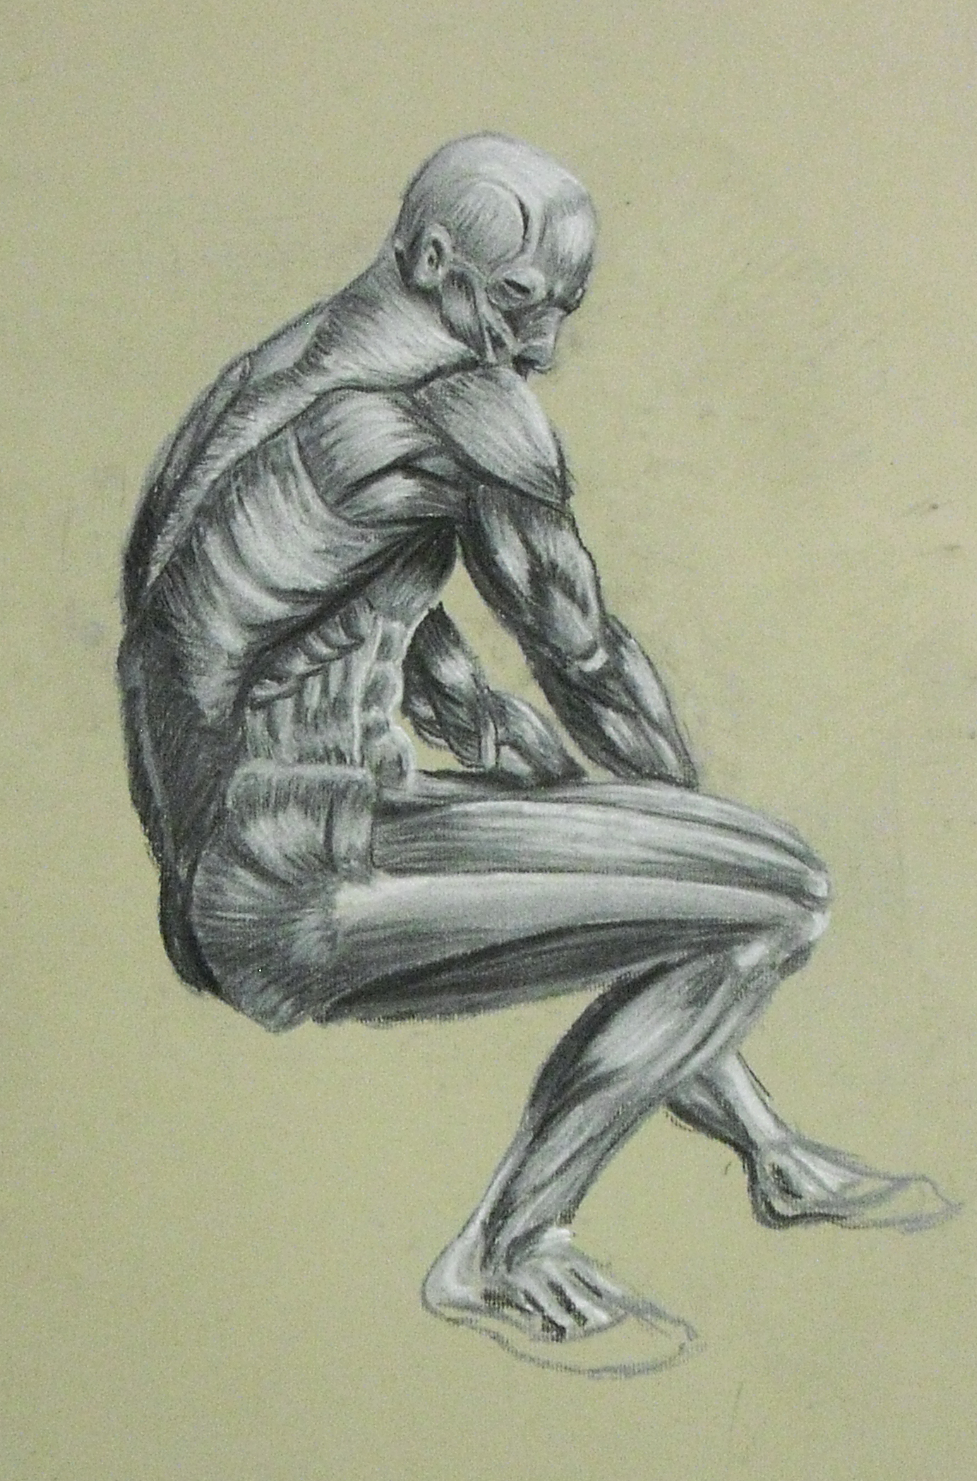
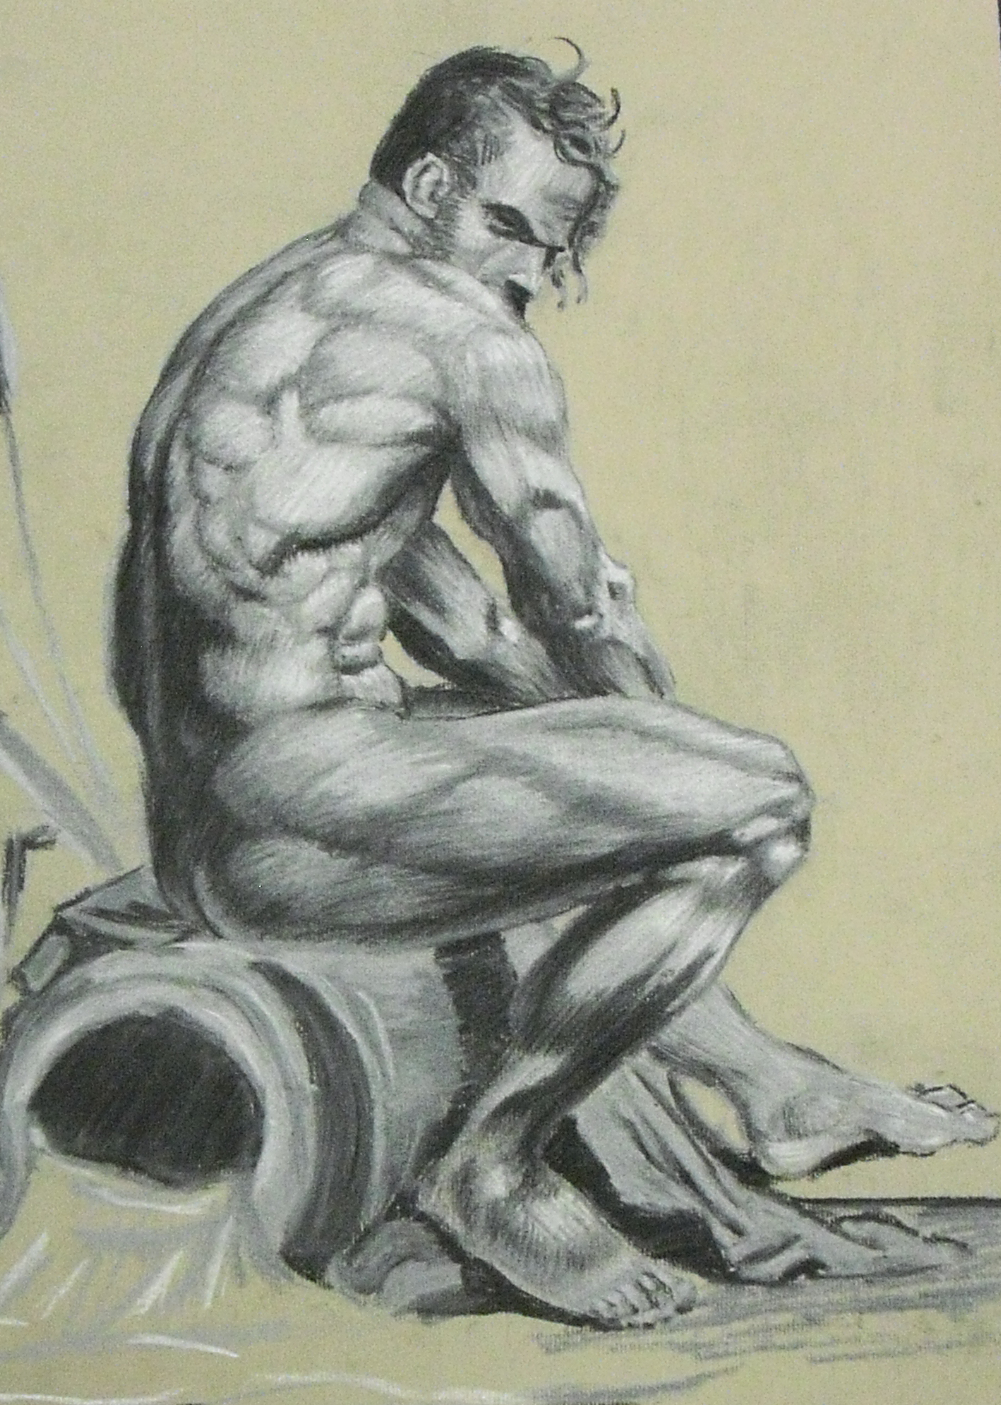
Drawing Anatomy:
Few things will improve your drawing skills more than drawing anatomy.
- Forces Accuracy
- Teaches drawing inside out
- The foundation of many designs are anatomical
- Non-technological skill that is applicable to many media
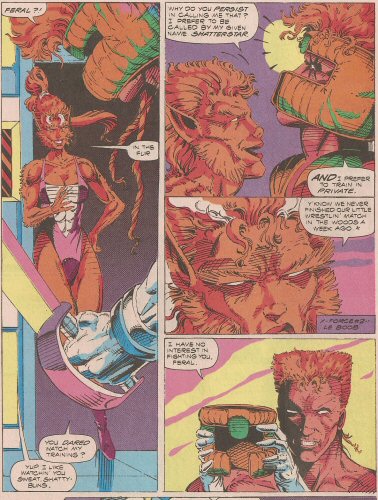
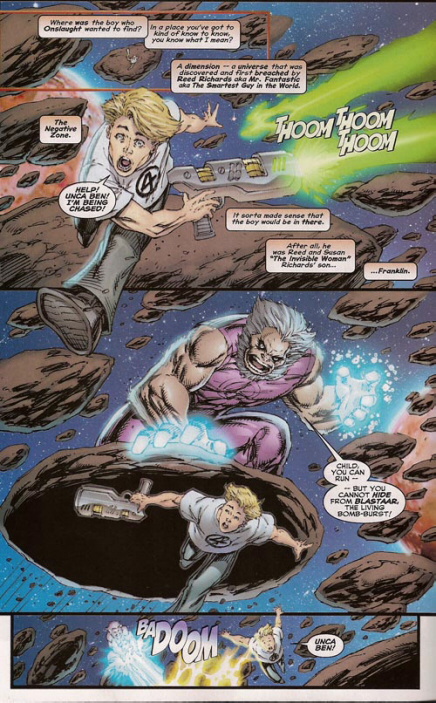
Practical Example: Rob Liefeld
You can view a fun (and ridiculous) article on his work here
Human Anatomy
Class Lecture Part 02
Anatomy Drawing Terms:
These are typical description words used to name and describe the various body parts.
- Abduction: Movement of a limb away from the midline.
- Adduction: Movement of a limb towards the midline.
- Anterior: Referring to the front of the form.
- Aponeurosis: Sheet-like tendinous connective tissue, associated with muscle attachment.
- Articulation: Coming together of two bones to make a joint.
- Condyle: A bony eminence which articulates with another bone.
- Costal: Pertaining to the ribs.
- Distal: A relative term, meaning that part of a limb farthest from its root.
- Dorsal: Pertaining to the back of the form.
- Extension: Straightening of a joint.
- Flexion: Bending of a joint.
- Foramen: hole in bone through which nerves and blood vessels pass.
- Fossa: Depression or groove in bone.
- Insertion: Attachment of muscle to bone or cartilage, usually at the more movable end.
- Lateral: Referring to the side of the body.
- Ligament: Tough, non-contractile tissue which connects bone to bone.
- Medial: Referring to the centerline of the body.
- Origin: Attachment of muscle to bone or cartilage, usually at the less moveable end.
- Palmar: Relating to the palm of the hand.
- Posterior: Pertaining to the back side of the body.
- Process: A bony projection.
- Pronation: Pertaining to a position; with the dorsal surface facing upwards.
- Proximal: A relative term, meaning that part of the limb closest to its root.
- Ramus: A flattened plate-like projection of bone.
- Subcutaneous: Directly beneath the skin surface; affecting the surface form.
- Supination: Pertaining to position; with the anterior or palmar surface facing upwards.
- Tendon: Tough, non-contractile tissue which connects muscle to bone.
- Tuberosity: A rough projection of bone, usually association with muscle attachment.
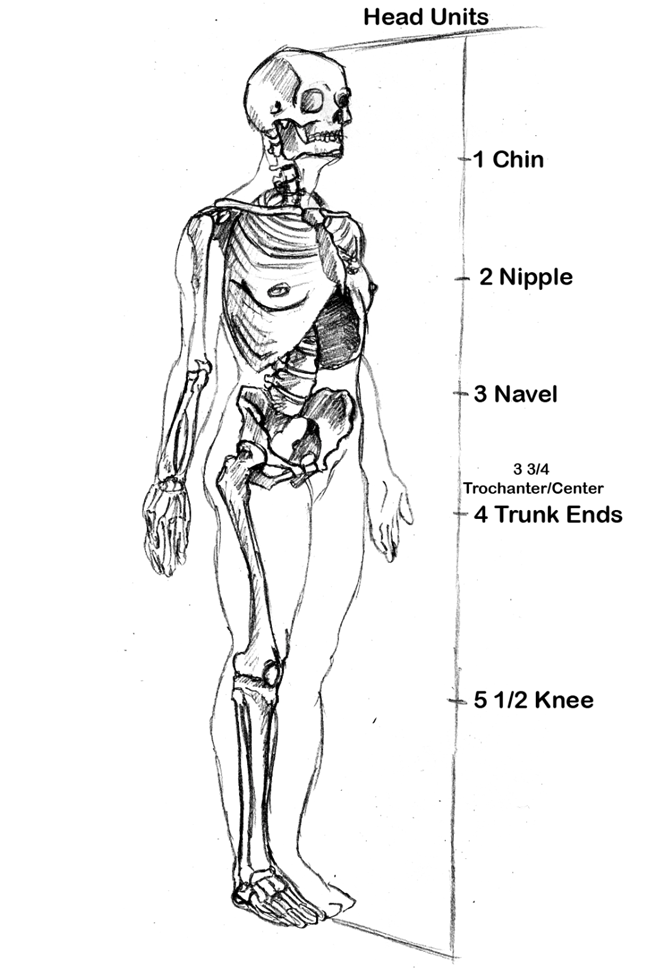
Measurements:
The head and trunk together is 4 heads.
From the bottom of the foot to the head of the femur is 4 heads.
The trunk and legs overlap by 1/2 head totaling 7 1/2 heads.
The great trochanter is halfway down the figure.
Across the shoulders is 2 heads long.
The Femur is 2 heads long.
From the knee joint to the bottom of the foot is 2 heads.
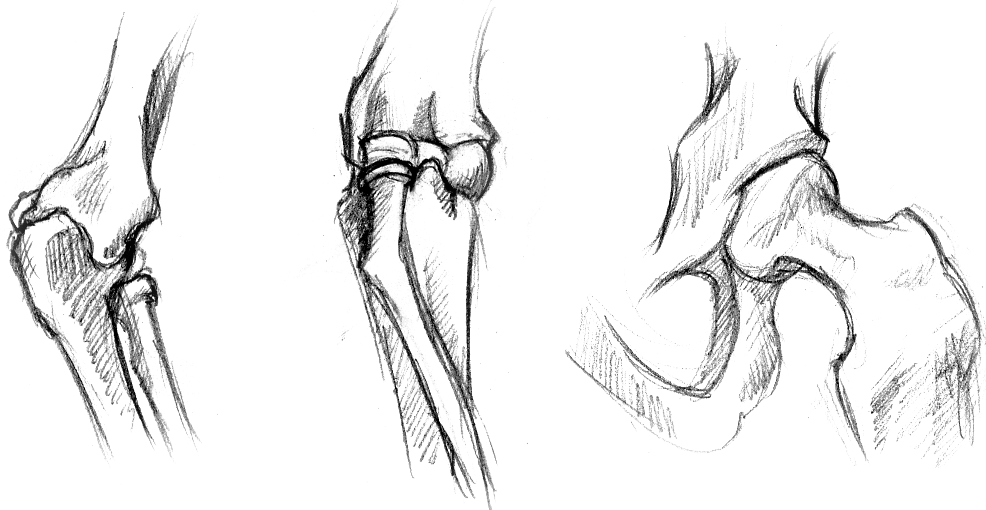
Types of Joints:
Immovable:
- Sutures: Interlocking dovetail-like joints
- Cartilaginous: Adhesion by means of cartilage

Slightly Movable:
- Fibro-cartilaginous: Spongy cushion between bones
Freely Movable:
- Hinge: Movement on transverse axis only
- Pivot: Cylindrical form moving on its vertical axis
- Ball and Socket: Radial movement, spherical head set into a cup
Hinge = humerus to ulna, Pivot = radius to ulna, Ball and Socket = femur to pelvis
- Plane: Gliding face to face with retaining ligaments
- Saddle: Increases extent of hinge movement
- Ellipsoid: Modified ball and socket
Plane = carpals to carpals, Saddle = thumb metatarsal to carpals, Ellipsoid = carpals to ulna/radius
Human Skeleton
Axial Skeleton:
The axial skeleton is more or less the trunk of the person (skull, spine, rib-cage).
Skull:
- Bones:
- Maxilla
- Mandible
- Frontal
- Parietal
- Occipital
- Temporal
- Zygomatic
- Nasal
- Lacrimal
- Sphenoid
- Ethmoid
- Features:
- Mastoid Process
- Occipital Protuberance
- Zygomatic Arch
- Auditory Canal
- Mental Protuberance
Info:
The skull has 22 bones; the only ones I am concerned that you know are the mandible, maxilla, and cranium (the rest).
I would also like you to know the following features: Mastoid Process, Occipital Protuberance, Zygomatic Arch, and Auditory Canal.
Tips:
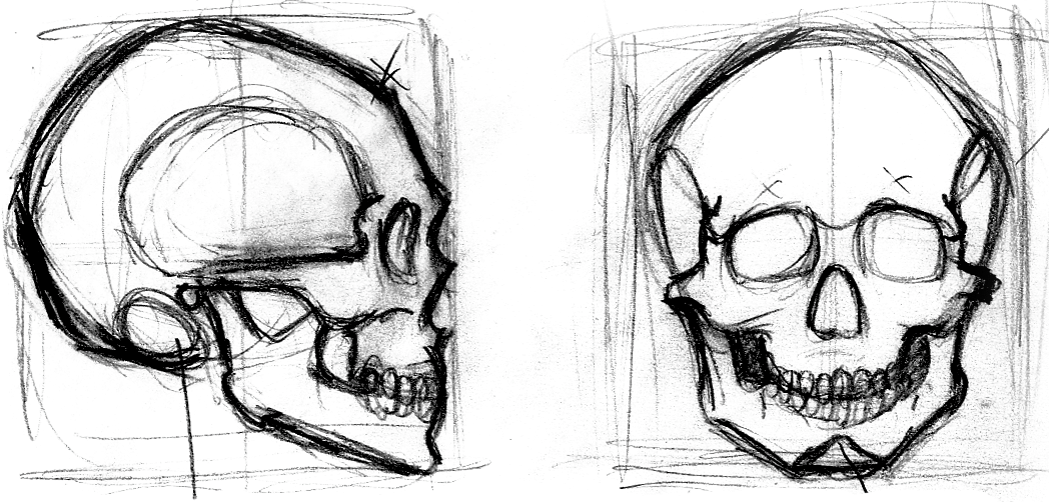
You were probably told that the skull is an egg shape, well it’s not! There are no perfect circles in the human body.
It is best to picture the skull in a sort of box (1h x 7/8d x 3/4w). Split the box in half to fine the eye-line and auditory canal.
Be aware of eminences; frontal and parietal.
Clearly define the ramus of the mandible leading into the auditory canal.
The Front of the skull is flat.
The face is five eye widths wide. Eyes are one width from the outside and one width from each other.
The nose lies 1/3 down from the mid-line. The mouth lies 2/3 down from the mid-line.
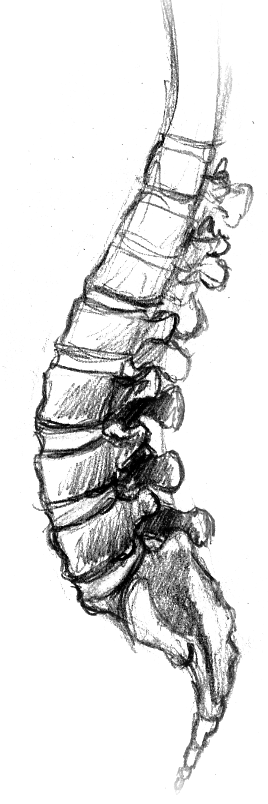
Vertebral Column:
- 7 Cervical:
- C1: Atlas
- C2: Axis
- C7: Vertebra Prominens
- 12 Thoracic
- 5 Lumbar
- Sacrum
- 5 Fused Vertebrae
- Coccyx
- 3-5 Vestigial
Vertebral Coloumn
by Ebers
on Sketchfab
Info:
All I would like you to know is that there are 7 cervical vertebrae, 12 thoracic, and 5 Lumbar.
As artists the 7th cervical vertebrae and spinous processes are visible subcutaneously.
Tips:
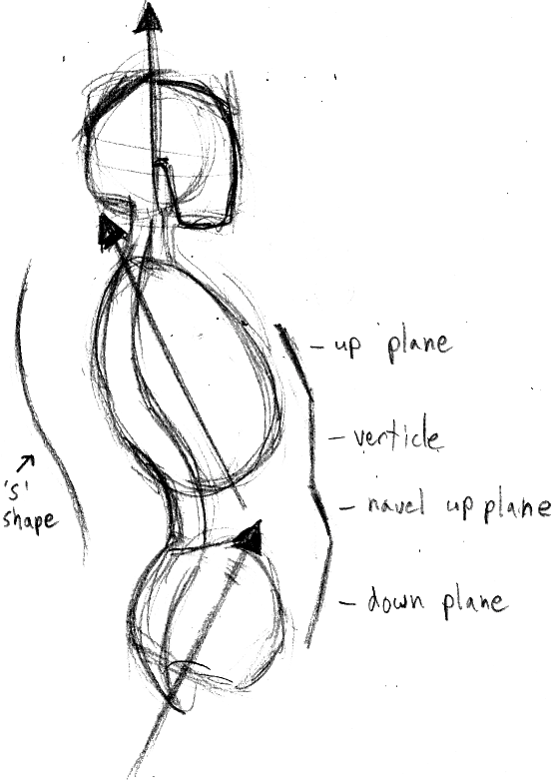
Take note of the ‘S’ shape in the spine, it is not straight
Notice the varying axis’. These create a lovely force in the form.
Thorax:
- 7 True Ribs
- 5 False Ribs
- 2 Floating Ribs
- Sternum
- Manubrium
- Gladiolus
- Xiphoid Process
Info:
There are 24 ribs. Two for each thoracic vertebrae.
Tips:
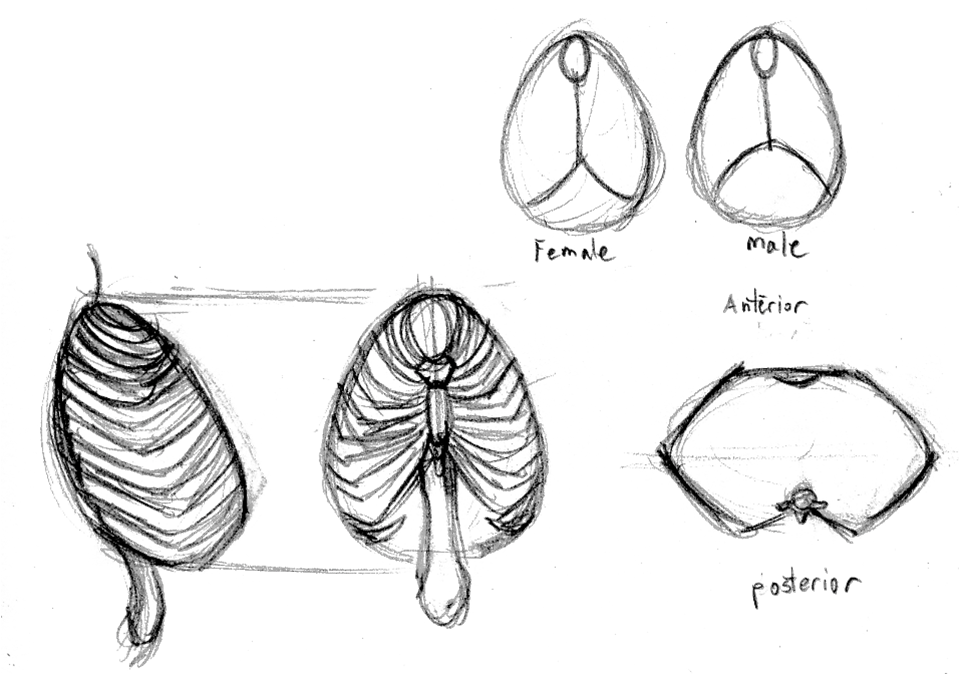
It is best to draw the ribs as a simple egg shape (do not worry about individual ribs.
Notice that the ribs act like a collar and the irregular shape from the top view.
The ribcage is 1 3/4h x 1 1/4w x 3/4d (heads).
The costal arch is always present, sometimes as a protuberance, sometimes as a depression.
Pelvic Girdle:
- Ilium
- Ischium
- Pubic Bone
- Pubic Symphysis
- Acetabulum
- Foramen obturator
- Sacrum
- coccyx
Info:
Only the sacrum and coccyx are actually part of the axial skeleton.
Note the illium are the hips, the ischium are the butt and the pubic bone lies in front.
Pelvic skeleton
by Ebers
on Sketchfab
Tips:
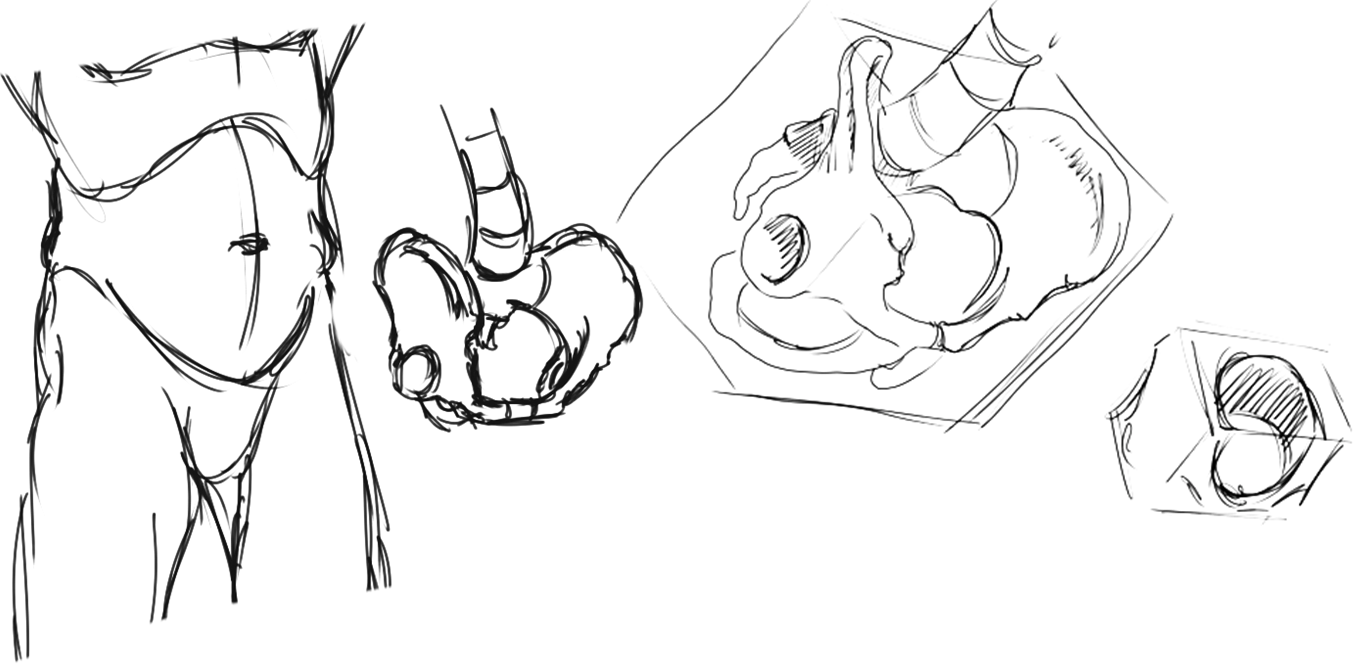
I try to draw a box with a hole in it like a bucket
Draw a ¾ view.
Most actions originate from the hips so it is very important to figure out where they are. You should be able to spot the anterior superior iliac spines (just under the inguinal furrow). You should also be able to landmark the posterior iliac spines.
The pelvis is 1h x 1 1/4h x 3/4d (heads).
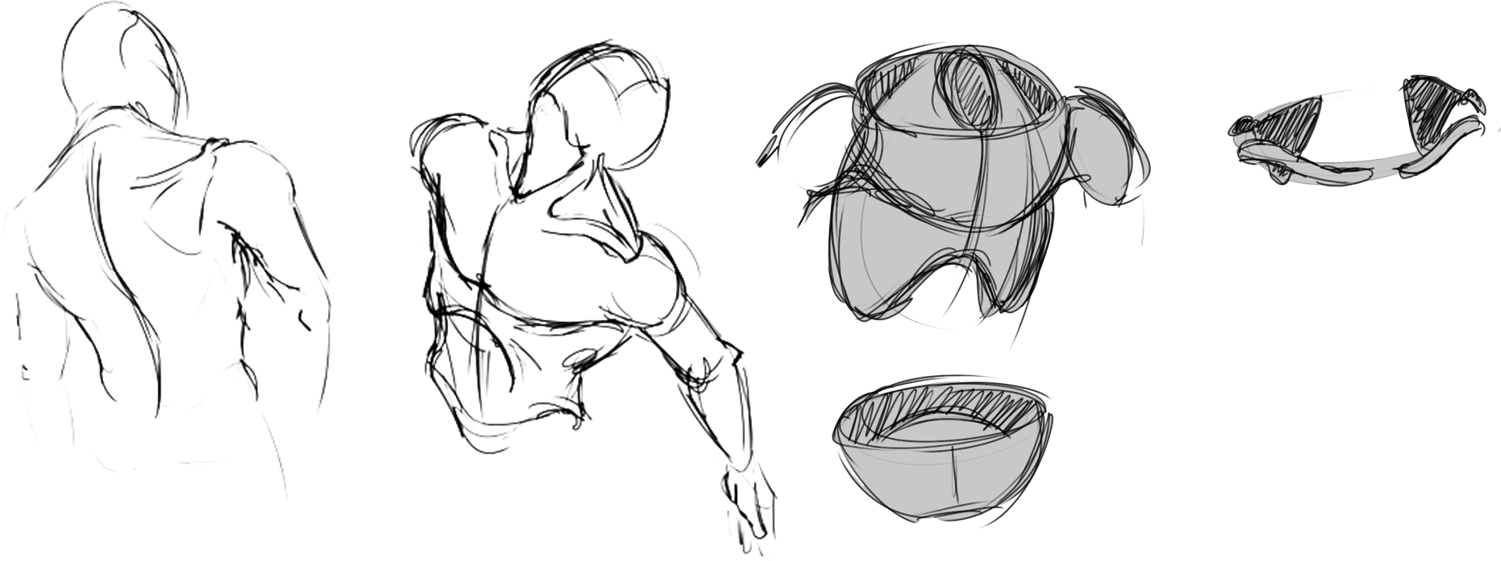
Shoulder Girdle:
- Clavicle
- Scapula:
- Spine
- Acromion Process
- Caracoid Process
- Glenoid Fossa
Info:
This is also not technically part of the axial skeleton.
Acromion is the process on the posterior side. Caracoid is on the anterior.
Draw the posterior view of the scapula and anterior view of the clavicle.
Note the scapula with its acromion process, and spine. Also note the clavicle.
Technically the shoulder girdle is just the area encasing each humerus.
Tips:
The shoulders are one of the most common areas students mess up on. Imagine a sort of coffee cup resting on top of the ribcage. This will make up, the pectorals, as well as the clavicle and scapula.
The clavicle is an ‘S’ shape. The scapula is a downwards triangle.
Notice the clavicle and scapula come together to support the upper arm.
Appendicular Skeleton:
The appendicular skeleton consists of the arms and legs (also the pelvis).
Humerus:
- Humeral Head
- Surgical Neck
- Anatomical Neck
- Medial Epicondyle
- Lateral Epicondyle
- Deltoid Tuberosity
- Capitellum
- Trochlea
- Greater Tuberosity
- Lesser Tuberosity
Ulna:
- Olecranon Process
- Ulnar Styloid Process
Radius
- Radial Tuberosity
- Radial Styloid Process
Upper limb
by Ebers
on Sketchfab
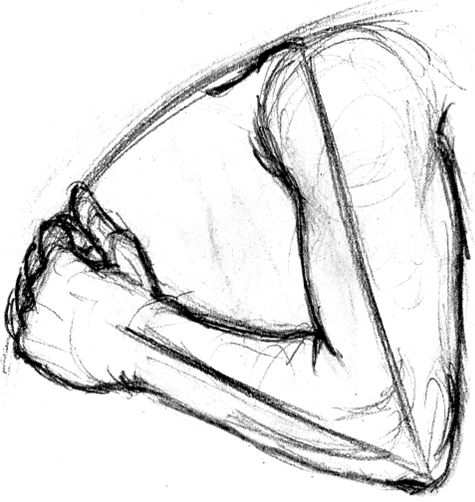
Tips:
You need to have some strong lines in your limbs (not sloppy dough).
Be aware of the olecranon process and styloid process (primarily on ulna).
notice that the ulna makes the ridge on the forearm and radius rotates around the ulna.
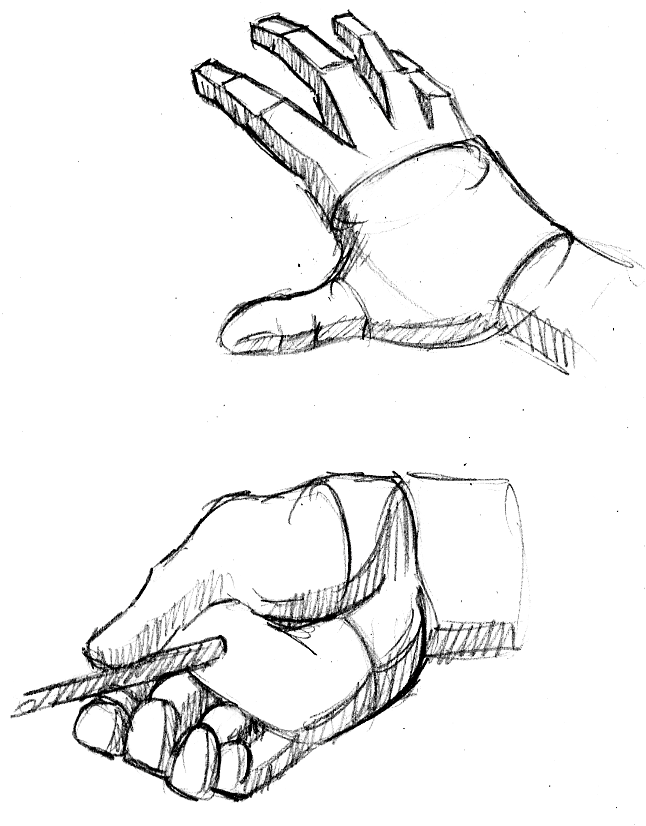
Carpals
Metacarpals
Phalanges
Femur:
- Femur HeadFemur Neck
- Greater Trochanter
- Lesser Trochanter
- Medial Epicondyle
- Lateral Epicondyle
Patella
Tibia:
- Tibial Tuberosity
- Medial Malleolus
Fibula
- Lateral Malleolus
Lower Limb
by Ebers
on Sketchfab
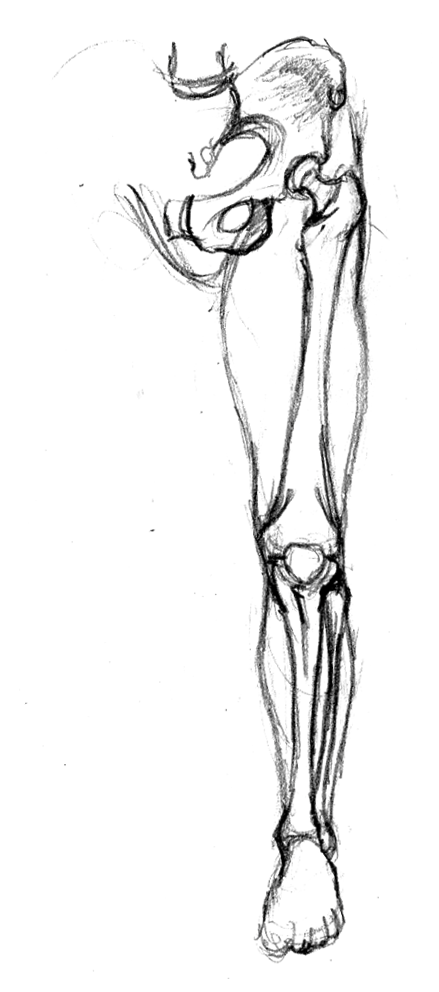
Tips:
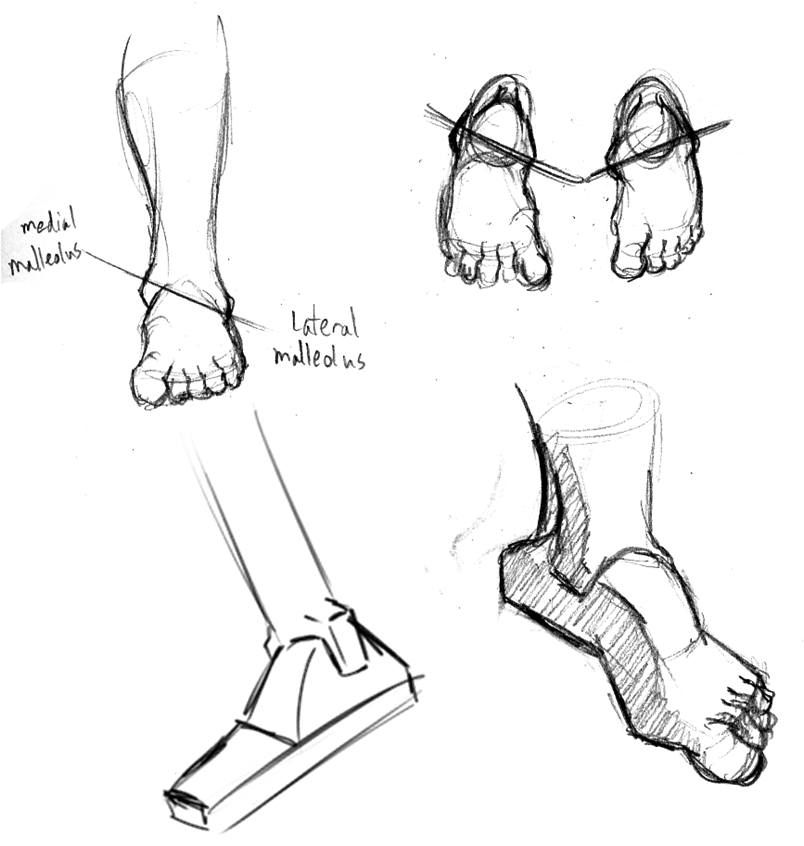
The tibia and fibula, as well as the, tibial tuberosity, medial and lateral malleolus are the most significant visual components of the leg.
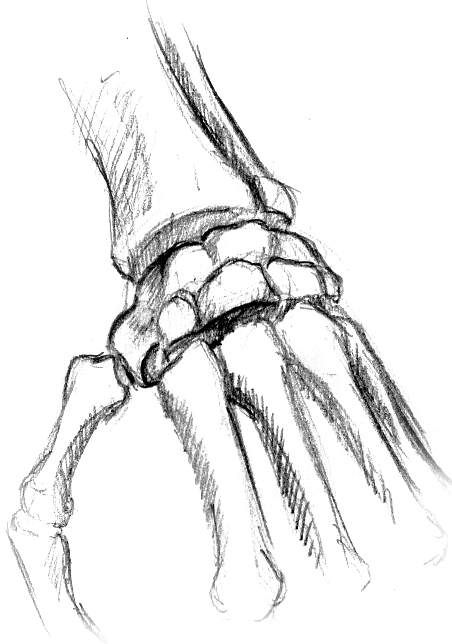
Talus
Calcaneus
Tarsals
Metatarsals
Phalanges
Foot Bones
by Ebers
on Sketchfab
Tips:
Notice how the malleoli are offset.
Best to draw the foot based planes.
The foot is 1 1/8 long (heads).
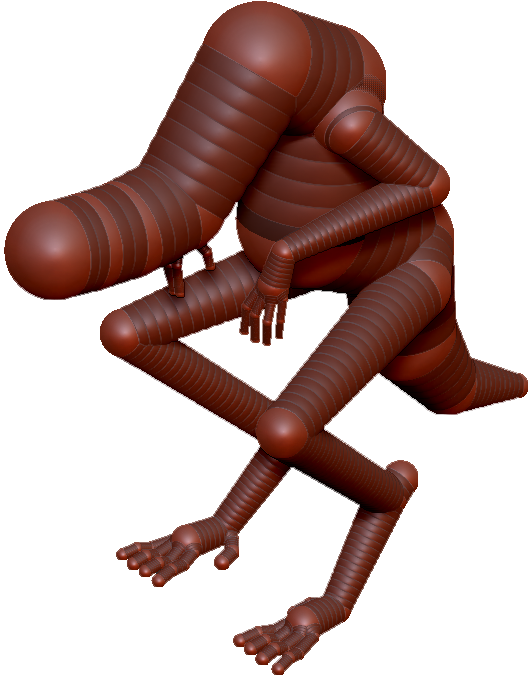
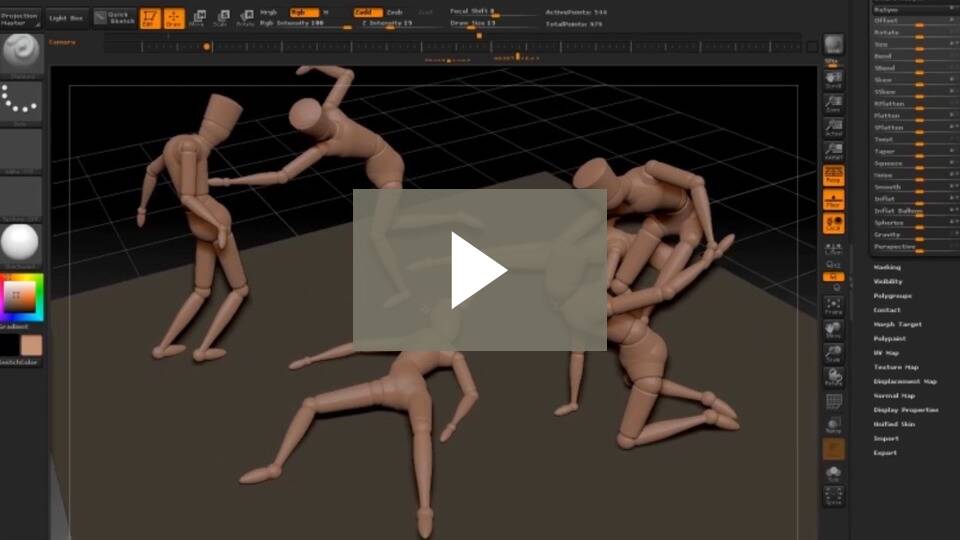
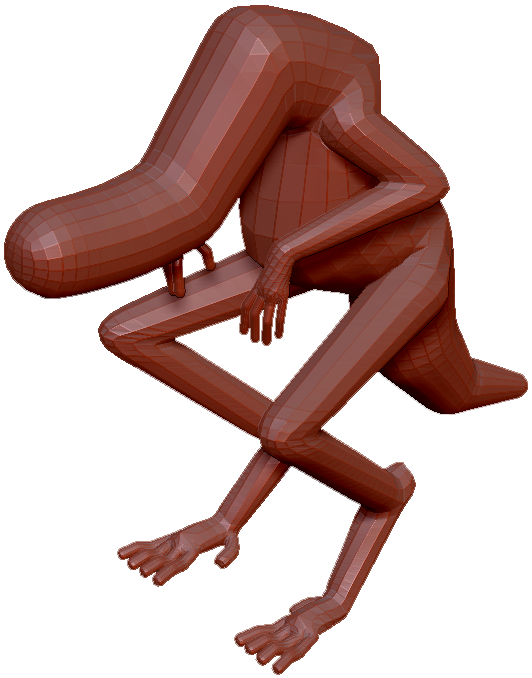
Mesh Generation: ZSpheres
ZSpheres:
Zbrush as a tool that allows you to build out an armature and then convert it to a base mesh that you may sculpt on. It makes it very fast to rough out a model.
Lab Time
Assignment 02
Human Model
The second assignment is to complete a realistic human model. It is suggested that you use yourself as a reference since you are readily available but is not required. The model should be as accurate and believable as possible. The final product should be something that would be suitable for a triple A game.
For Next Class: Complete the base sculpt
You will be graded on the following:
- Geometry:
- There are no errors in the geometry. Few tris used. Appropriate polycount.
- Topology:
- Gridflow is strong. Topology follows architecture well. Should fully support quality deformation.
- Texturing:
- Well-crafted UV’s and elaborate materials are developed. Painted textures are fully developed with a strong sense of color theory. Fully “fleshed” out details are included.
- Creativity & Craftsmanship:
- Well structured, clean model. Novel, unique design.
Resources:
- You can find the rubric under the Assignments content folder in Blackboard.