
Introduction to 3D Modeling and Animation
Class 05: UV'sTopics
- UV’s
- UV Mapping
- Week 05 Character Model UV Mapping Lab

High five!

…oh right.
UV’s
Definition:
UV’s are a two-dimensional coordinate system that links to the 3D coordinates of a model allowing the transfer of a 2D image onto a 3D model.


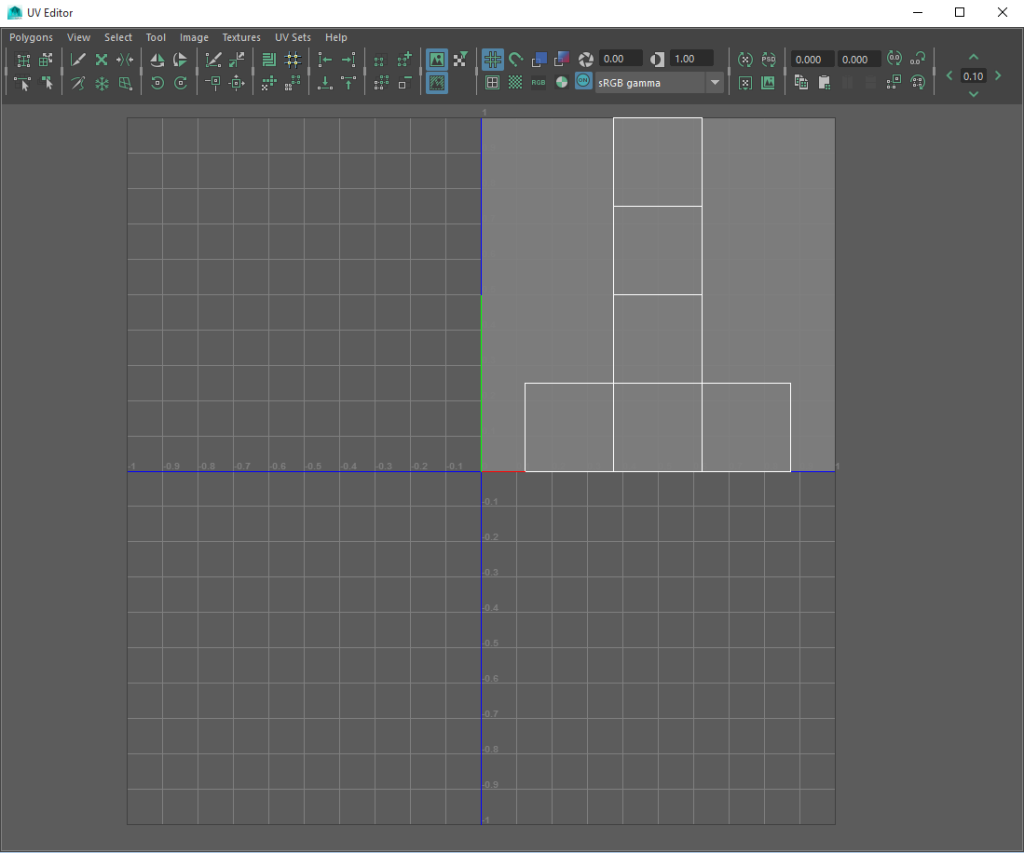
UV Editor:
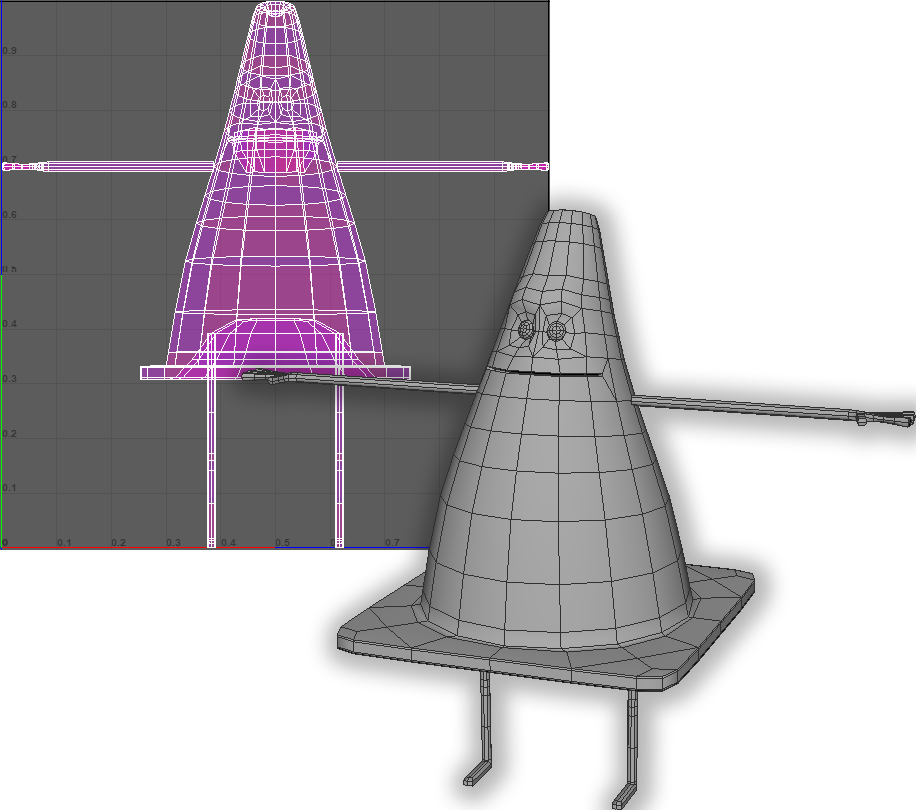
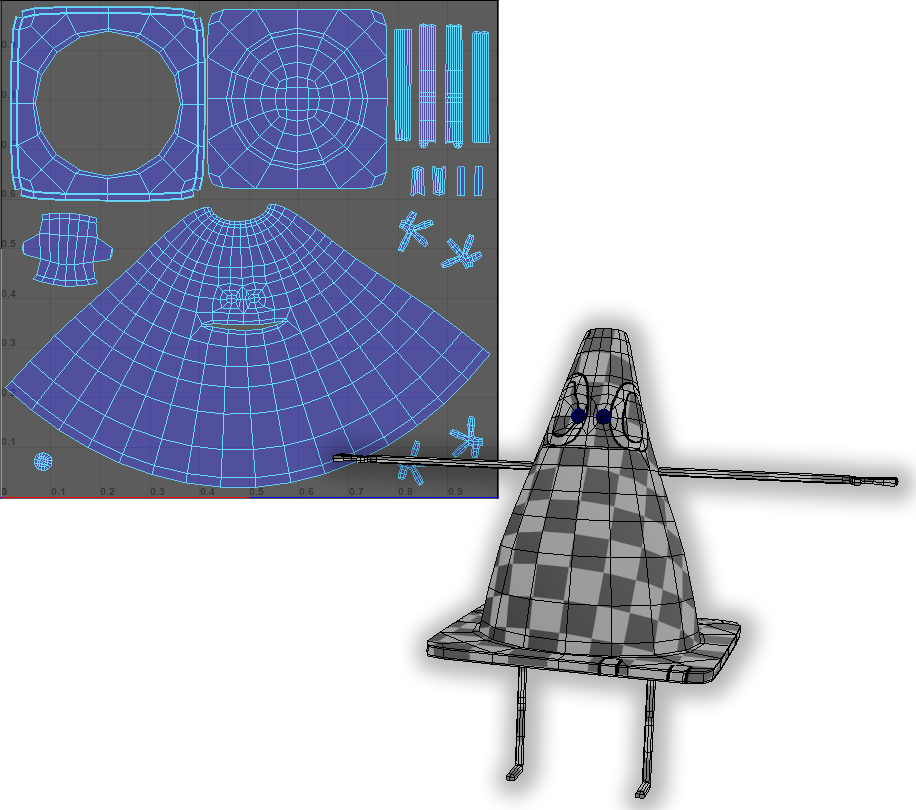
You can see what the 2-dimensional UV’s in the UV Editor below compared to the box model on the right.

UV Mapping
UV Mapping
UV mapping is the process by which you produce, modify, and arrange 2D UV mesh from a 3D form.
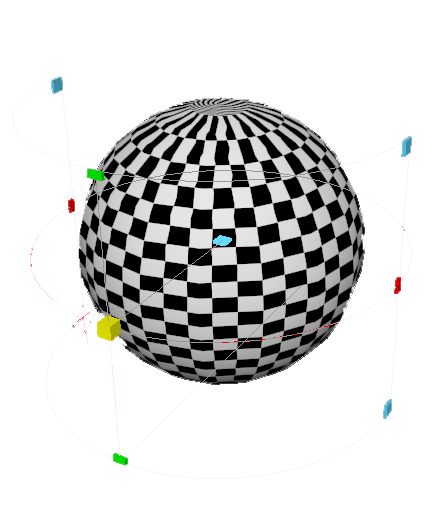
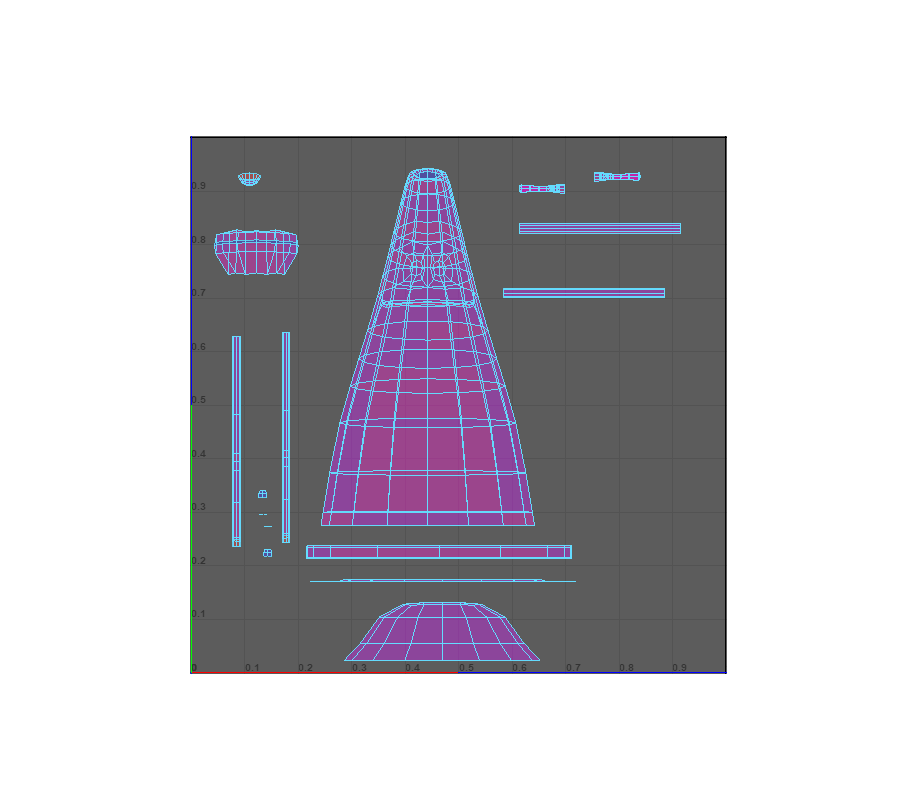
UV Projection:
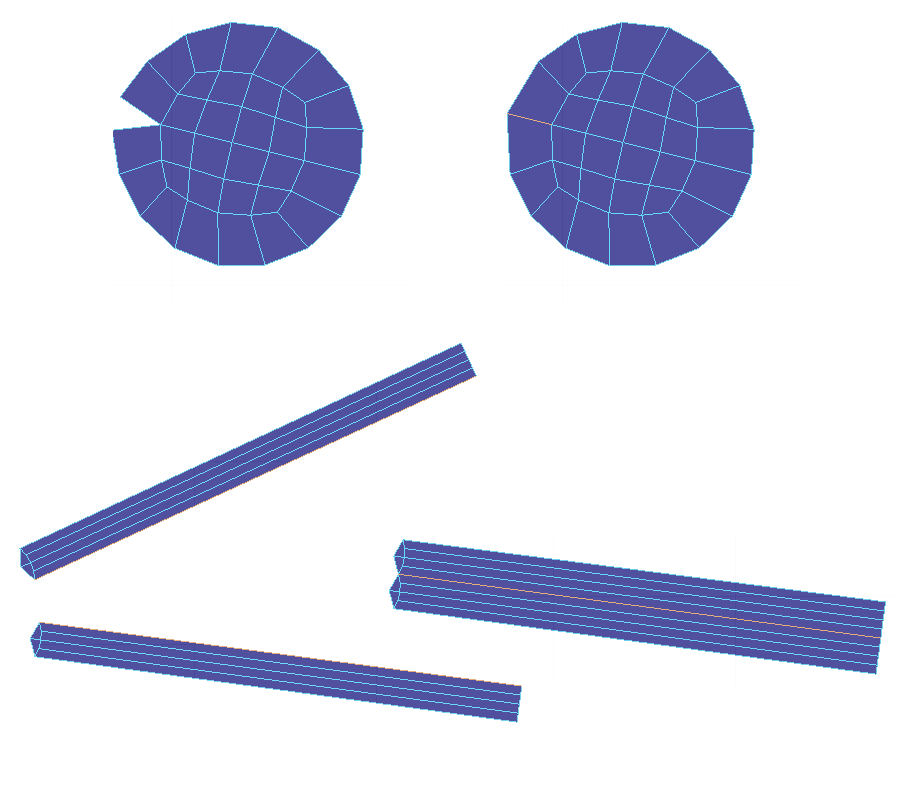
UV projection is the first tool you utilize in order to create your initial UV’s. The result are very rarely good as is. You will almost always have to perform edits. You can see an example of different UV projection methods to the right

planar
cylindrical
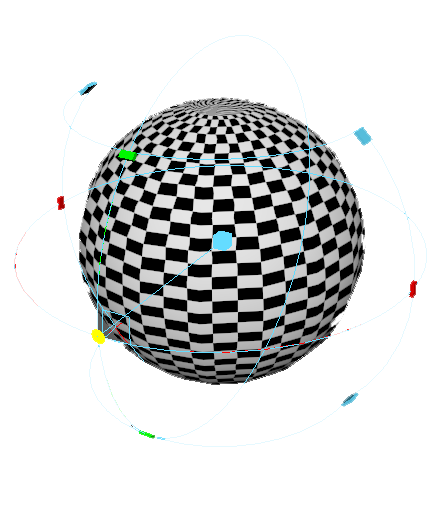
spherical
automatic
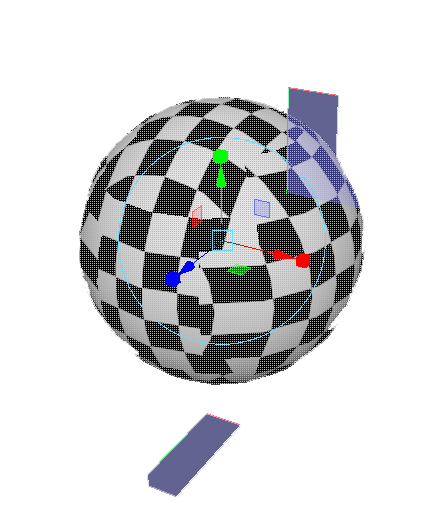
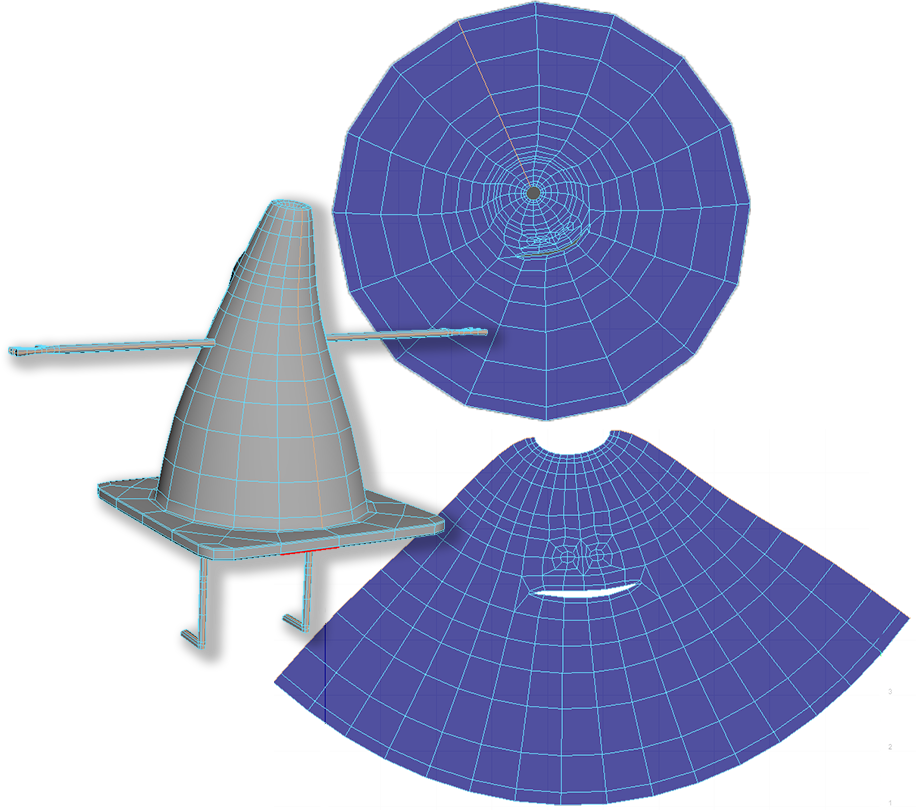
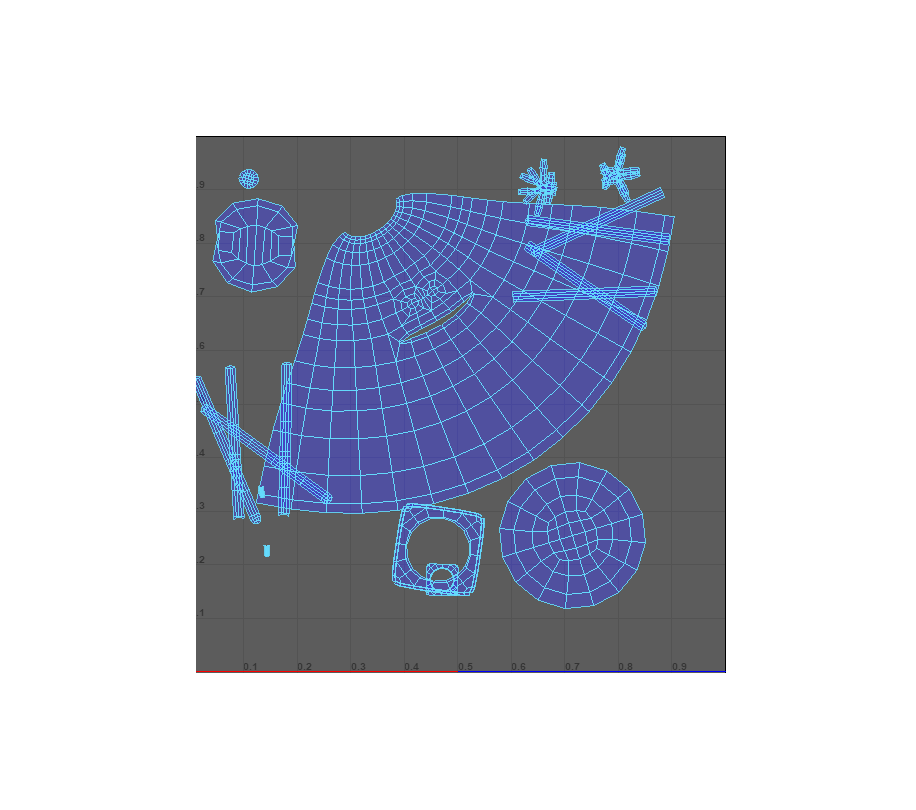
UV Editing
Once the UV’s are created you must cut them where there should be seams and sew them together where there should be. This is very similar to the clothes you are wearing right now. Your clothes started out as flat textile cut into pieces that are sewn together. This process is doing the opposite.

UV Mapping Process
Week 05 Character Model UV Mapping Lab
Week 05 Character Model UV Mapping Lab:
Before you can add color and texture to your model you need to layout its UV’s. Think of it like taking clothing and disassembling it back into flat textile panels. Through the tedious process of projection, cutting & sewing, and positioning of the UV’s you will the entire character prepared for texturing.
You will be graded on the following:
- Cleanup & Conventions
-
The model is centered, history cleaned, all nodes named properly.
-
- UV Projection
-
UV’s are projected onto the model into sections.
-
-
UV Manipulation
-
UV’s have been cut, sewn, and adjusted to create even regular UV patches with well placed seams.
-
-
UV Layout
-
All UV’s lie inside the grid in an organized and consistent way. UV’s utilize the entire grid space effectively.
-
Resources:
- Assignment Video Tutorials
- You may watch these tutorial videos below to help you complete your assignment.
- Assignment Lab Materials
- You may download the images used in lab here: 3D_week05_labMaterials.
Assignment Video Tutorials
Wait! Before you go!
Did you remember to?
- Read through this webpage
- Watch the videos
- Submit Week 05 Character Model UV Mapping Lab on Blackboard
