
Introduction to 3D Modeling and Animation
Class 09: SurfacingTopics
- Materials
- Procedural Texturing
- Seamless Textures
- Week 09 Environment Surface Lab

Class 7…ate… 9
Materials
Definition:
The way an object is seen is determined by a number of factors but the two most important are light and microscopic surface details inherent in its material. The various materials available in Autodesk Maya are built to interact with lights to mimic real-life surfaces.
Material Types:
There are a variety of materials available in Autodesk Maya but these are the basic most commonly used ones.
Anistropic:
This material is meant to imitate surfaces with microscopic grooves. This material is appropriate for brushed metal, discs, feathers, hair, fabrics, etc.
Blinn:
This material is meant to imitate surfaces surfaces that contain a specular (shininess) aspect. This material is appropriate for metallic surfaces, etc.
Lambert:
This material is meant to imitate matte surfaces. This material is appropriate for matte paint, chalk, unpolished surface, etc.
Others:
There are many different surfaces in Maya. Some are for very specific things such as water, hair, toon shading, etc.
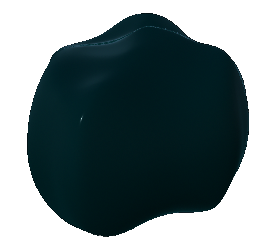
ocean shader applied to a sphere
Material Attributes:
Each material has a variety of attributes that may be adjust so to create a variety of looks. These are the most common:
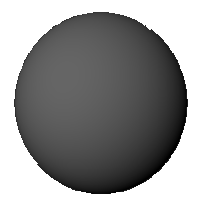
Color:
This controls the hue of the surface obviously.
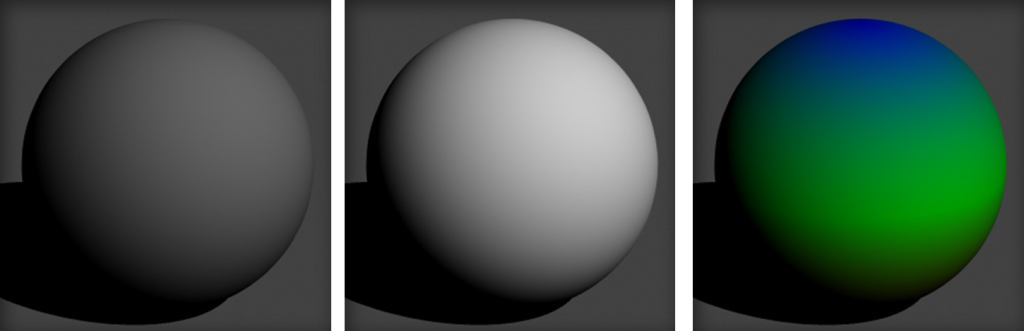
Default Grey, Flat White, Blue-Green Ramp
Transparency:
This controls the opacity of the surface. White is completely see-through, black is completely opaque.
30% (dark grey), 70% (light grey), 100% (white), Checkered Pattern
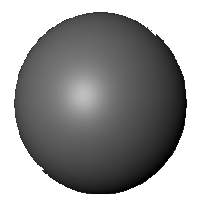
Ambient Color:
Ambient color adds extra color to the surface. This is particular sensitive to ambient lights and creates a brighter surface.
No Ambient, Some Ambient
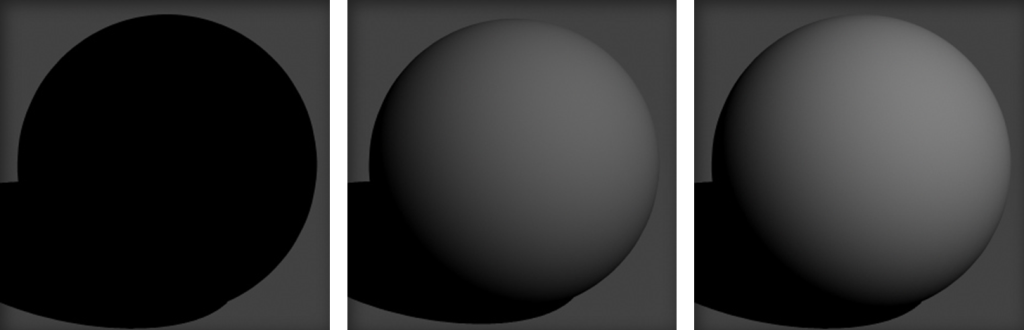
Incandescence:
Incancescence superficially adds white to the surface and is not affected by lights in the scene. This creates a light-emitting surface.
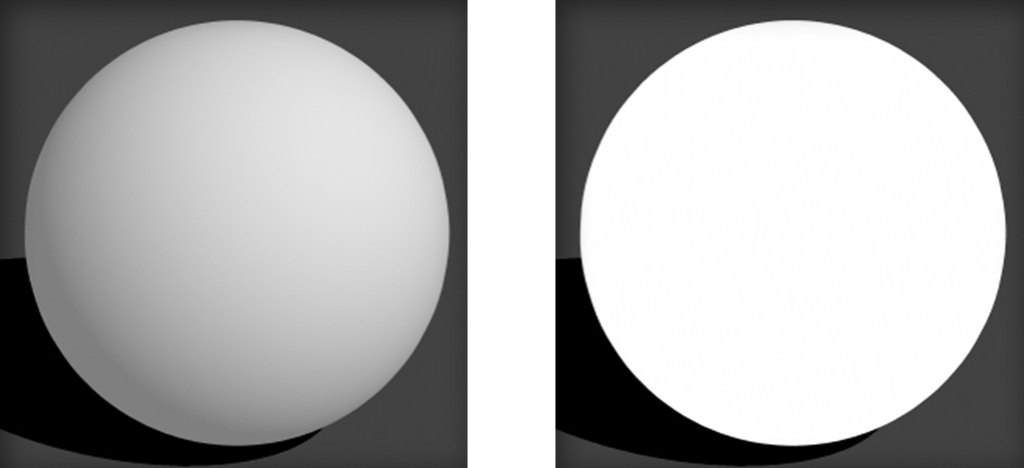
50% Incandescence, 100% Incandescence
Bump Mapping:
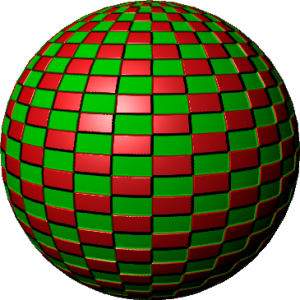
Bump mapping is used to affect the surface normal imitating a three-dimensional “bumpiness” that is interacts with the lights in the scene using a black and white image.

Grid Pattern, Fractal Pattern
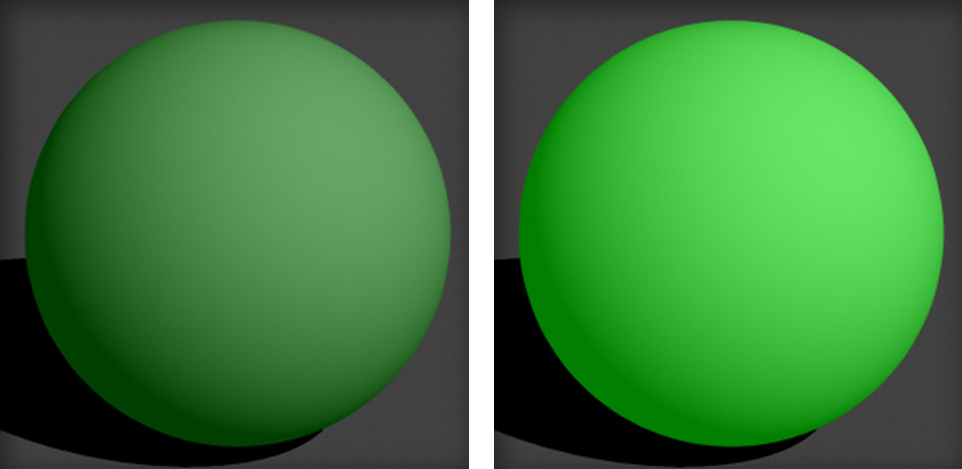
Diffuse:
Diffuse is the part of the surface that is reflected back to the camera that represents the color. The higher the diffuse value the more of the surface that is visible. It sort of acts like a color magnifier.
0% Diffuse, 80% Diffuse (default), 100% Diffuse
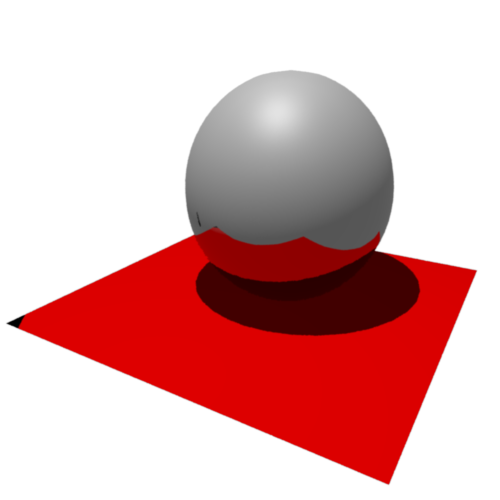
Translucence:
This controls the ability of light to penetrate through a surface.
Translucence Depth:
Translucence Depth affects how far the light may penetrate the object.
Translucence Focus:
Translucence focus controls the sharpness of the translucent shadow.
Top View
0% Translucence
100% Translucence
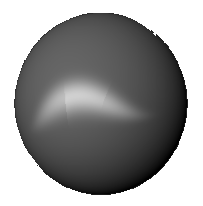
Eccentricity:
This controls the bluring of the specular highlight.
Specular Roll Off:
This controls how large the specular highlight is.
Specular:
This controls the color of the specular highlight.

50% Eccentricity, 10% Eccentricity
Reflectivity:
Allows the surface to reflect its surroundings. Ray-tracing must be turned on in the render settings in order for the reflections to be rendered.
100% Reflectivity
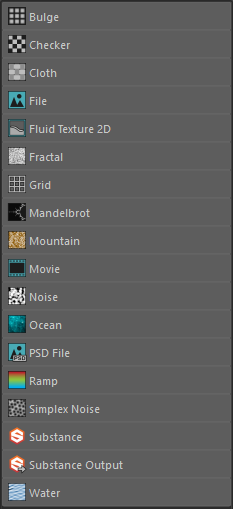
Procedural Texturing
Procedural Texturing:
Autodesk Maya has built in procedural textures based on mathematical patterns that may be applied to any attribute of a material.
2D Textures:
These procedural textures produce 2D image patterns that utilize the UV coordinates of the model.
You can see that a pattern is created into an image and the UV’s of the model are used to apply it to the 3D model. You can see the seam.
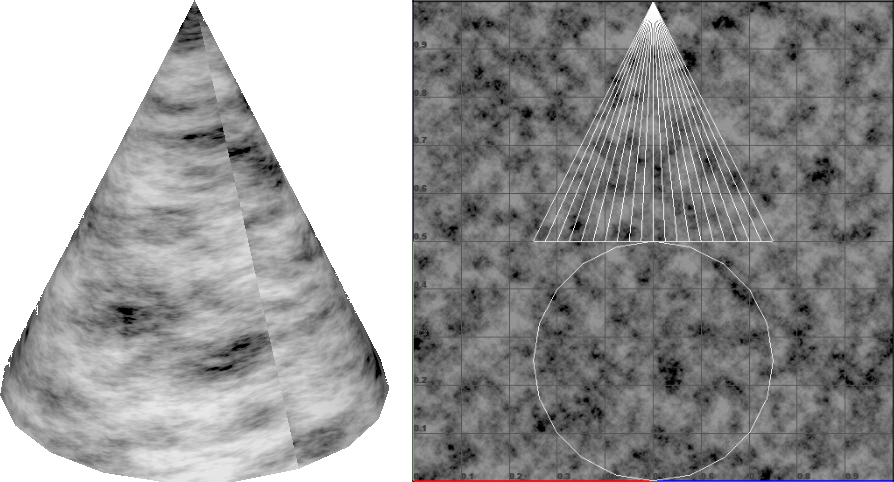
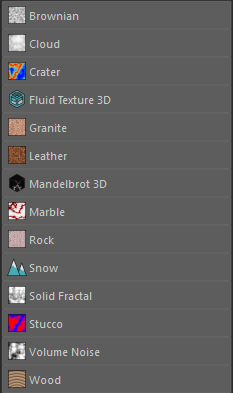
3D Textures:
These procedural textures produce utilize a 3D container and produces a volumetric pattern that may be applied to any material attribute and is not reliant on UV coordinates.
3D procedural textures utilize a place3dTexture node to apply the texture. You can see it disregards the UV’s of the model. It is as though it is swimming in a container of the pattern.
Seamless Textures
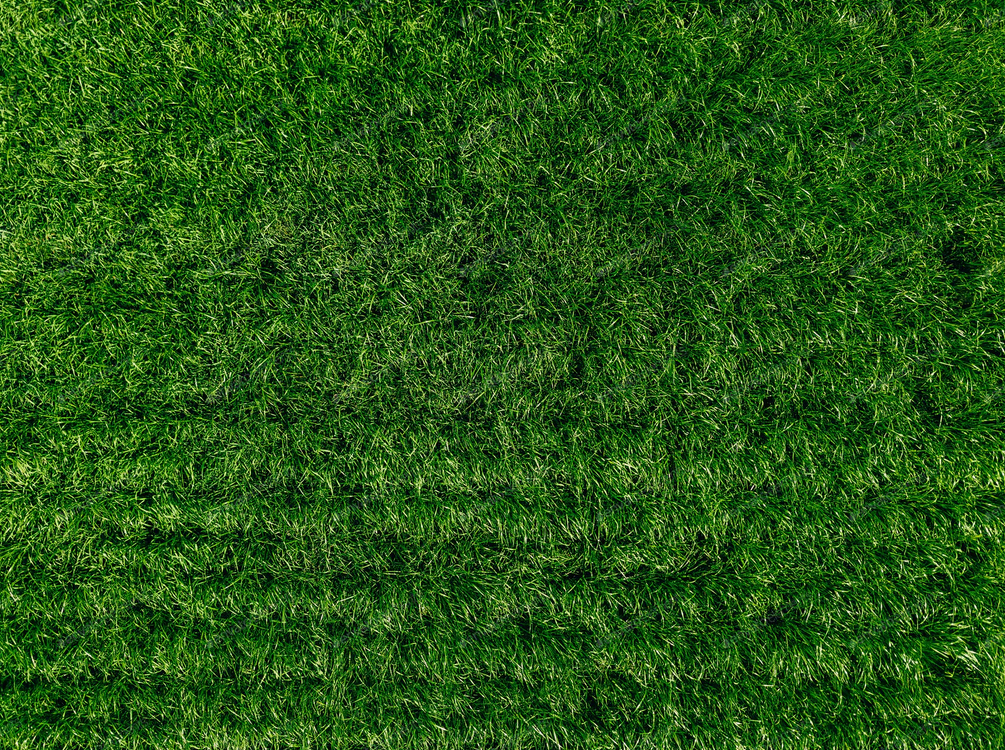
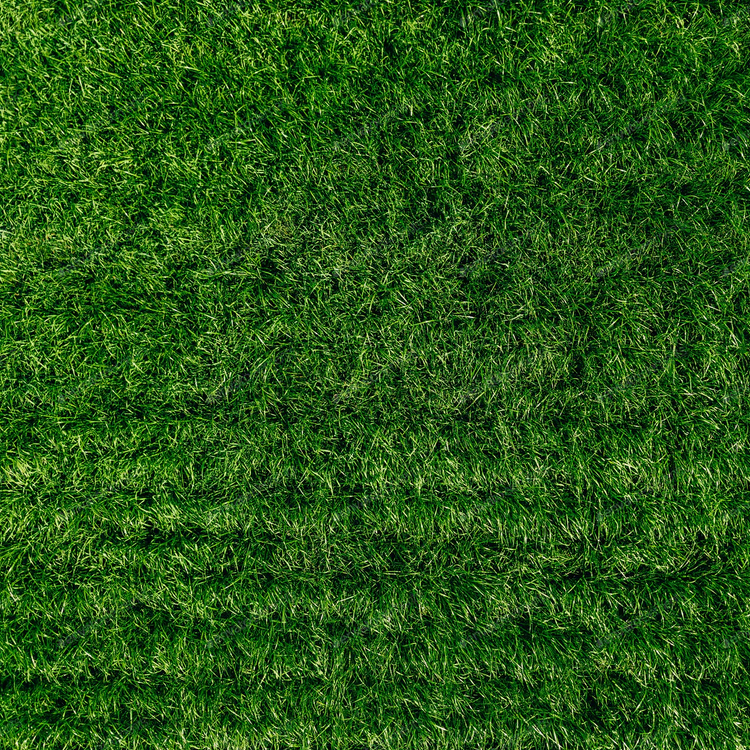
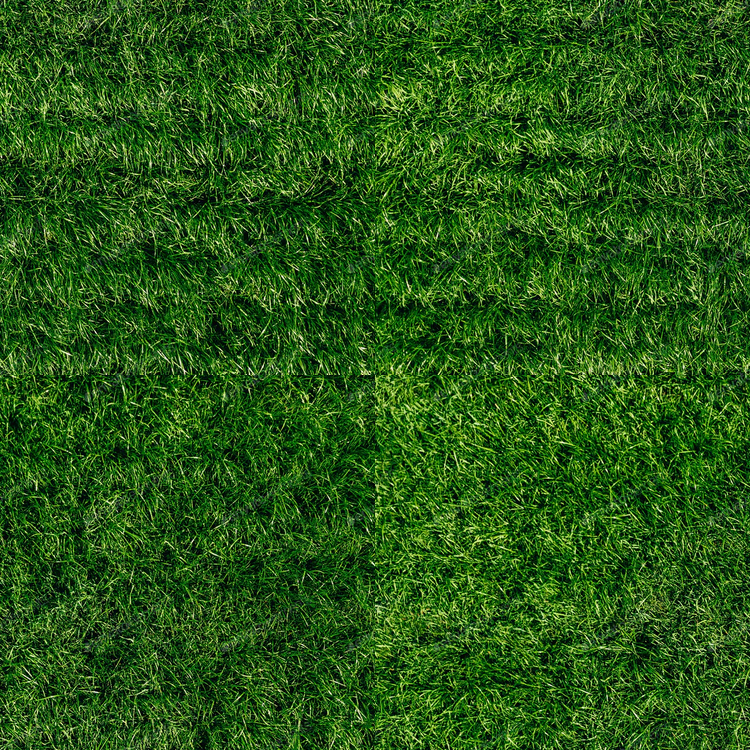
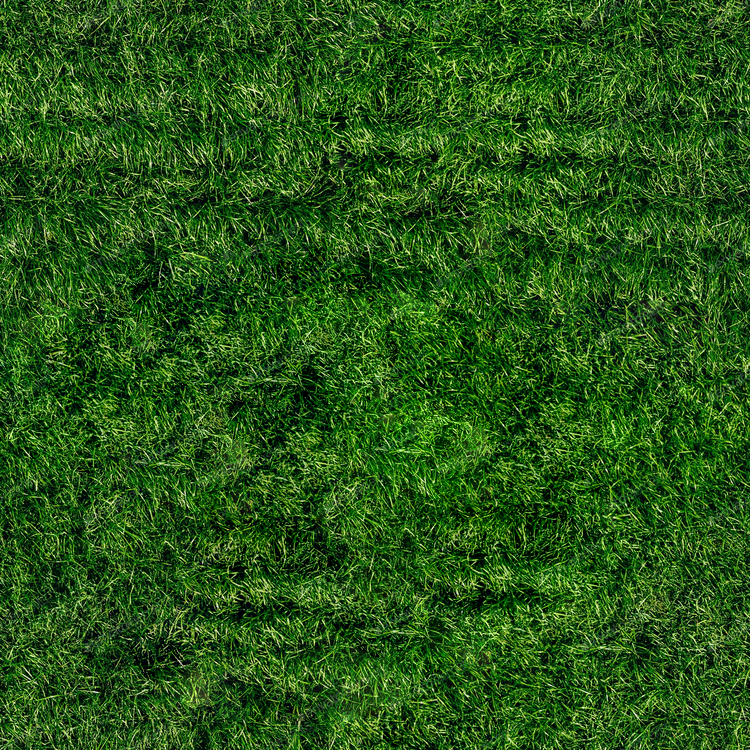
Seamless Texture:
These are used for large areas of repetition like grass or carpets.
- create or acquire image
- make adjustments and cropping your area of interest
- offset by half
- use the various content aware tools to get rid of the seams

You can see what it looks like before and after editing the image to make it seamless (obviously it still has repetition but no seams).
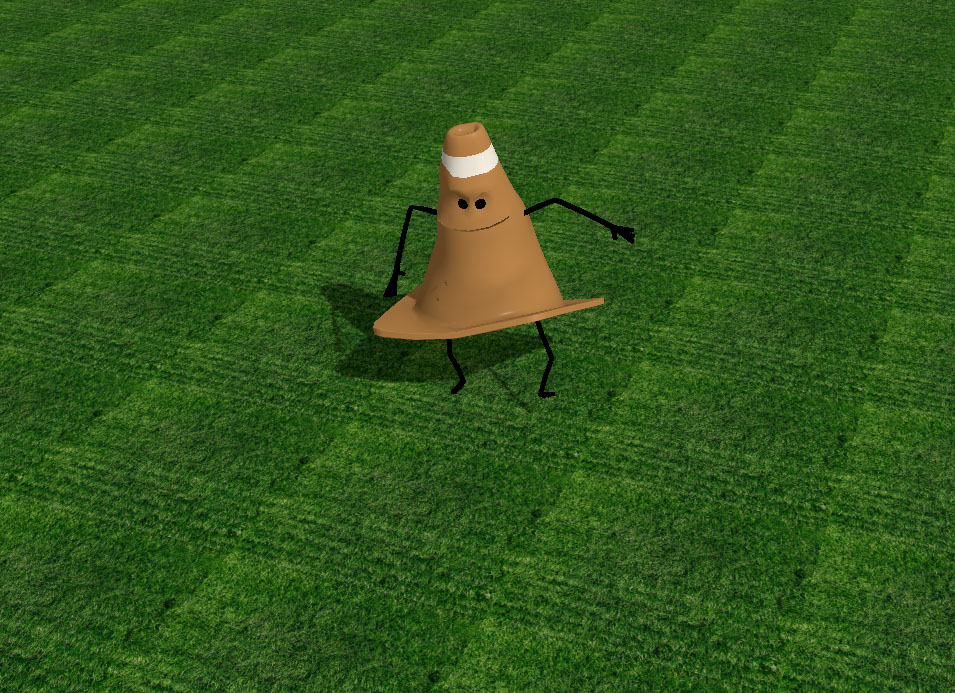
Week 09 Environment Surface Lab
Environment Surface Lab:
In this assignment you will UV, apply materials, and texture your background model. Once completed you have a fully done background ready for light & rendering in a production.
You will be graded on the following:
- UV Layout
-
All UV’s projected, unwrapped, and nicely laid out. Appropriate amount of real-estate appointed for each shell.
-
- Material Application & Procedural Texturing
-
Well-designed materials and excellently utilized procedural textures applied.
-
-
Texture Painting
-
Painted textures contain loads of depth and history with excellent craftsmanship.
-
-
Aesthetic
-
Excellent texturing, complete with variation of colors, shading, and texture.
-
Resources:
- Assignment Video Tutorials
- You may watch these tutorial videos below to help you complete your assignment.
- Assignment Lab Materials
- You may download the lab materials here: 3d_week09_labMaterials.
Assignment Video Tutorials
Wait! Before you go!
Did you remember to?
- Read through this webpage
- Watch the videos
- Submit Week 09 Environment Surface Lab on Blackboard
