
Outline:
- Creative Character Design Concepts
- Simple Rigging
- Lab Time
- Assignment 03 (sculpt, texture, and output)
Class Lecture
Creative Character Design Concepts
Caricature:
A pictorial, written, or acted representation of a person, which exaggerates his characteristic traits for comic effect.
A caricature should do three things:
- Likeness: it should look like what it is suppose to be, obviously.
- Exaggeration: If you don’t depart from reality it is just a picture.
- Statement: You should editorialize. Your picture should say something. This is at its heart what art is about.
Caricatures by Sebastian Kruger (sebastionkruger.org)
Push Your Design - Exaggeration:
You want to push your designs as far as you can. This will make them more unique and easier to read.
Use contrast between characters and in characters.
Re-arranging features can produce some interesting results.
Nice article on silhouette here


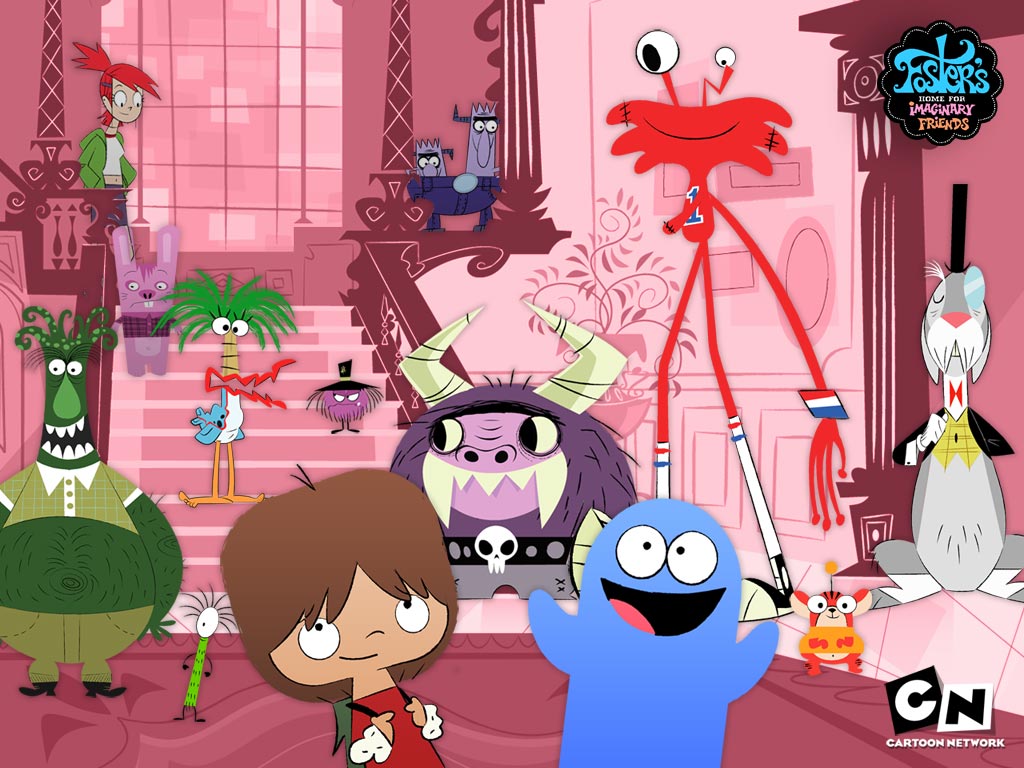
Exploration:
Just because you have a particular person or animal doesn't mean you have to caricature it in the obvious ways. Be unique!
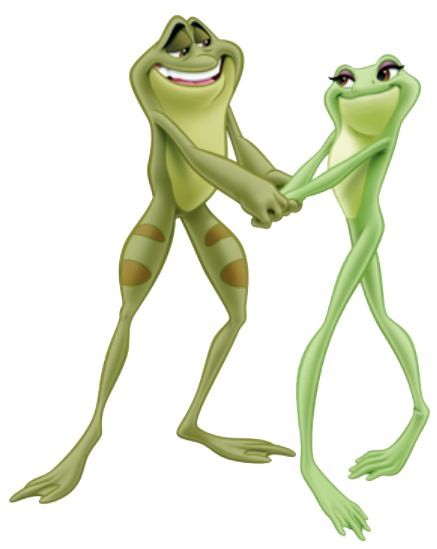


What make a frog a frog? Being green? Long legs? Big eyes?
Don't take the obvious roads. Find the essence of the subject but put a unique twist on it. Using your own assumptions you can create something unique because you are unique.
The people that designed these were all different so their designs were different.
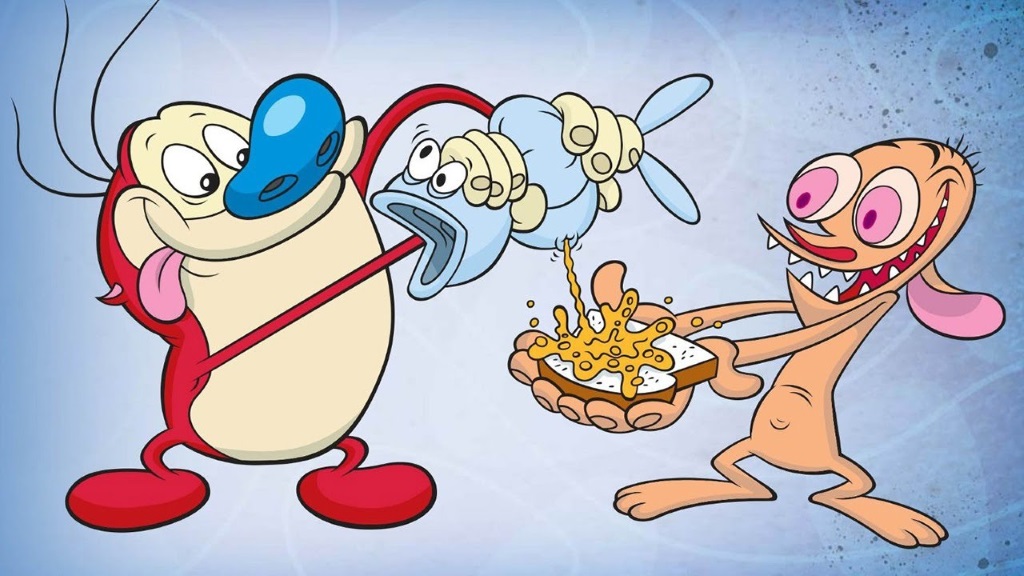
Animals as Humans:
A great way to push a human character is to utilize animal characteristics into their design.
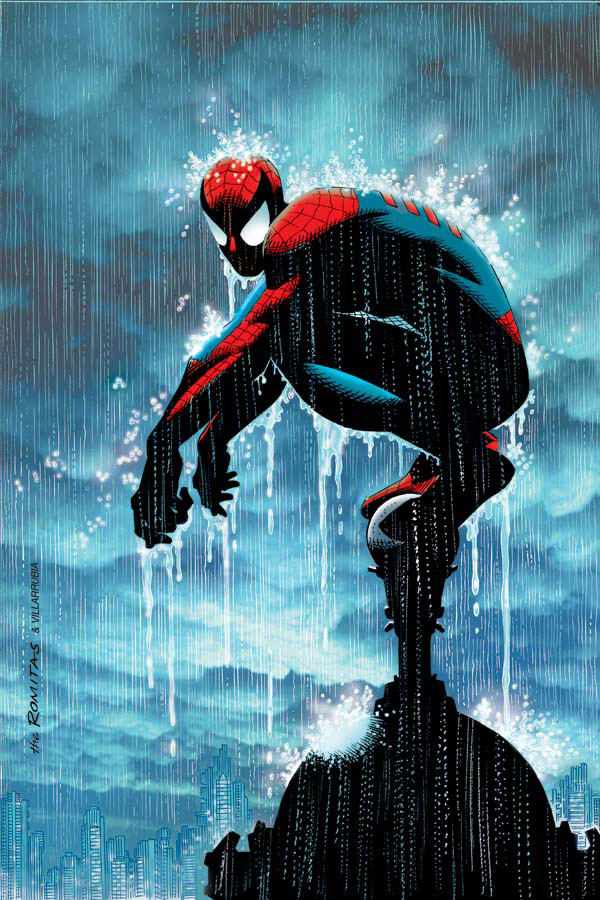
Spider-Man
Humans as Animals:
One way to design a unique animal character is to infuse a real-life person into their design. Once an actor is cast the characters are often made to look like them.

Shark Tale by Dreamworks Animation
Texture:
Texture is the breakup of the shape. This generally means some sort of repeating pattern or noise. It can also just be the addition of elements. The main thing to recognize is that it will take the viewer longer to read and comprehend the design. This can add intrigue but can also over-complicate.

Style:
Always drawing cats, or always drawing certain eyes, or having a preset of body shapes are not style. These are just memorized cut-out processes. Character design is all about trying and discovering designs. Having a certain thing you draw is completely contradictory to this. You should be asked to draw anything and be able to do it. Do not get stuck with only drawing one kind of pose or one type of legs.
Not everyone has a strong style but everyone has a style. Ask you become more confident a style will develop.
Style is both good and bad. It helps separate you from others and it separates you from others. This is why foundation drawing is so important so that you can imitate whatever is asked of you.

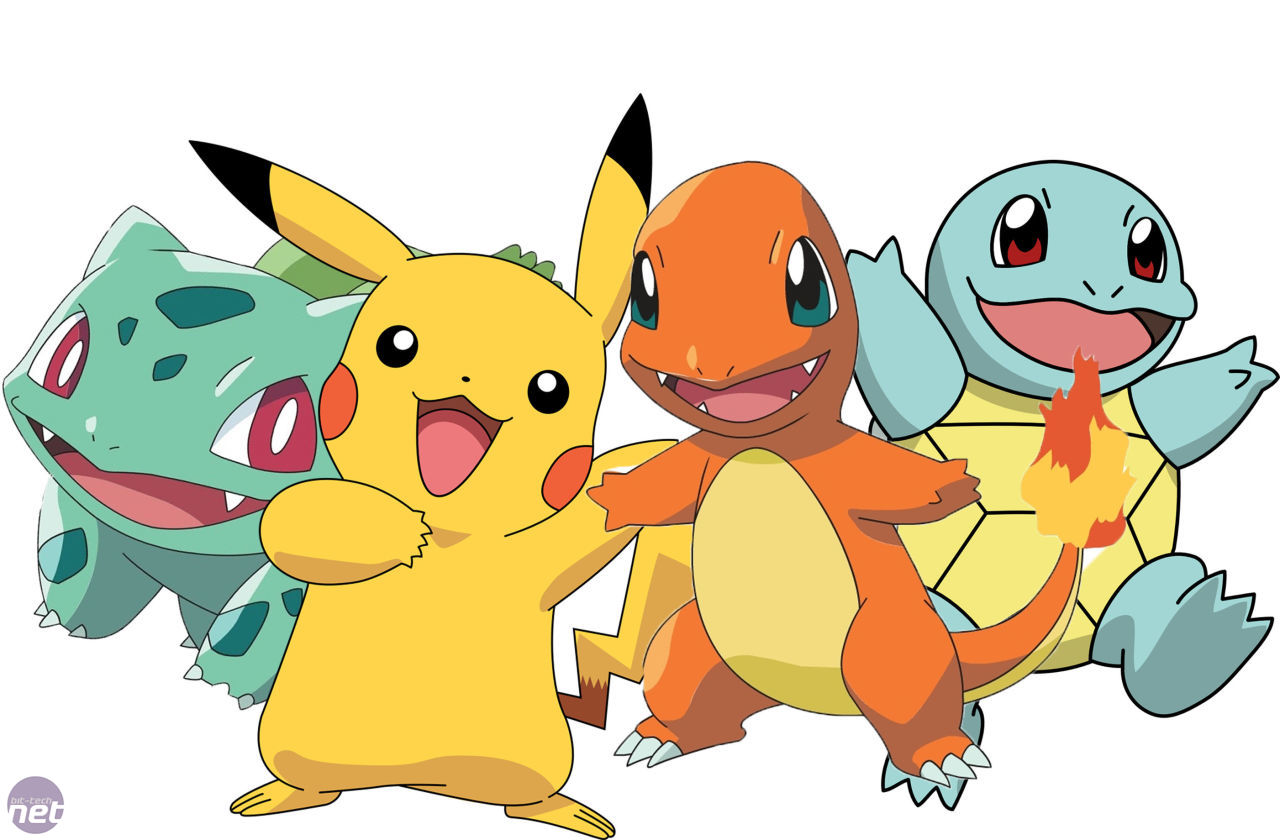
Appeal:
Appeal does not mean cute, lovable, infantile, or cuddly. An appealing character is interesting to look at. The more appealing the longer the audience will be willing to suspend belief and invest time with it.
Monster movies are a good example of appealing negative characters.
Inevitably this is what you are looking for.
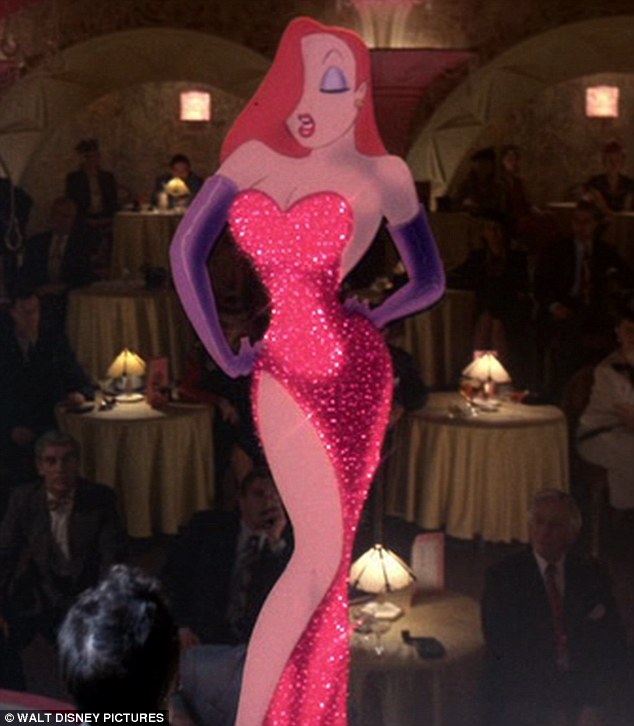
Sex:
Sex sells and so does cute. Sex is scandalous so cute is often used. You will notice that most characters have cute, child-like proportions.
Don’t rely on cute.


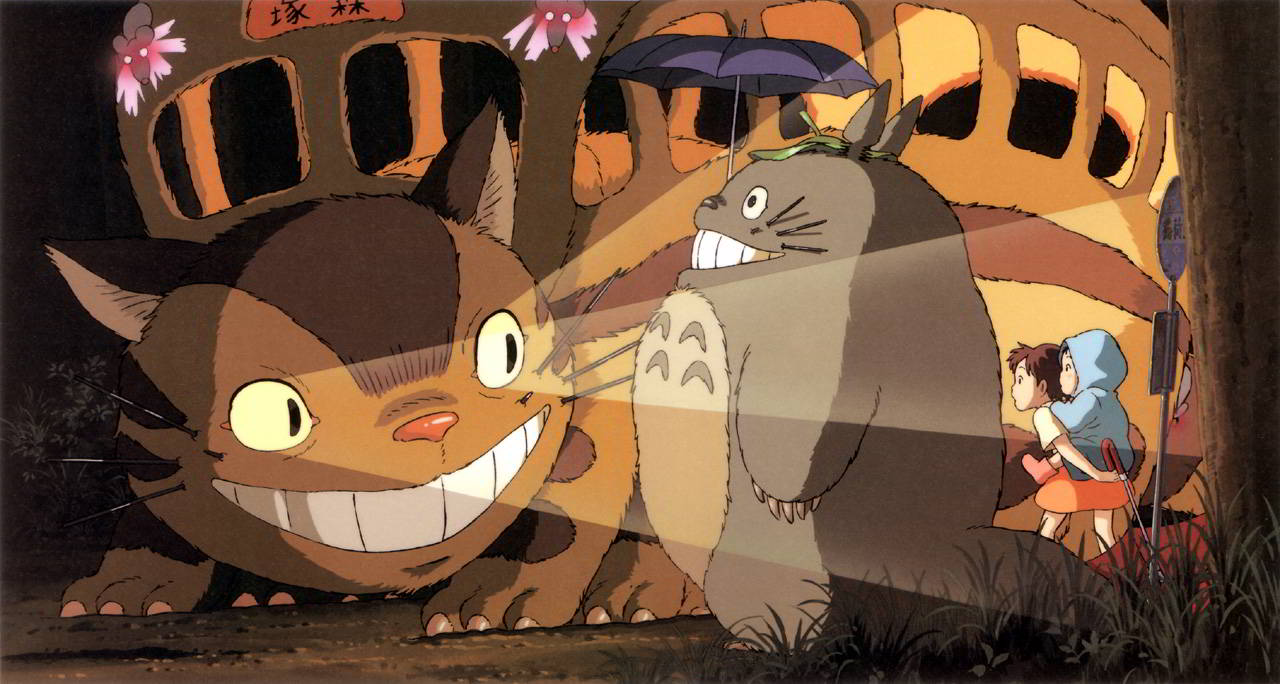
Novelty:
I personally enjoy the creativeness and novelty of Hayao Miyazaki. A cat bus is ridiculous and simultaneously intriguing.
Create what is interesting to look at, that is what you are trying to do.
Line of Action:
This is the heart of the pose, the general direction the character is pushing towards. In the anatomical figure this is typically defined by the farthest reaching arm through the spine to the distal leg. This must also not extend beyond an ‘S’ curve. Avoid straight vertical or horizontal curves. This also defines the direction of the character.
Secondary Lines of Action:
These are the lines that move the eye through the figure and support the primary line of action. They work as rhythm. You want to create secondary lines that break the figure up. Don’t have large areas of nothingness.

Character Model Sheet:
Everything we have done so far has been about sparking creativity and improving draftsmanship. Now I am going to show you how the finished product looks in a production.
Tying down your design means making everything final and perfect. You will no longer make any changes.
We have touched on most everything I am going to talk about but now you will see how it is incorporated into a final model sheet.
The Bugs Bunny model sheet is sort of considered the standard model sheet.

Bugs Bunny's character model sheet is considered a golden example of the necessary elements presented in a condensed manner.
Construction Model:
A construction model of some sort will always be present. Sometimes it is incorporated into a pose or poses and sometimes it is literally drawn out as conceptual shapes. You can see the construction model of Monterey incorporated into a turnaround on the bottom right.
You should have some sort of measuring device, usually it is the head but does not necessarily need to be.
Depending on how complicated the design is the construction model may be very well laid out with all sorts of directions.
Often separate head construction models are included
This is the best way to let other animators know how you draw the character and how to maintain some sort of consistency.

Turnaround Sketch:
Some sort of turnaround sketch will also be included. Usually it is one static pose that is simply rotated on average three times. Some turnarounds will simply be implied by various action poses.
It is very important that you maintain proportions and perspective correctly; If you don’t get it right here it will never be done correctly.

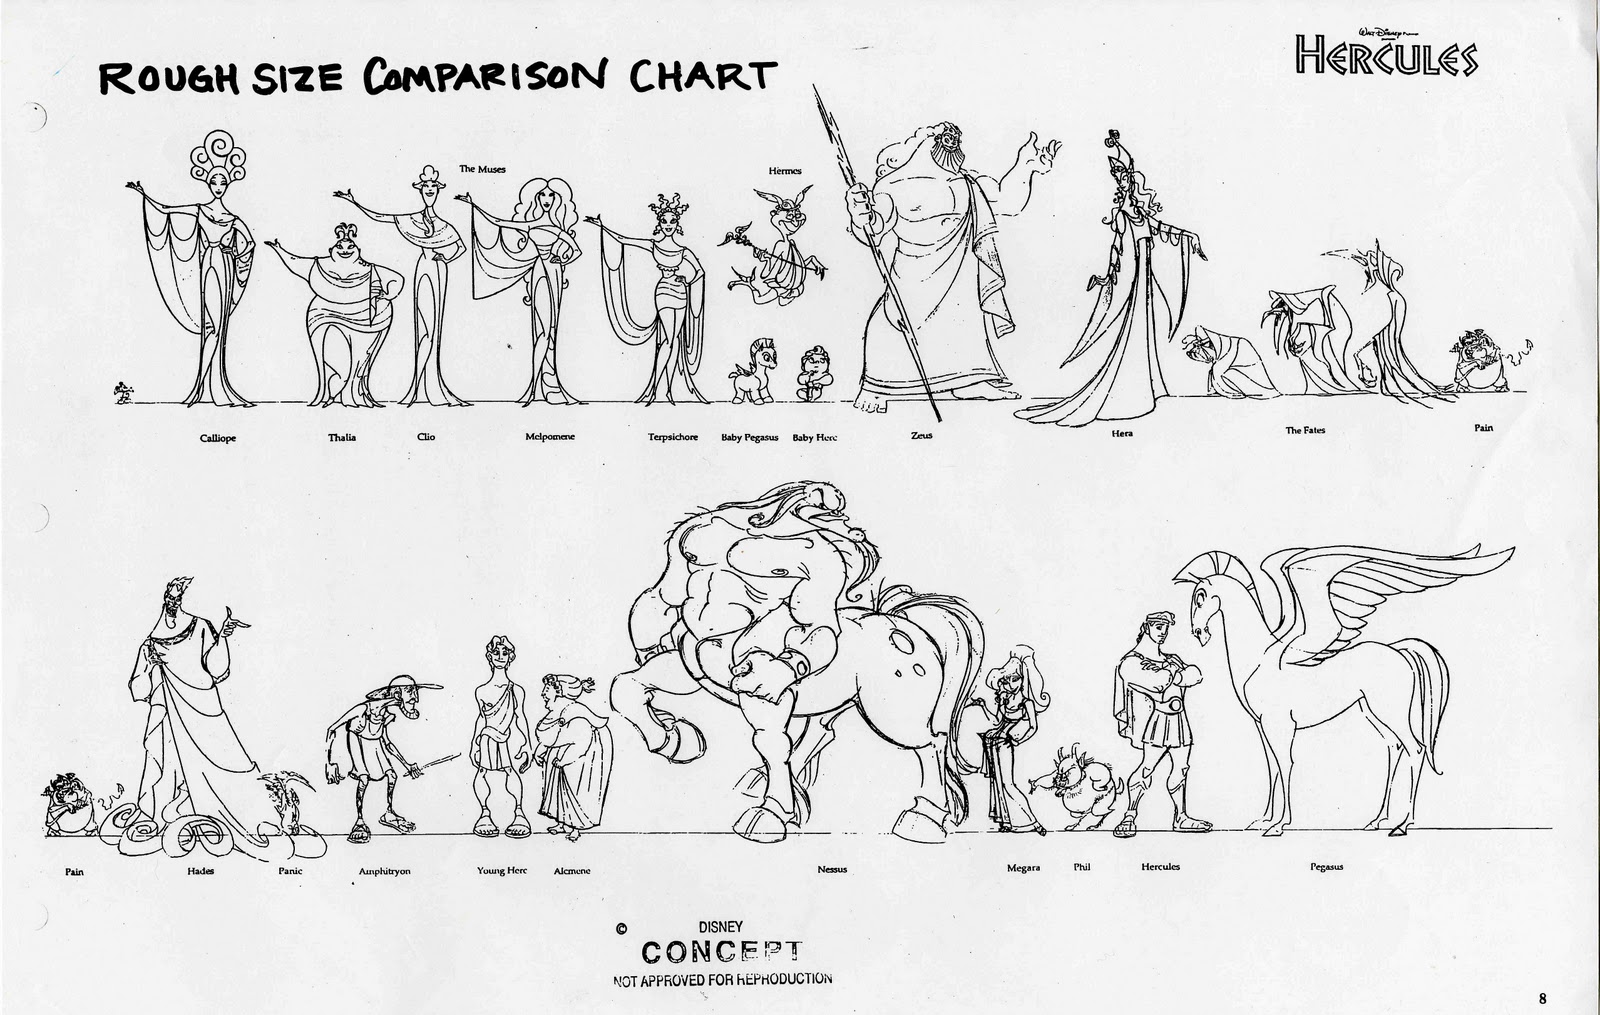
Character Line-Up:
Here is an early goofy model sheet. Notice how many turnaround sketches the artist drew.
It is important to have some sort of character size comparison chart. Usually these are not included in any particular character’s model sheet but you can see in the bottom right that there is a line up sketch included.
Prop Line-Up:
These are not always necessarily utilized. If there are particularly important props a separate sheet might be made (like weapons in video games). Some complicated props may receive their own sheets all to themselves.
Sometimes you can just incorporate size comparison into the action sheets.
Action Poses:
These are always present in some form. This gives more insight into the character’s personality and how it physically moves (some characters are stretchier than others).
You can see a very simple construction for Zipper on the bottom left corner.
These action poses tell a lot about the character.
You want to show the full range of the characters movements, which means making them as dynamic as possible.
Simple Rigging
Intro to Rigging:
ropes, chains, etc., employed to support and work the masts, yards, sails, etc., on a ship. (dictionary.com) Obviously this is referring to boat rigging but it is actually pretty close to 3D rigging as well. 3D riggers produce the deformers, constraints, solvers, and controllers that allow a model to be animated. As a character rigger/TD you are expected.
- You are required to know what is expected of a character and how to implement Maya’s tools to make it possible
- This means a rig has to be “right” and “clean.” (unlike modeling, texturing, animating, etc.)
- If problems are not resolved ahead of time they will haunt you down the pipeline, half your job as a Character TD is problem solving
In Production:
- Modeler: Builds the body of the car.
- Texturer: Paints the car and adds decals and other details.
- Rigger: Produces the engine, wiring, and functional aspects of the car that allows a driver to drive it.
- Animator: Drives the vehicle.
- Lighter/Renderer: This would just be the sun or lamp that illuminates the car.
Model Prep:
The very first thing you need to do before you rig any model is to clean it up. Often there are extra odd nodes, mesh mistakes, unoptimized geometry, poor topology, etc. Any of these errors can have major irreversible consequences down the production line.
Fixing Mistakes:
Here are steps to take to make sure your model is ready to go:
- To automatically search for errors and repair them:
-
-
- Select the model in object mode.
- Make sure you are in the Modeling Menu Set.
- Press Mesh>Cleanup...
- Make sure the following are checked:
-
- Cleanup matching polygons
- Apply to selected objects
- Faces with more than 4 sides
- Lamina faces (faces sharing all edges)
- Nonmanifold geometry
- Edges with zero length
- Faces with zero geometry area
-
- Look for unmerged vertices and inside faces:
-
- Select your model in object mode.
- Press 3 to enter subdivision mode.
- Roll your camera around the model, and look for anything suspicious, especially hard lines.
- If it is a hard line over a small area more than likely your have unmerged vertices.
- If there are hard lines across an entire loop you may have inside faces that need to be deleted.
- Check UV's:
-
- Select the model in object mode.
- Press Windows>UV Editor.
- Review the UV's and make sure they are not wonky.
- Review topology:
-
- Select the model in object mode.
- Roll your camera around the model looking for odd topology:
-
- Excessive poles (stars above 5 points).
- Ngons (faces with more than 5 sides).
- Edgeloops that do not wrap around the figure.
- Gridflow that does not run cross-contour with the model or match deformation needed.
- Insufficient amount of geometry at areas of deformation.
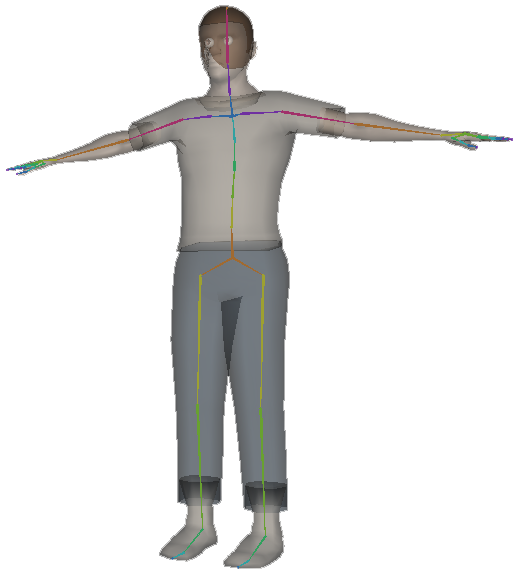
Skeleton:
Skeletons are hierarchical, articulated structures that let you pose and animate bound models. A skeleton provides a deformable model with the same underlying structure as the human skeleton gives the human body.
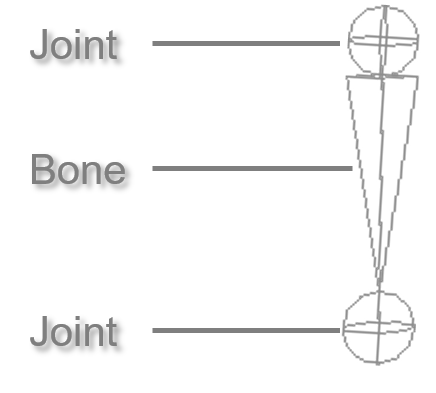
Joint Placement:
The two primary factors that determine joint placement are anatomy and topology.
- Limbs
- Place in the center of the mass (generally).
- Place joints in the center of the edge loops.
- Volumes
- For the spine or multi-jointed areas keep the number of the joint relative to the number of edge loops (1 to 1, 1 to 2, etc.)
- Fat limbs can have multiple joints to spread out deformation.
- Anatomy
- Knowing anatomy can help you place joints but don’t be overly concerned with it.
- Anatomy is a good place to start when rigging animals.
Human IK Tutorial Video
Lab Time
Assignment 04
Animated Character
Using one of the models from a previous project students will rig, motion-capture, and animate a small sequence. A simple choreographed sequence like dancing, acrobatics, llocomotion, etc. is suggested. The final sequence should be appropriate to implement into a game, film, or other media.
For Next Class: Complete the rigging
You will be graded on the following:
- Rigging:
- Skeleton placement take cues from anatomy and the model itself. Joints are bound to the model resulting in proper deformation.
- Motion Capture:
- Well executed motion capture. Errors have been fixed. Motion has been smoothed.
- Animation:
- Animation of the character has strong poses, snappy movement, and is exceptionally clear.
- Creativity & Craftsmanship:
- Elements are clean without any errors. Animation is legible and appealing.
Resources:
- You can find the rubric under the Assignments content folder in Blackboard.