
Outline:
- UV's
- Materials
- Basic Texturing
- Production Implementation
- Assignment 01 (texturing)
UV's
UV's:
UVs are two-dimensional texture coordinates that reside with the vertex component information for polygonal and subdivision surface meshes. UVs exist to define a two-dimensional texture coordinate system, called UV texture space. UV texture space uses the letters U and V to indicate the axes in 2D. UV texture space facilitates the placement of image texture maps on a 3D surface.
UV Mapping:
The process of creating explicit UVs for a surface mesh is called UV mapping. UV mapping is a process whereby you create, edit, and otherwise arrange the UVs (that appear as a flattened, two-dimensional representation of the surface mesh, over top of the two-dimensional image to be used as a texture as it appears in the UV Texture Editor.
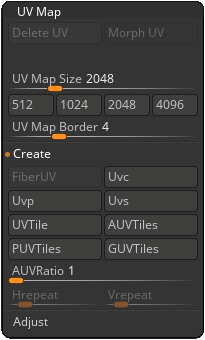
Auto UV:
There are a number of ways to project UV's. The basics are planar, cylindrical, and sphere. Zbrush has a method that will automatically produce UV's. The results vary but they may be completed very quickly.
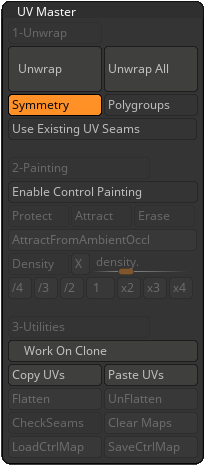
UV Master:
This plug in will "pelt" your model. The results are pretty decent for being automatically completed.
Materials
Surfacing:
In the real world, what an object is made of is one of two main factors that determine the appearance of its surface (the other is light). This is because when light hits the objects, some of the light is absorbed and some of it is reflected.
Factors beyond basic color, transparency, and shine that determine the appearance of an object’s surface (such as more complex color, transparency, shine, surface relief, reflection, or atmosphere) are defined by textures.

- Material
- Materials represent the microscopic surface characteristics such as color, shininess, transparency, reflectivity, etc.
-

- MatCap: "Material capture" is used in sculpting because it not only applies material attributes but also lighting and reflections so the model quickly looks like a real-world object.
-

- Standard: The most basic material defaults in ZBrush. These are not as nice looking or as accurate they are better to sculpt with because it is easier to see errors and if it looks good here it will look even better in production.

- Color
- The RGB values applied to the material and when in poly-painting mode the polys of the model itself.
Basic Texturing
Texturing:
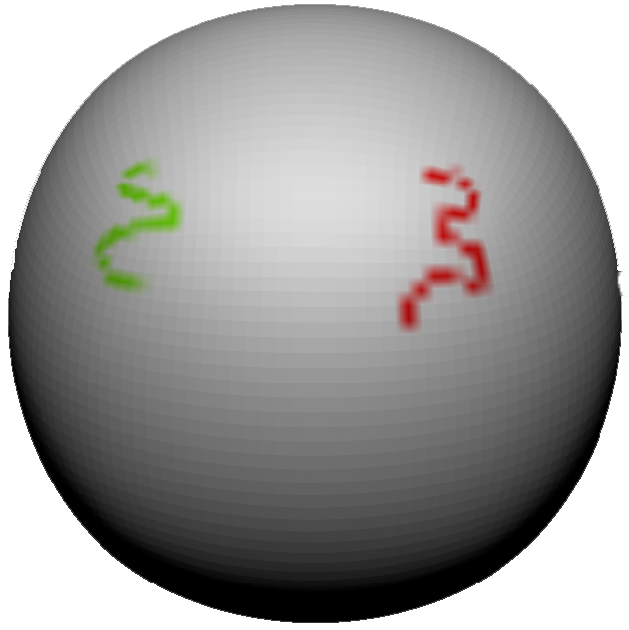
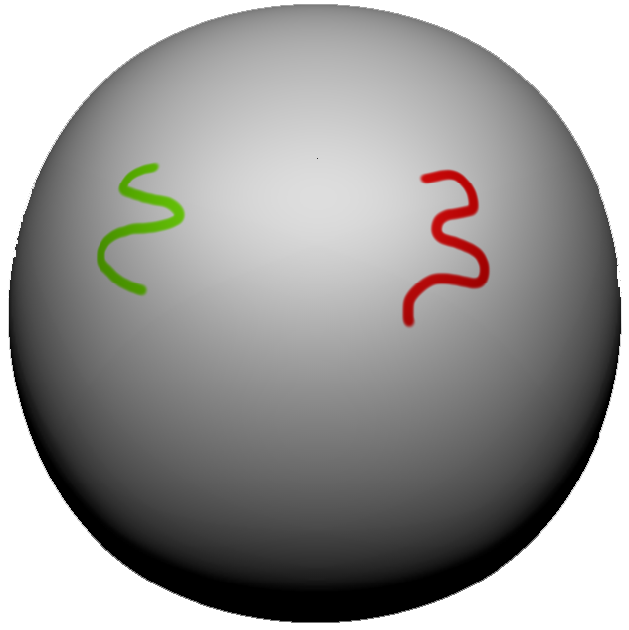
We input various raster images or poly-painting to attributes of the shader in order to assign values to specific areas of the mesh. These attributes include things like color, bump, and specular (checker below).
Poly-Painting:
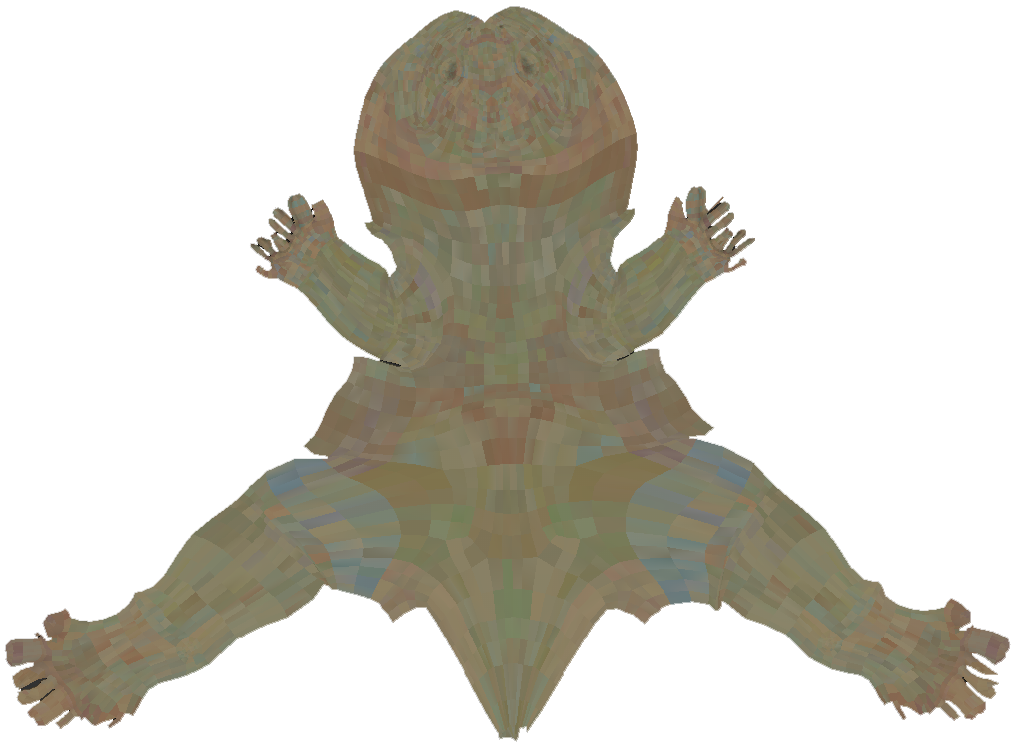
ZBrush utilizes poly-painting. Unlike other methods where you paint a two-dimensional raster image that lays over-top of the model in this process you color the vertices of the model. This means that the resolution of the texture is based on the polycount. This is not generally useful for final production. The advantage however, is that you may texture a model independent of the UV's and back them to an image afterward.
lower resolution polys result in lower resolution texture
higher resolution polys result in higher resolution texture
you can see how each vertex is colored
with lower poly count the texture is poor
higher resolution supports proper painting
Texturing Process:
Like all projects it is best to work broad to specific.
Texture Painting Process:
- Primary Colors
- The first step is to simply apply the main areas of color over the entire model.
- Secondary Colors
- After the entire model has been painted the next step is to paint secondary colors, things like patterns, stripes, logos, text, etc.
- Variation
- Apply varied colors that broadly appears like the primary and secondary coloring (ex. if you look at skin you will see a ton of variation).
- Textures
- Using both color and bump mapping you will add the texture of the surfaces.
- Details
- Add minor details. You should attempt to produce surfaces that show history. This is usually best achieved by using grunge maps.
- Pre-Shading/Rosiness
- In order to make a model really pop it is usually best to darken areas that recede and lighten areas that ascend. It is also a good idea to add redness at the superficial areas of skin.
Production Implementation
Export:
Once the model is complete you need to get it out of ZBrush and into whatever package you are using in your production.
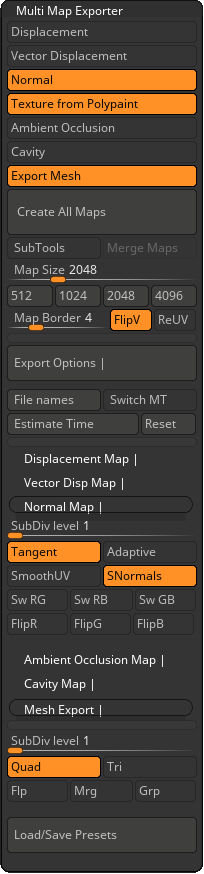
Export Settings:
Select ZPlugin > Multi Map Exporter. You should apply the settings in the image at the right.
Assignment 01
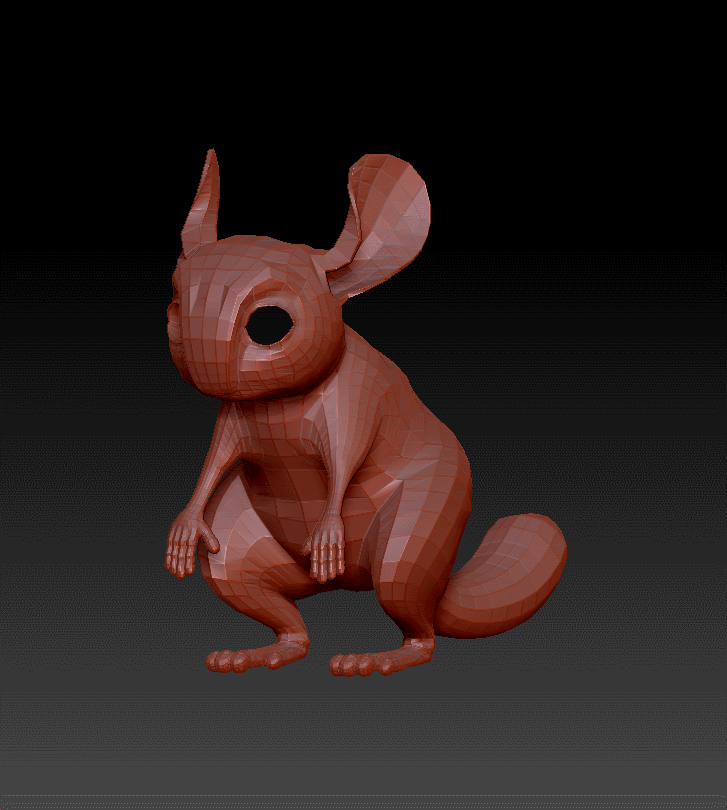
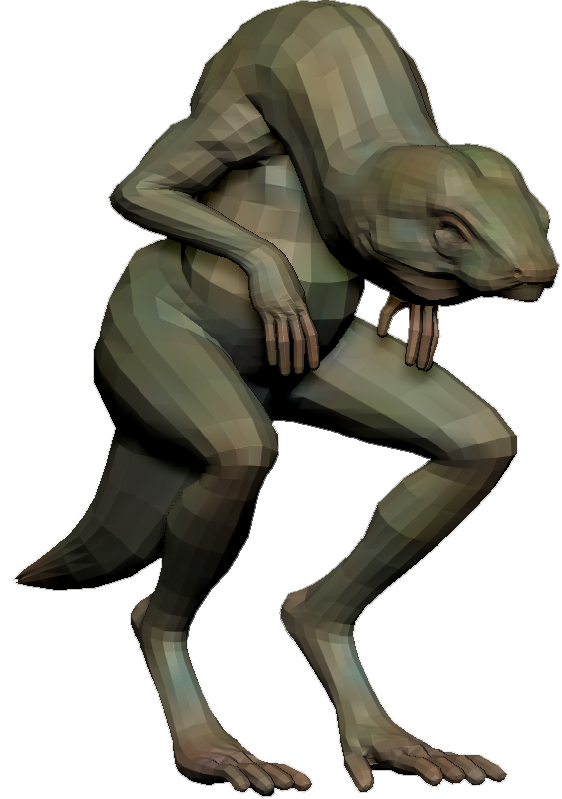
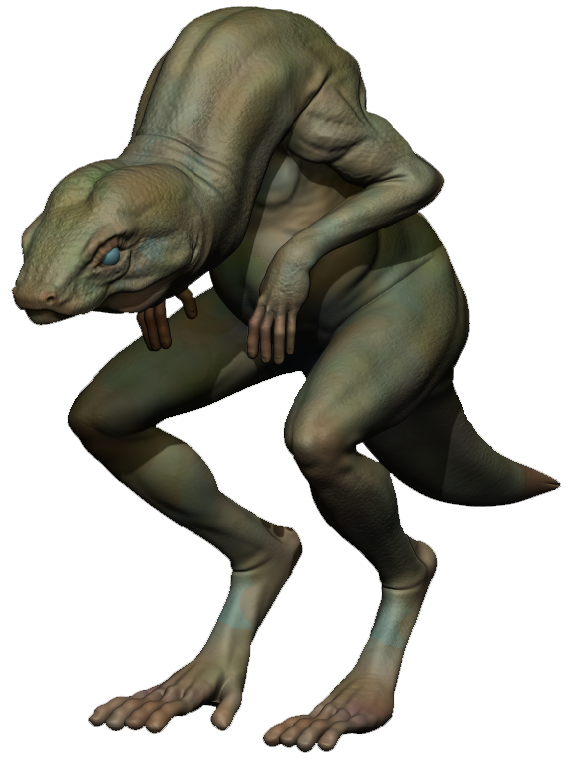
Cartoon Model
Your first project will be completed partially in class and out of class. You will design and model a cartoon style model. This may be anything you'd like that would be suitable for a feature length animation or nintendo style game. You are looking for strong exaggerate clean forms. The model itself should be low-poly, fully textured (color, specular, and normal map), and ready for implementation into an animation pipeline.
For Next Class: Complete the texturing
You will be graded on the following:
- Geometry
-
No errors in the geometry such as non-manifold geometry, un-merged vertices, or lamina faces.
- Appropriate poly-count. Few tri's and no n-gon's. Few poles/stars.
-
- Topology
-
Strong consistent gridflow that supports the form well.
- Edge loops wrap around the areas of deformation correctly.
-
- Texturing
-
UV maps are projected, manipulated, and laid out appropriately.
- A varied and detailed color map is produced. Specular (shininess) map is produced.
- Funtional normal map is baked from high resolution sculpt and applied correctly.
-
- Creativity & Craftsmanship
-
Well structured, clean model.
- Novel, unique design.
-
Resources:
- You can find the rubric under the Assignments content folder in Blackboard.
Assignment 01 Tutorial Video