
Outline:
- Course Introduction
- 3D Modeling Pipeline
- Pixologic ZBrush
- Mesh Generation: Dynamesh
- Basic Sculpting
- Assignment 01 (base sculpt)
Course Introduction
Introductions:
- Me: Jonathan Cone
- I am one of the full-time faculty in Cecil’s Visual Communication Program. I am mostly responsible for the game design and web design programs specifically. I am also a freelance animator typically working on visualizations.
-
- Office Hours
- Mon by appointment
- Tues 1:00pm – 2:00pm, 5:00pm – 6:30pm
- Wed 5:00pm – 6:30pm
- Thurs 1:00pm – 2:00pm
- Fri by appointment
-
- Contact Information
- 410-287-6060 X 1470
- jcone@cecil.edu
Demo Reel
-
- Name:
- What’s your name? What do you go by?
-
- Why you are here:
- Is this required for your major? Are you taking this course as an elective? Personal Enrichment?
-
- Experience:
- Do you have any history with graphic arts or arts in general? Any experience with Adobe, Maya, Unity, or other graphics software?
Course Description:
3D Modeling for Real-Time Environments covers polygon modeling techniques relevant to producing high quality textured meshes viewable in live-video situations. Emphasis is placed on converting high-poly geometric details into low-poly geometry utilizing a variety of alternative modeling methods.
VCP 219 3D Modeling for Real-Time Environments Syllabus
Blackboard:
You are expected to use blackboard. Blackboard will be used for:
- Assignment descriptions/rubrics
- Assignment submissions
- Grades
- Announcements
- Etc.
Blackboard
Assignments:
You will have 4 Projects. These are weighted equally and in total will be due by the end of the semester.
Projects:
- Cartoon Model
- An exaggerated caricature model that would be suitable for an animated movie will be produced.
- Technical aspects of 3D modeling (ZBrush & Maya) will be covered in class. Student will complete and make adjustments to the model outside of class.
- Human Model
- A realistic humanoid character is produced that would be suitable for visual effects.
- Lectures on anatomy will be given outside of class. Some technical aspects of 3D modeling will be covered in class. The remaining class time will be utilized for working on projects.
- Creative Model
- Students are encouraged to think “outside the box” and create something truly unique. A “blue sky” assignment.
- Lectures on character design will be given outside of class. Class time will be utilized for working on projects.
- Animated Character
- Using one of the models from a previous project students will rig, motion-capture, and animate a small sequence.
- Rigging, motion-capture, and animation will be covered in class. The assignment will be completed in class and outside of class.
3D Modeling Pipeline
3D Modeling Pipeline Overview:
To produce high-end assets the following is the most typical workflow
- Character/Set/Prop Design (research, exploratory, & turnaround)
- Base Mesh Generation (low poly)
- Low/Medium Resolution Sculpt (silhouette)
- Retopology
- High Resolution Sculpt (anatomy, accessories, details, surface)
- Poly Painting
- UV Layout
- Bake Comparative Maps
- Combine Models, Texture, Lighting to Render
Character/Set/Prop Design:
Before you start anything you need to do your homework and produce designs that are not influenced by the computer.
- First Research
- Produce Exploratory Sketches
- Tie Down Final Turnaround
Base Mesh Generation:
The first step in actually producing a high-end model is to produce a base shape you can sculpt onto. It is important to make sure all elements are present in at least a silhouette level.
- Production and Object Specific
- Can be almost entirely completed this way or just roughed in
- Box-Modeling
- Primitive Modeling
- Edge Loop Method
- 3D Scan
- Dynamic Mesh
- Software Specific Mesh Generation
- Future??

Sculpting:
This is very similar to traditional sculpting. It is important to work broad to specific. Develop the whole form overall and slowly tighten the model and work in more and more details across the entire figure
- Low Resolution Sculpt (silhouette)
- Medium Resolution Sculpt (anatomy, accessories)
- High Resolution Sculpt (details)
- HD Resolution Sculpt (surface)
Texturing:
Once you have the “skin” of the model you need to “paint” it. This involves prepping the model by rebuilding it if necessary, filleting the figure into UV islands that are flat and paintable, painting color, shininess, bumpiness, etc. onto the surface of the model.
-
- Retopology
- The process of producing a new mesh with better geometry over top of geometry that is poor
- Can be done before sculpting, after sculpt, sometimes even after texturing, or not at all if the base mesh is accurate enough
-
- UV Layout
- Basically taking your 3D model and flattening it into a 2D version
- You typically complete this before texturing but it is possible to complete it after in Zbrush
-
- Texturing
- Painting color, specular, bump, transparency, etc. information on the model
-
- Bake Comparative Maps
- Automated process of producing texture maps on typically low poly models from their high poly version.
Pixologic ZBrush
Pixologic ZBrush
ZBrush is the industry standard three-dimensional sculpting software. It is capable of generating geometry using a variety of methods. The brush engine is the best the best on the market. Although its strength is in producing organic geometry such as character models it is also used to create and manipulate hard-surface models. The interface of ZBrush is very “unique” but the results of the software is hard to ignore.

Mesh Generation: Dynamesh
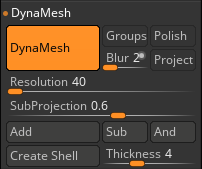
Dynamesh
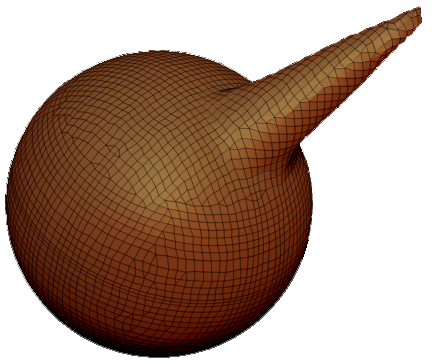
Dynamesh is the process by which the computer will auto-generate geometry or dynamically tesselate the model to support the form the user has sculpt.

SculptGL
A WebGL sculpting App may be viewed here
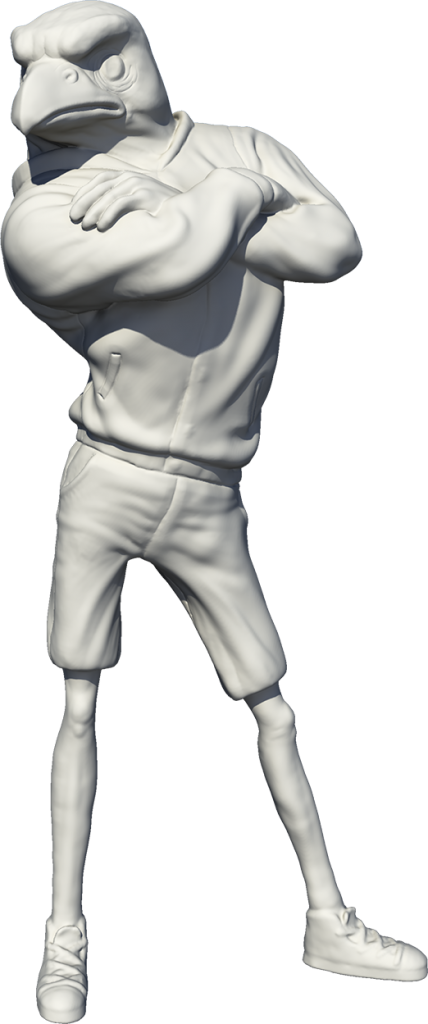
Pixologic Sculptris
This is a free sculpting software that allows you to produce a model in a completely traditional not technological way. It uses a process called dynamesh to dynamically generate geometry onto the surface as you manipulate the model.
You can download the software here:
![]()
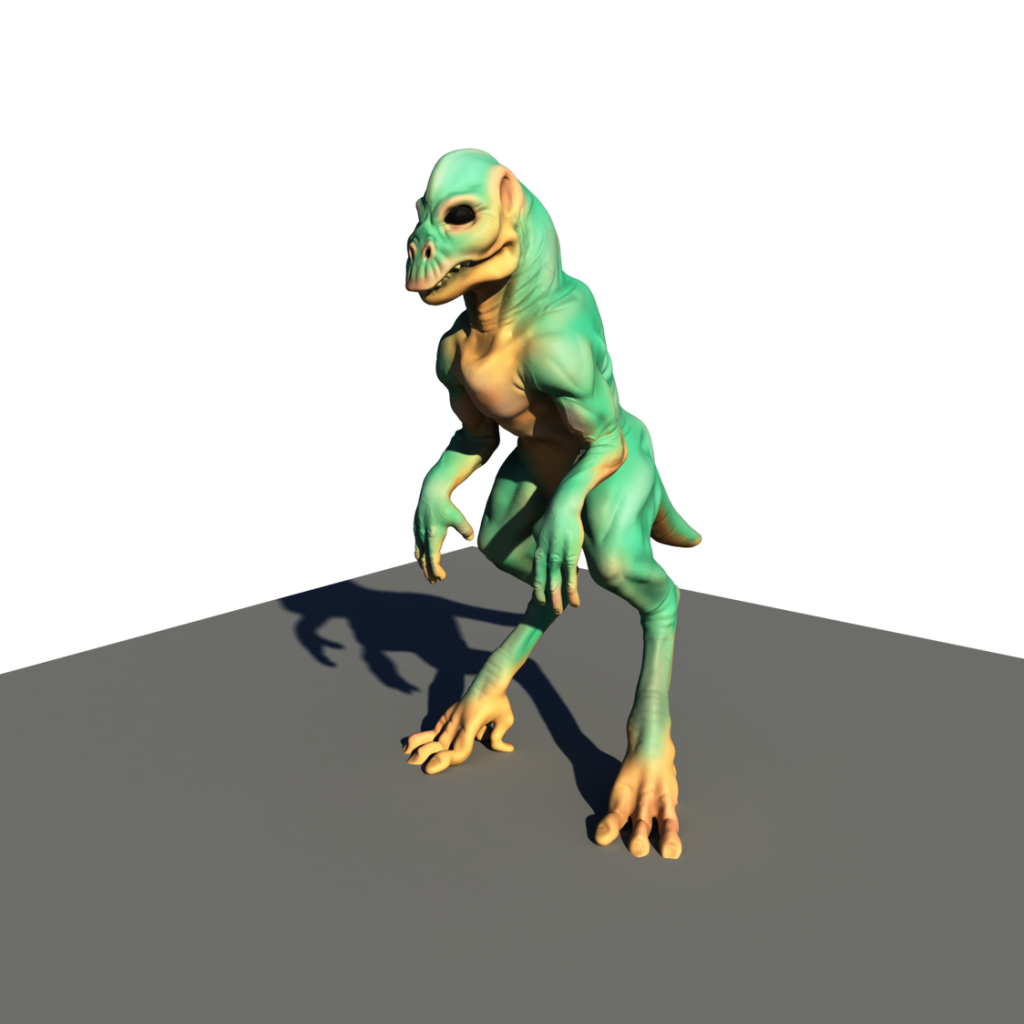
This model only took about an hour. Done traditionally, a model like this may take up to eight hours.
Basic Sculpting
Sculpting:
The core of ZBrush is sculpting. More than anything else, this is what separates it from other programs.
Ninety percent of what you sculpt with be done with just these two brushes, especially to start.
Brushes:

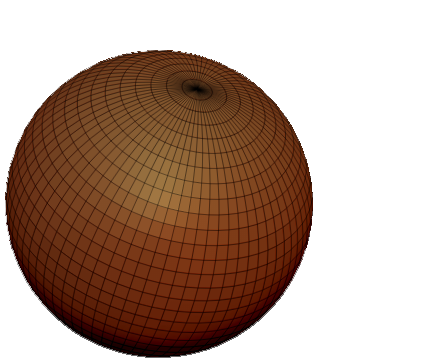
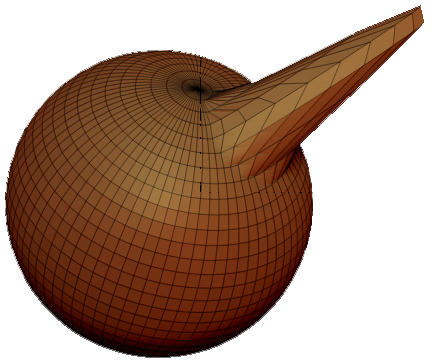
- Standard Brush
- The most basic brush. Simply does addition or subtraction from the surface

- Move Brush
- Allows the user to pull and push the surface of the object
Standard brush on sphere (With no modifier, adds to the surface. With the alt modifier, subtracts from the surface)
Hotkeys:
Like most 3D programs it is required that you learn certain keys to quickly select tools or modify an operation.
Modifiers (in workspace [not on model])
- Click & Drag
- Rotate camera(view)
- Alt + Click & Drag
- Pan camera(view)
- Alt + Click & Drag then Release
- Zoom/dolly-in camera(view)
- Ctrl + Click
- Invert mask
- Ctrl + Click & Drag
- Clear mask
- Shift + Click & Drag
- Snap to view (left, right, front, back, top, botom)
- Alt + Ctrl + Click & Drag
- Unmask an area of a surface to make it manipulable
- Ctrl + Shift + Click & Drag
- Make only the area marque-ed visible
Modifiers (on model)
- Alt + Click & Draw
- Invert whatever tool is currently being used (ex. if used with the standard brush it will push in as opposed to pull out)
- Ctrl + Click & Draw
- Mask an area of surface to make it invulnerable to manipulation
- Shift + Click & Draw
- Smooths the surface of the model
- Alt + Ctrl + Click & Draw
- Unmask an area of a surface to make it manipulable
- Ctrl + Shift + Click
- Make all visible
- Ctrl + Shift + Click & Drag
- Over empty area of workspace makes all invisible
- Ctrl + Shift + Click & Drag
- Over an area of the model to make only that area visible
- Alt + Ctrl + Shift + Click & Drag
- Make the area marque-ed invisible
Universal
- Ctrl + Z
- Undo last action
- Ctrl + S
- Save
- Ctrl + C
- Copy
- Ctrl + V
- Paste
Tools/Options/Etc.
- Space
- Popup brush settings menu
- Q
- Draw/Pointer tool
- W
- Move tool
- E
- Scale tool
- R
- Rotate tool
- B + Other Letters
- Press B to bring up the brush menu, then press other letters to specify the brush desired (ex. B>S>T for standard brush)
- T
- Toggle edit Object (drop tool to canvas)
- Ctrl + N
- Clear canvas (on model not in edit mode)
Assignment 01
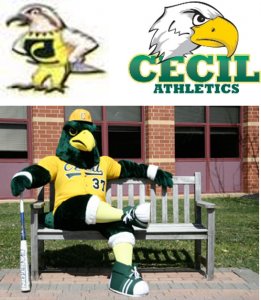
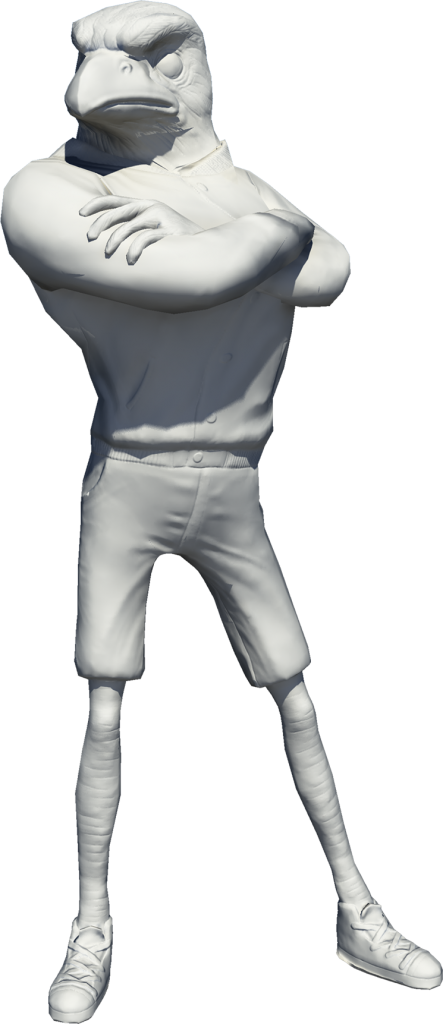
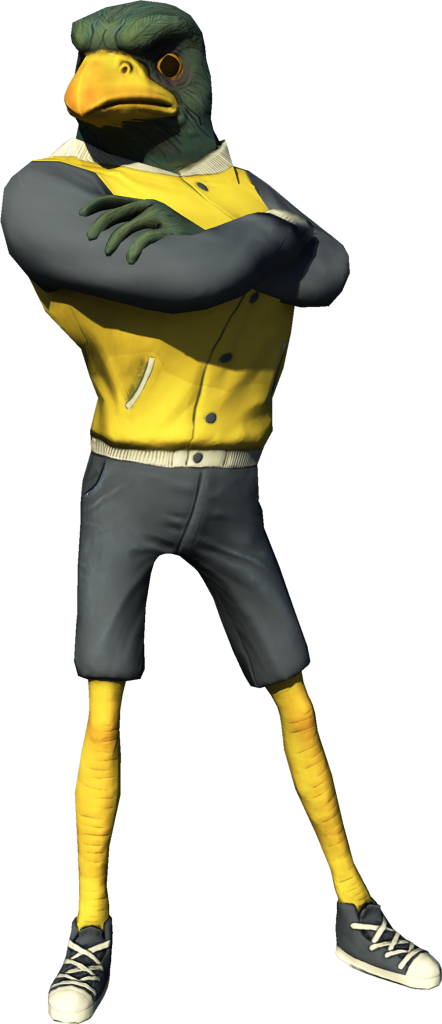
Cartoon Model
Your first project will be completed partially in class and out of class. You will design and model a cartoon style model. This may be anything you’d like that would be suitable for a feature length animation or nintendo style game. You are looking for strong exaggerate clean forms. The model itself should be low-poly, fully textured (color, specular, and normal map), and ready for implementation into an animation pipeline.
For Next Class: Complete the basic form of the model
You will be graded on the following:
- Geometry
-
No errors in the geometry such as non-manifold geometry, un-merged vertices, or lamina faces.
- Appropriate poly-count. Few tri’s and no n-gon’s. Few poles/stars.
-
- Topology
-
Strong consistent gridflow that supports the form well.
- Edge loops wrap around the areas of deformation correctly.
-
- Texturing
-
UV maps are projected, manipulated, and laid out appropriately.
- A varied and detailed color map is produced. Specular (shininess) map is produced.
- Funtional normal map is baked from high resolution sculpt and applied correctly.
-
- Creativity & Craftsmanship
-
Well structured, clean model.
- Novel, unique design.
-
Resources:
- You can find the rubric under the Assignments content folder in Blackboard.
Assignment 01 Tutorial Video
ZBrush Videos
Sculptris Videos