
3D Character Creation
Class 01: Intro to Character CreationTopics
- Course Introduction
- Character Design
- Basic Character Design Shapes
- For Next Class
- Class 01 Lab

Welcome to the first class!
Class Introduction
Hi There!
I'm Jon Cone
I am one of the full-time faculty in Cecil’s Visual Communication Program. I am mostly responsible for the game design and web design programs. I am also a freelance animator typically working on visualizations.
- Office Hours
- Tues 10:00am - 1:50pm
- Wed 1:00pm - 6:20pm
- Honestly just e-mail me. I will make time when it works for you.
- Contact Information: jcone@cecil.edu (prefered)
- (240) 466-1996 (personal)
- 410-287-6060 X 1470
Actual photo of me.
- Name:
- What’s your name? What do you go by?
- Why you are here:
- Is this required for your major? Are you taking this course as an elective? Personal Enrichment?
- Experience:
- Do you have any history with graphic arts or arts in general? Any experience with 3D Modelinge or other graphics software?
Alright. Here is an actual picture of me.
Course Description:
3D Character Creation – covers polygon modeling techniques relevant to producing high quality textured meshes viewable in live-video situations. Emphasis is placed on converting high-poly geometric details into low-poly geometry utilizing a variety of alternative modeling methods. 4 credits

Labs:
Each week there is a lecture, a lab assignment will be given. These are mostly exercises in creating a unique character designs based on a given prompt. All labs assignments will be submitted before the next class on Canvas.
- Character Lottery Lab
- Inanimate Animate Character Lab
- Animal Story Character Lab
- Stylized Character Lab
- Character Maquette Lab
- Caricatured Animal Sculpt
- 3D Scan Retopology
- Nursery Rhyme Lab
- Super Hero Design Lab
- Exploratory Sketches
Projects
Three projects will be due by the end of the course. These are long form. You will be given some class time to complete them but you should be working on these outside of class as well.
- 2D Character Model Sheet Project
- 3D Character Model Project
- Final Character Project
%
10 Labs
%
3 Projects
Canvas:
We will using Canvas pretty significantly throughout the course. Although most materials can be found here you will need to submit assignments via Canvas. This is also where you will find your grades.
Click the image to the right to go to Cecil’s Canvas login page.

Character Design
Character Design:
Character Design is the craft and process of producing drawn, modeled, or other medium, personas for film, video, games, and other industries.
Character Designer:
A character designer obviously creates the players of a narrative but in order to do so they perform certain tasks. Typically you will see character designers complete:
- Research
- Before any real work can be done the designer has to research all the aspects of the character, anatomy, occupation, time period, location, etc. This research may be done through traditional means (books, internet), or in person (on location, zoos, etc.). A slew of drawing takes place during this time.
- Direct
- Often using the research they have complete character designers will create art direction materials. This will create a unifying visual language help the rest of production stay cohesive. This is really more of the art directors’ job but the character designer helps in a way.
- Explore
- Arguable the most important part of the character design process. Exploratory sketches (doesn’t have to be drawings) are produced to create a buffet of ideas for the art director to choose from. The point of this process isn’t about creating great designs, it’s about creating as many as possible.
- Tie Down
- Once an interation of exploratory drawings are complete the best pieces of them will be nailed down to create a finalized design. From here a character model sheet will be developed. This document will be the imagery used throughout the production to keep the character “on model.”
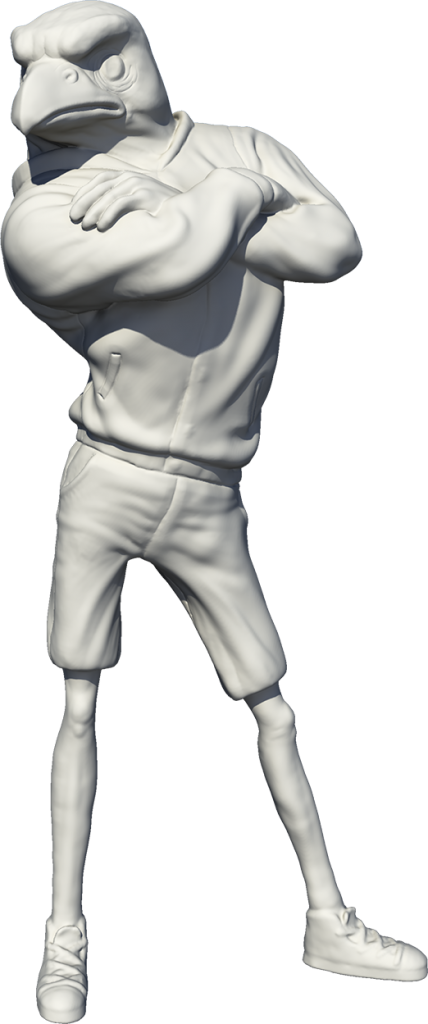
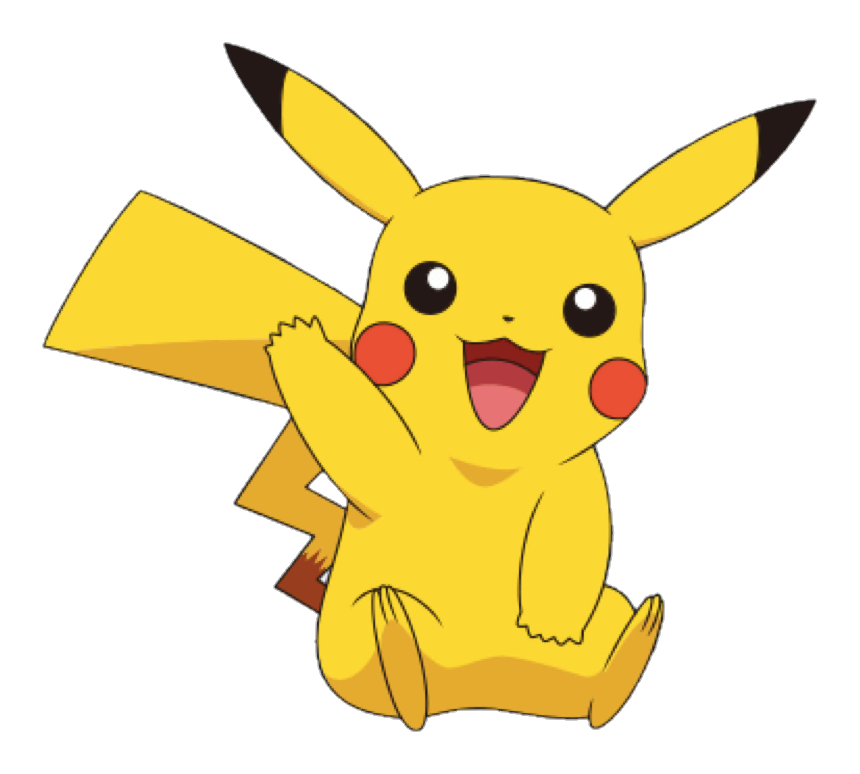
Basic Character Design Shapes
Foundation Shapes:
Everything you create in animation will be viewed flat, even if in 3D.
Always look at your designs from a compositional 2D point of view. Sometimes in 3D computer animation people get carried away with things that the viewer will never see. You care what the audience sees first and foremost, everything else is to help inform yourself.
There are three primary shapes:
Circles:
Circles are the most common shape utilized. The reason for this is more than likely because animated characters have a deep foundation in children’s entertainment and circles are the least threatening shape.
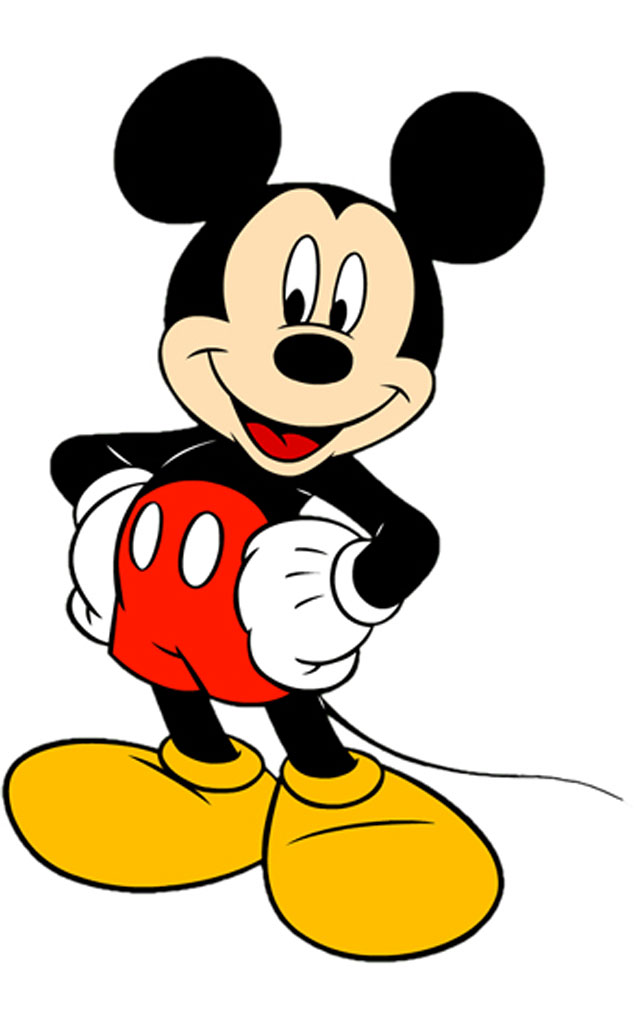
Squares:
Squares represent stability. They are un-moving resistant shapes. Squares are strong, dependable, solid, sometimes dumb. Often the “hero” or “strong arm” characters are squares.
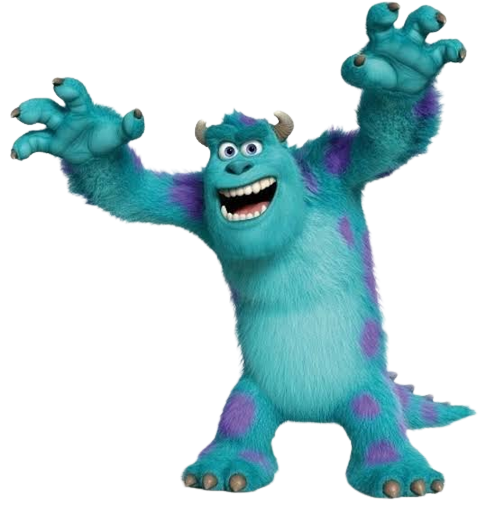
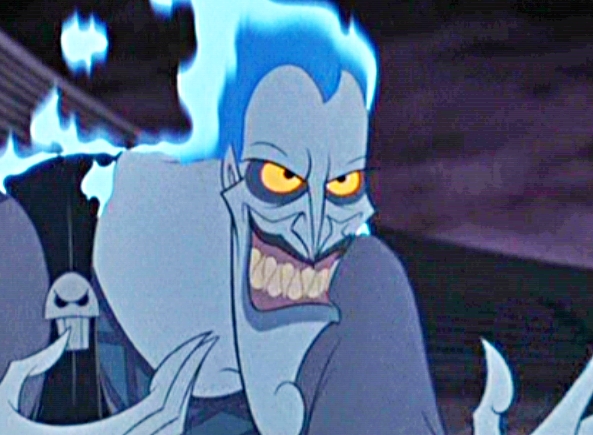
Triangles:
Triangles are the most directional, aggressive, often the catalyst. Often the “villain” or “sly” characters are triangles.

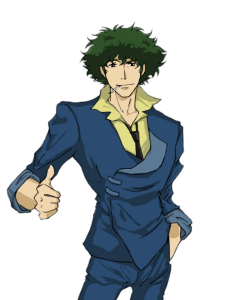

Cast of Shapes:
It is best to use a variety of shapes. Notice the various shapes in the examples below

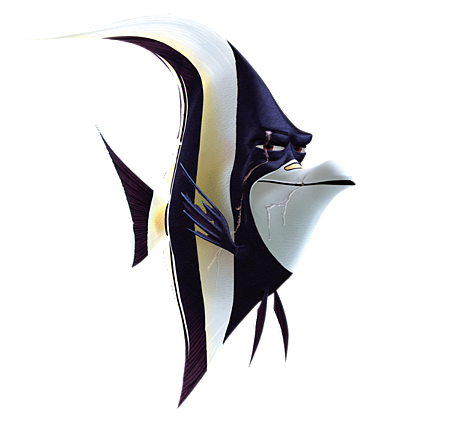
Angles:
It all really comes down to angles. The more angular the character the more aggressive they will appear.
Acute: Sharp hurts. Sharp is scary.
Obtuse: Round is soft. Blunt is non-threatening.
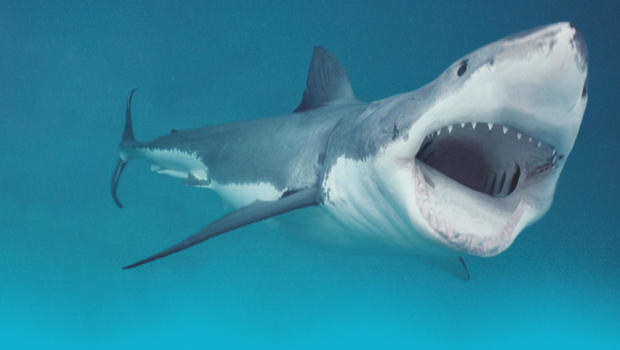
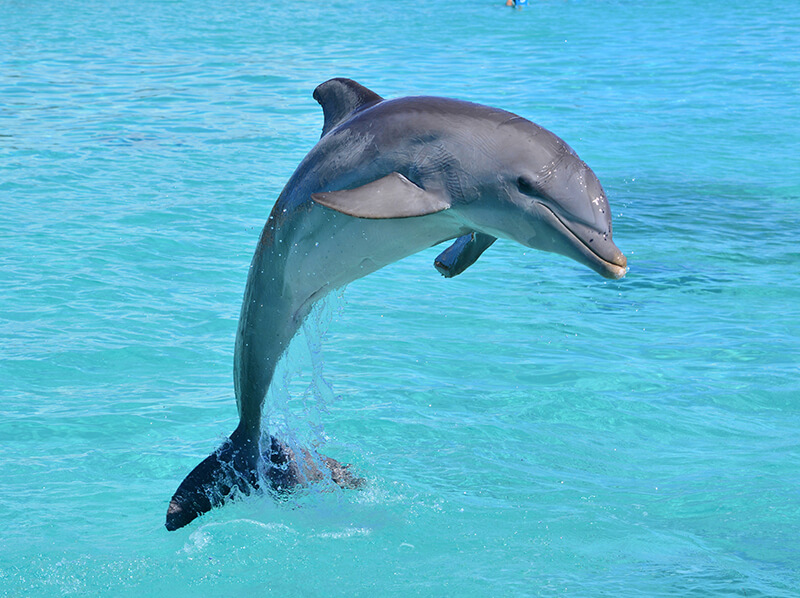
A dolphin and shark are the same basic shape. However the shark is sharp and the dolphin is not. Dolphin good. Shark bad.
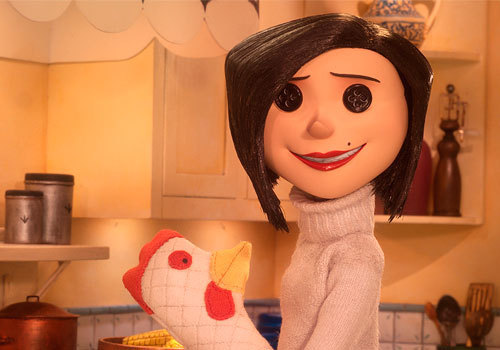
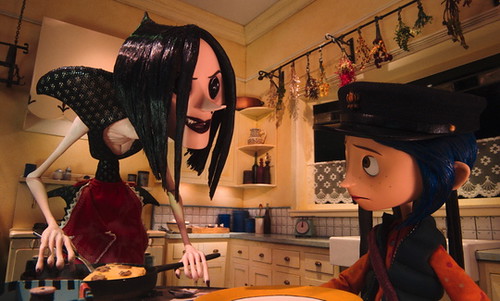
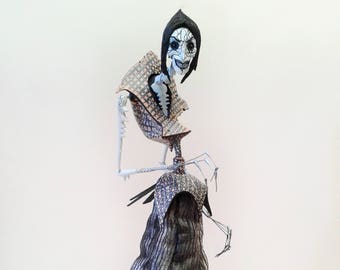
Notice how “The Other Mother” gets more and more angular and feels more threatening.
Complimentary and Whole Shapes:

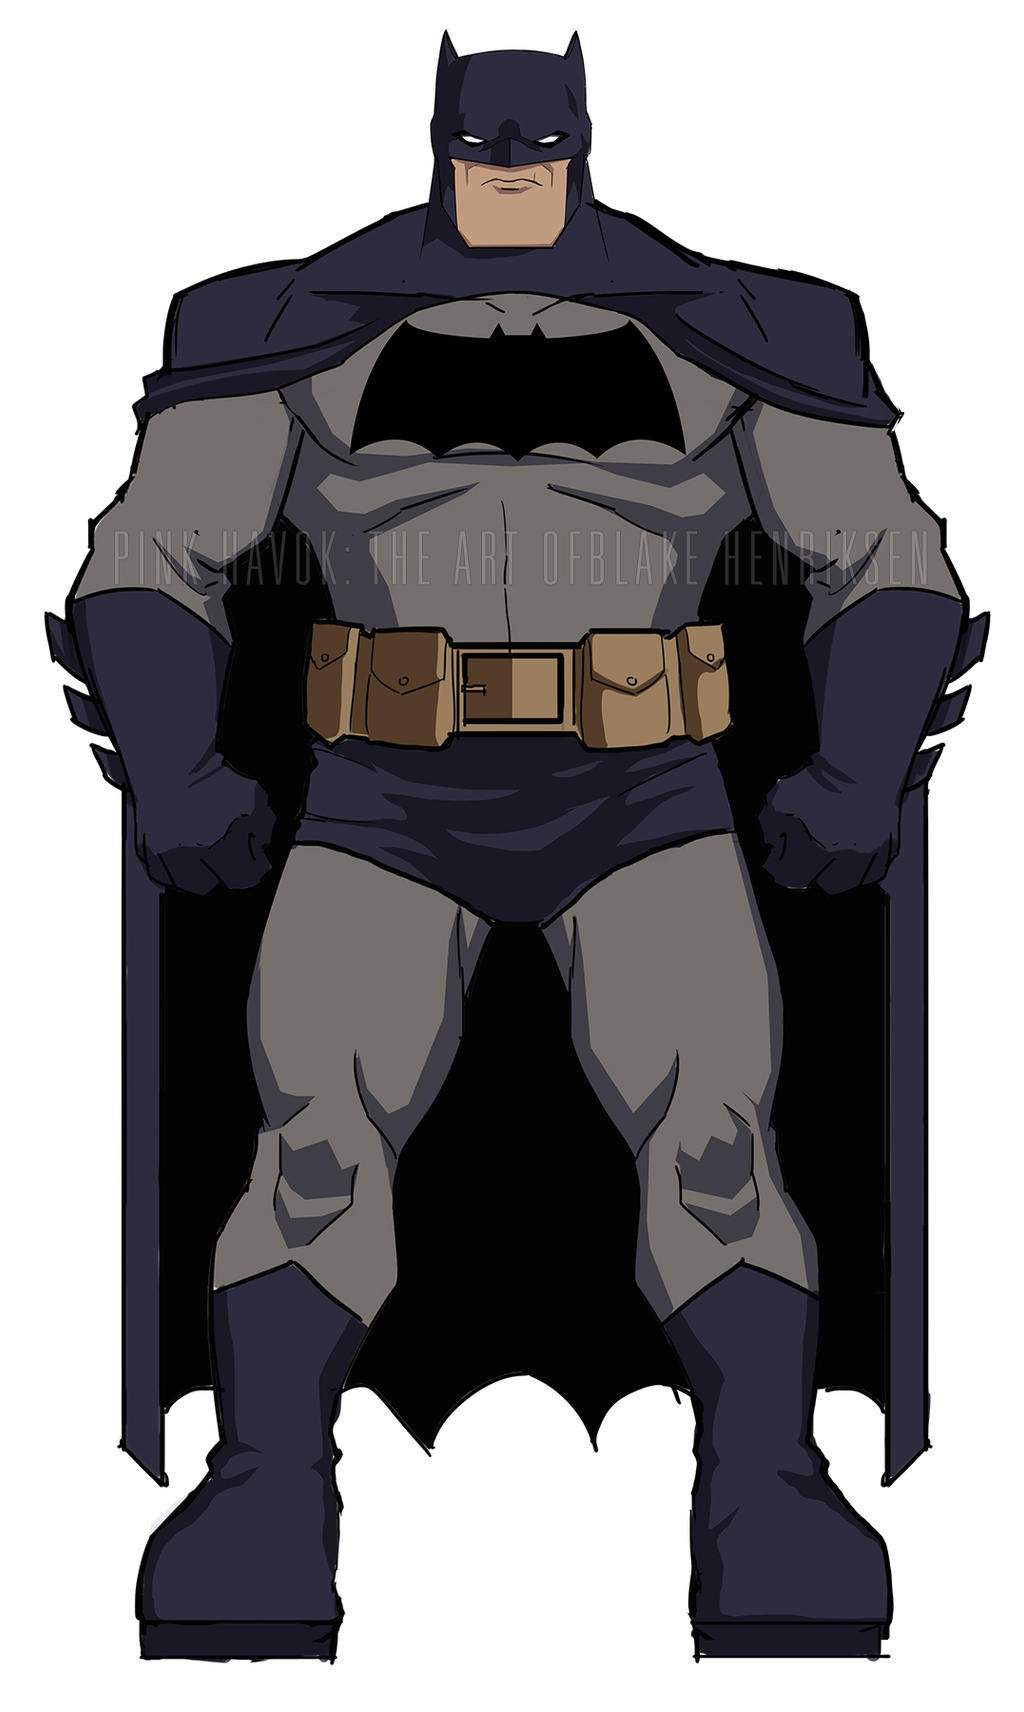
Your characters should work as whole shapes, not a bunch of individual one’s. There should be one dominating mass that all other elements are drawn from.
You should utilize repeating and complimentary (similar but not same) sub-shapes throughout your design to make it more cohesive.
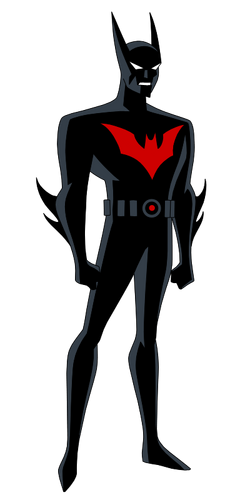
If you look at these three interpretations of Batman you can use the bat symbol as a guide. Notice the first is the most “middle of the road” design. The middle version is square-ish. All other elements are also (head, shoulders, cape, etc.) Gives strength but slowness. The last version is much more sharp. All elements are very pointed. This Batman is weaker but fast and agile looking.
Lines:
Shapes are made of angles and lines.
Straights and Curves:
Curves should never be more complicated than an ‘S’ or ‘C’. Anything more does not read well. This includes animated movements.
The simpler you go, and you want to go simple, the more precise and accurate your lines must be.
Do not only use one type of line you must use a selection of both straights and curves. You need the contrast (like big hand and small forearms). Straight lines are fast and curves are slow.
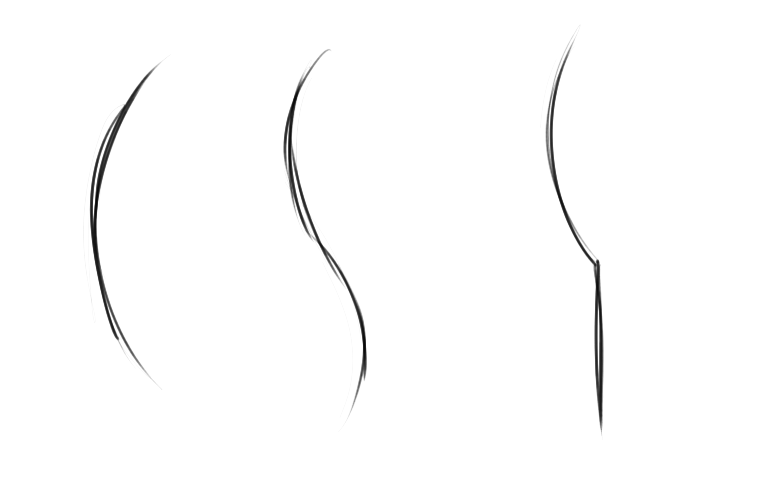
You can see that the characters are made up of only ‘C’, ‘S’, and straight lines.
For Next Class…
Handheld Object
Bring an object that you can hold in your hand next class. This should not be figure.
Class 01 Lab
Character Lottery Lab
Each week you will be given a lab to design a unique character. This will increase your foundational drawing skills, creative process, and build up a repository of designs. This week you will create a character based on a random lottery. You will be given four traits; name, occupation, adjective, location/time period. The focus on this lab is to be as creative as possible to create something novel and appealing.

You will be graded on the following:
- Lab Requirements
-
Techniques and processes covered in the instructional material is followed and implemented.
-
- Creativity & Craftsmanship
-
Excellent design choices, novel & appealing, and solid clean caliber work.
-
Resources:
- Assignment Video Tutorials
- You may watch the tutorial videos below to help you complete your assignment.
Wait! Before you go!
Did you remember to?
- Read through this webpage
- Submit Character Lottery Lab on Canvas
