
3D Character Creation
Class 01: Intro to 3D Character CreationTopics
- Course Introduction
- 3D Character Production
- Pixologic Zbrush
- Basic Sculpting
- Class 01 Lab

Welcome to the first class!
Class Introduction
Hi There!
I'm Jon Cone
I am one of the full-time faculty in Cecil’s Visual Communication Program. I am mostly responsible for the game design and web design programs. I am also a freelance animator typically working on visualizations.
- Office Hours
- Tues 10:00am - 1:50pm
- Wed 1:00pm - 6:20pm
- Honestly just e-mail me. I will make time when it works for you.
- Contact Information: jcone@cecil.edu (prefered)
- (240) 466-1996 (personal)
- 410-287-6060 X 1470
Actual photo of me.
- Name:
- What’s your name? What do you go by?
- Why you are here:
- Is this required for your major? Are you taking this course as an elective? Personal Enrichment?
- Experience:
- Do you have any history with graphic arts or arts in general? Any experience with Adobe or other graphics software?
Alright. Here is an actual picture of me.
Course Description:
3D Character Creation – covers polygon modeling techniques relevant to producing high quality textured meshes viewable in live-video situations. Emphasis is placed on converting high-poly geometric details into low-poly geometry utilizing a variety of alternative modeling methods. 4 credits

Labs:
Each week a new lab assignment will be given. These mimic the exercises we would do in a face to face course. You must simply follow the instructions given as closely as possible but also take liberties. You should, “make it your own,” to create your own designs with the processes presented. All labs will be submitted by the end of the week on Blackboard.
Projects
Three long form projects will be due by the end of the course. You will complete the same process from the labs but on your own original concepts.
| Labs | 10 | 50% |
| Projects | 3 | 50% |
| Total | 100% |
3D Character Production
3D Modeling Pipeline Overview:
To produce high-end assets the following is the most typical workflow
- Character/Set/Prop Design (research, exploratory, & turnaround)
- Base Mesh Generation (low poly)
- Low/Medium Resolution Sculpt (silhouette)
- Retopology
- High Resolution Sculpt (anatomy, accessories, details, surface)
- Poly Painting
- UV Layout
- Bake Comparative Maps
- Combine Models, Texture, Lighting to Render
Character/Set/Prop Design:
Before you start anything you need to do your homework and produce designs that are not influenced by the computer.
- First Research
- Produce Exploratory Sketches
- Tie Down Final Turnaround

Base Mesh Generation:
The first step in actually producing a high-end model is to produce a base shape you can sculpt onto. It is important to make sure all elements are present in at least a silhouette level.
- Production and Object Specific
- Can be almost entirely completed this way or just roughed in
- Box-Modeling
- Primitive Modeling
- Edge Loop Method
- 3D Scan
- Dynamic Mesh
- Software Specific Mesh Generation
- Future??

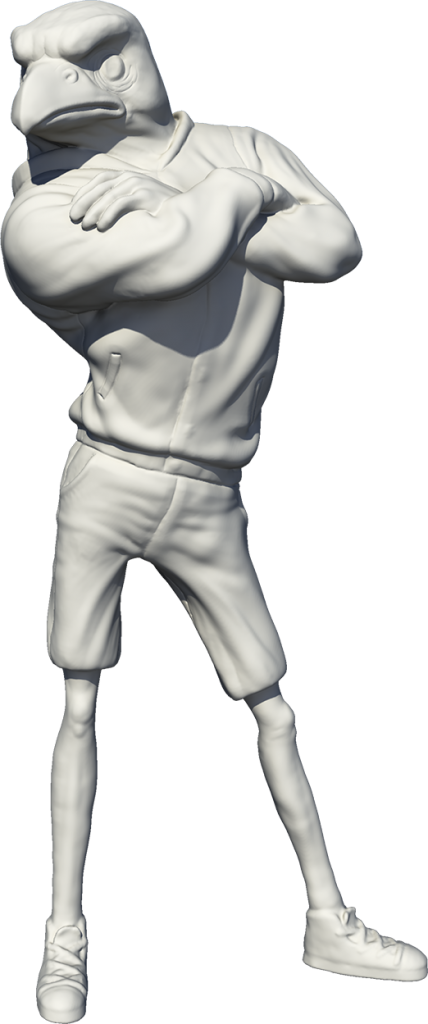
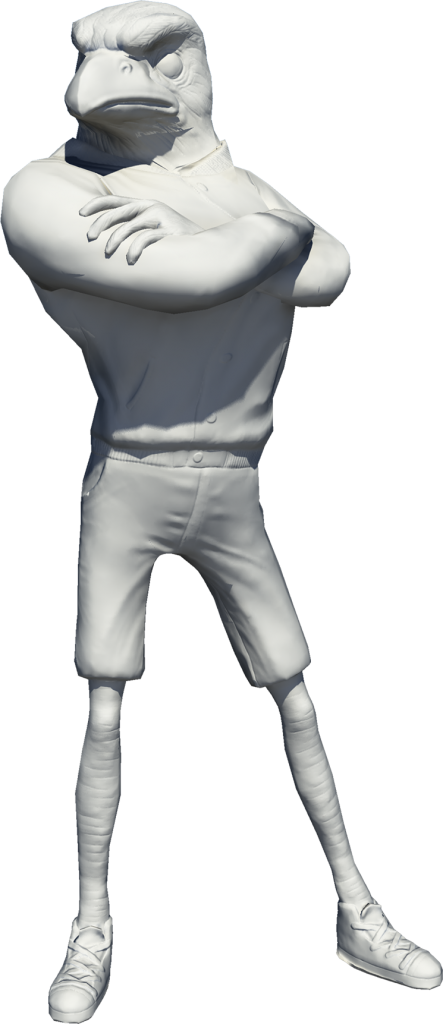
Sculpting:
This is very similar to traditional sculpting. It is important to work broad to specific. Develop the whole form overall and slowly tighten the model and work in more and more details across the entire figure
- Low Resolution Sculpt (silhouette)
- Medium Resolution Sculpt (anatomy, accessories)
- High Resolution Sculpt (details)
- HD Resolution Sculpt (surface)
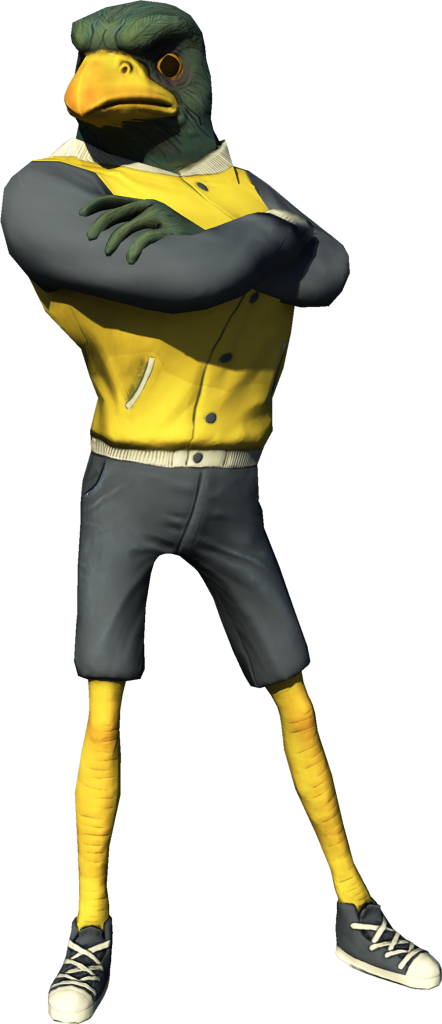
Texturing:
Once you have the “skin” of the model you need to “paint” it. This involves prepping the model by rebuilding it if necessary, filleting the figure into UV islands that are flat and paintable, painting color, shininess, bumpiness, etc. onto the surface of the model.
-
- Retopology
- The process of producing a new mesh with better geometry over top of geometry that is poor
- Can be done before sculpting, after sculpt, sometimes even after texturing, or not at all if the base mesh is accurate enough
-
- UV Layout
- Basically taking your 3D model and flattening it into a 2D version
- You typically complete this before texturing but it is possible to complete it after in Zbrush
-
- Texturing
- Painting color, specular, bump, transparency, etc. information on the model
-
- Bake Comparative Maps
- Automated process of producing texture maps on typically low poly models from their high poly version.
Pixologic Zbrush
Pixologic ZBrush
ZBrush is the industry standard three-dimensional sculpting software. It is capable of generating geometry using a variety of methods. The brush engine is the best the best on the market. Although its strength is in producing organic geometry such as character models it is also used to create and manipulate hard-surface models. The interface of ZBrush is very “unique” but the results of the software is hard to ignore.
ZBrush Core & Zbrush Core Mini
Pixologic offers less expensive versions of their software that is more streamlined with less features. They are generally good for creating quick “sketches” appropriate for look development or 3D printing. Zbrush core cost less than half of Zbrush but lacks advanced features and texturing tools. Zbrush core mini is completely free but has only a basic sculpting toolset.


Basic Sculpting
Sculpting:
The core of Zbrush is sculpting. More than anything else, this is what separates it from other programs.
Brushes:

- Standard Brush
- The most basic brush. Simply does addition or subtraction from the surface

- Move Brush
- Allows the user to pull and push the surface of the object

Standard brush on sphere (With no modifier, adds to the surface. With the alt modifier, subtracts from the surface)
Hotkeys:
Like most 3D programs it is required that you learn certain keys to quickly select tools or modify an operation. Below are the most useful.
Modifiers (in workspace [not on model])
- Click & Drag
- Rotate camera(view)
- Alt + Click & Drag
- Pan camera(view)
- Alt + Click & Drag then Release
- Zoom/dolly-in camera(view)
- Ctrl + Click
- Invert mask
- Ctrl + Click & Drag
- Clear mask
- Shift + Click & Drag
- Snap to view (left, right, front, back, top, botom)
- Alt + Ctrl + Click & Drag
- Unmask an area of a surface to make it manipulable
- Ctrl + Shift + Click & Drag
- Make only the area marque-ed visible
Modifiers (on model)
- Alt + Click & Draw
- Invert whatever tool is currently being used (ex. if used with the standard brush it will push in as opposed to pull out)
- Ctrl + Click & Draw
- Mask an area of surface to make it invulnerable to manipulation
- Shift + Click & Draw
- Smooths the surface of the model
- Alt + Ctrl + Click & Draw
- Unmask an area of a surface to make it manipulable
- Ctrl + Shift + Click
- Make all visible
- Ctrl + Shift + Click & Drag
- Over empty area of workspace makes all invisible
- Ctrl + Shift + Click & Drag
- Over an area of the model to make only that area visible
- Alt + Ctrl + Shift + Click & Drag
- Make the area marque-ed invisible
Universal
- Ctrl + Z
- Undo last action
- Ctrl + S
- Save
- Ctrl + C
- Copy
- Ctrl + V
- Paste
Tools/Options/Etc.
- Space
- Popup brush settings menu
- Q
- Draw/Pointer tool
- W
- Move tool
- E
- Scale tool
- R
- Rotate tool
- B + Other Letters
- Press B to bring up the brush menu, then press other letters to specify the brush desired (ex. B>S>T for standard brush)
- T
- Toggle edit Object (drop tool to canvas)
- Ctrl + N
- Clear canvas (on model not in edit mode)
Class 01 Lab
Human Base Shape Lab
For the first lab you create the base of a realistic human body. ln Pixologic Zbrush you will create a Zsphere armature. The Zspheres will be converted to a polymodel and then dynameshed to create a solid human form.
You will be graded on the following:
- Lab Requirements
-
Techniques and processes covered in the instructional material is followed and implemented.
-
- Creativity & Craftsmanship
-
Excellent design choices, novel & appealing, and solid clean caliber work.
-
Resources:
- Assignment Video Tutorials
- You may watch the tutorial videos below to help you complete your assignment.
Assignment Video Tutorials
Wait! Before you go!
Did you remember to?
- Read through this webpage
- Submit Human Base Shape Lab on Blackboard
