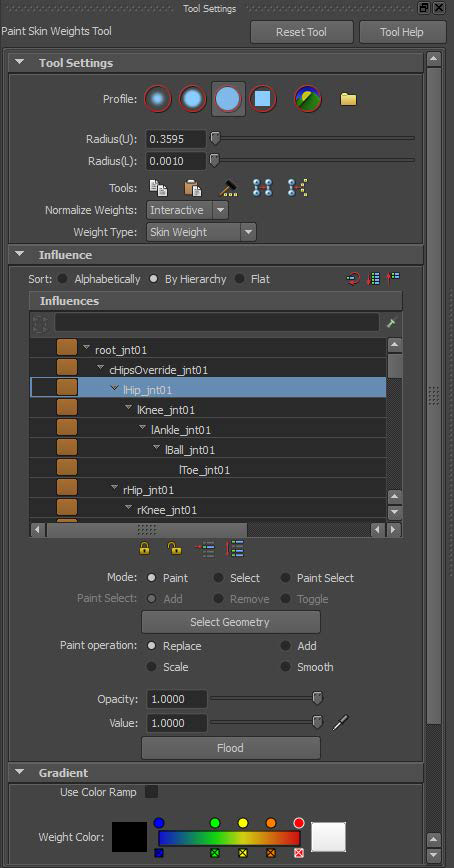
In object mode select the model the select Skin>Edit Smooth Skin>Paint Skin Weights Tool> [ ]
Make sure your settings look like above
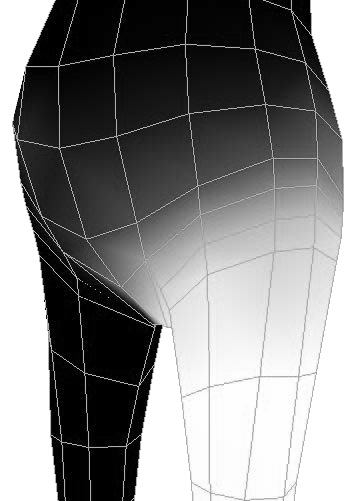
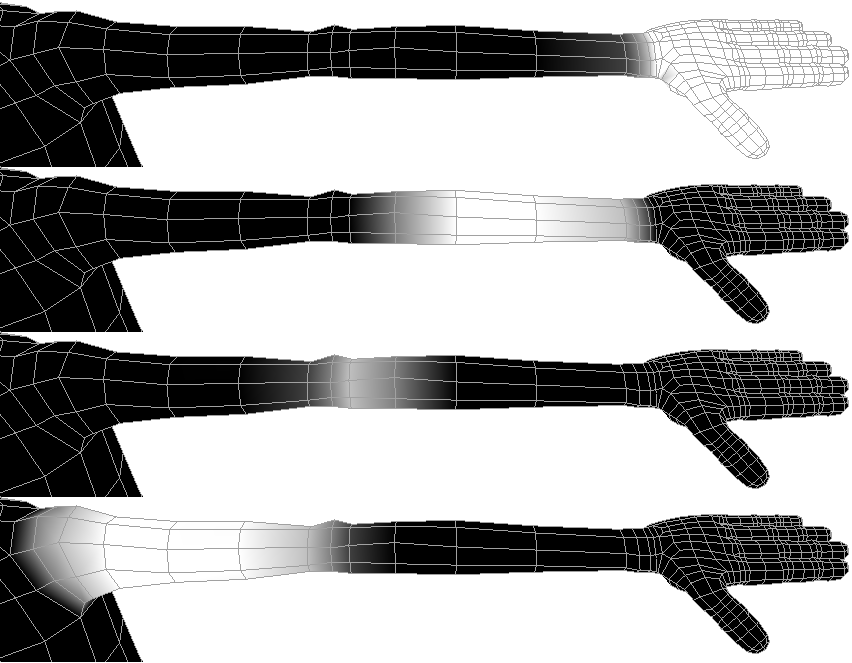
Default weight
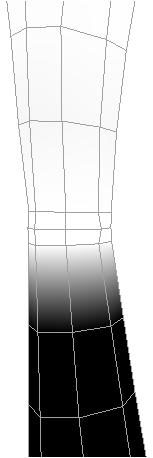
Painted a value of ‘1’ from joint above (hip)
Painted values ‘.75’, ‘.5’, & ‘.25’ with child joint (knee)
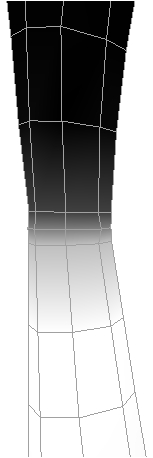
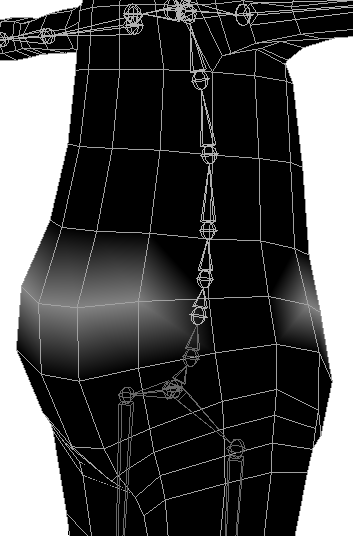
Default weight
Painted with “Add” at a value of .05
Painted “Smooth”
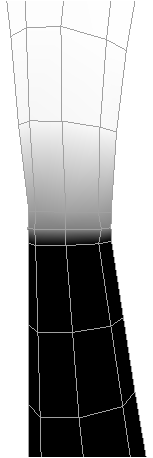
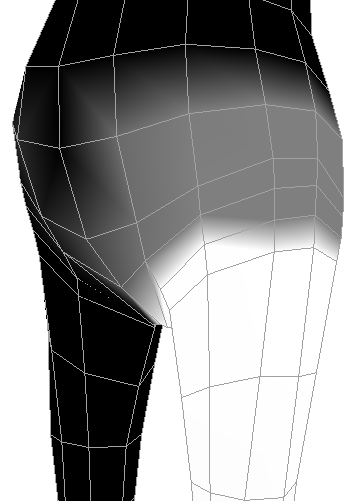
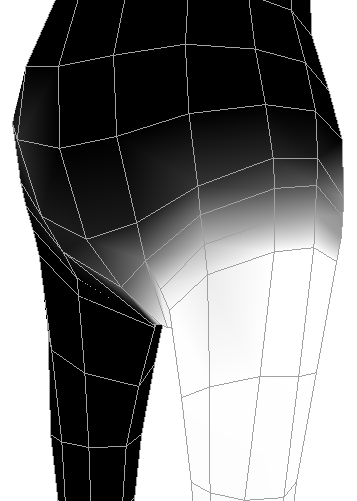
Default weight
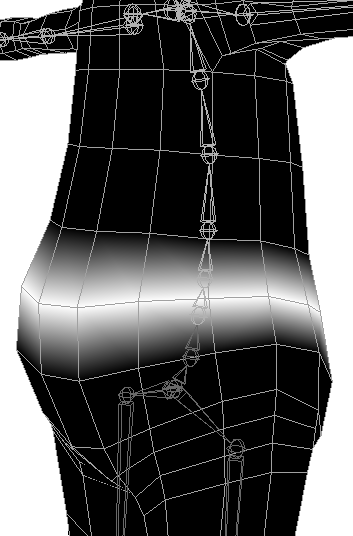
Painted with “Replace” at a value of 1
Painted “Smooth”
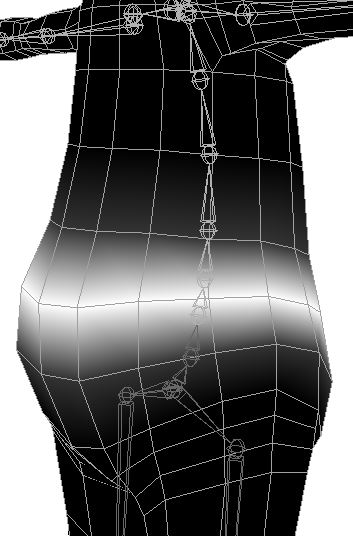
The spine will be done with the “Smooth Method.”
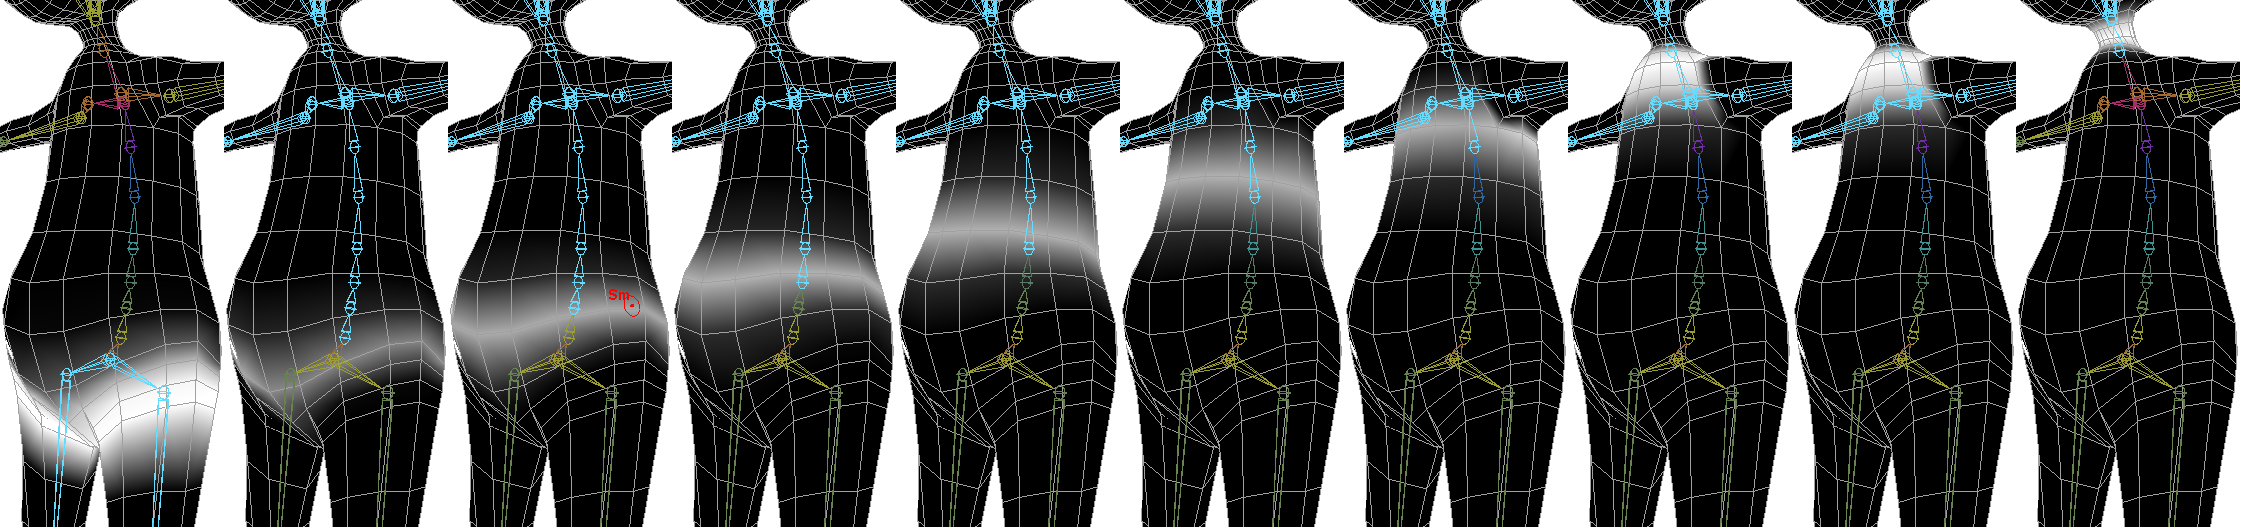
The leg should be done with the “Replace Method.”

Work up to the shoulder using the “Replace Method.”
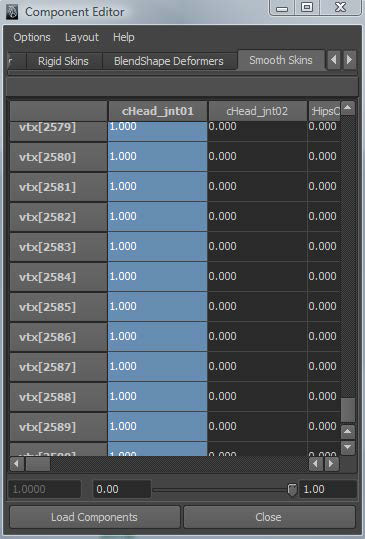
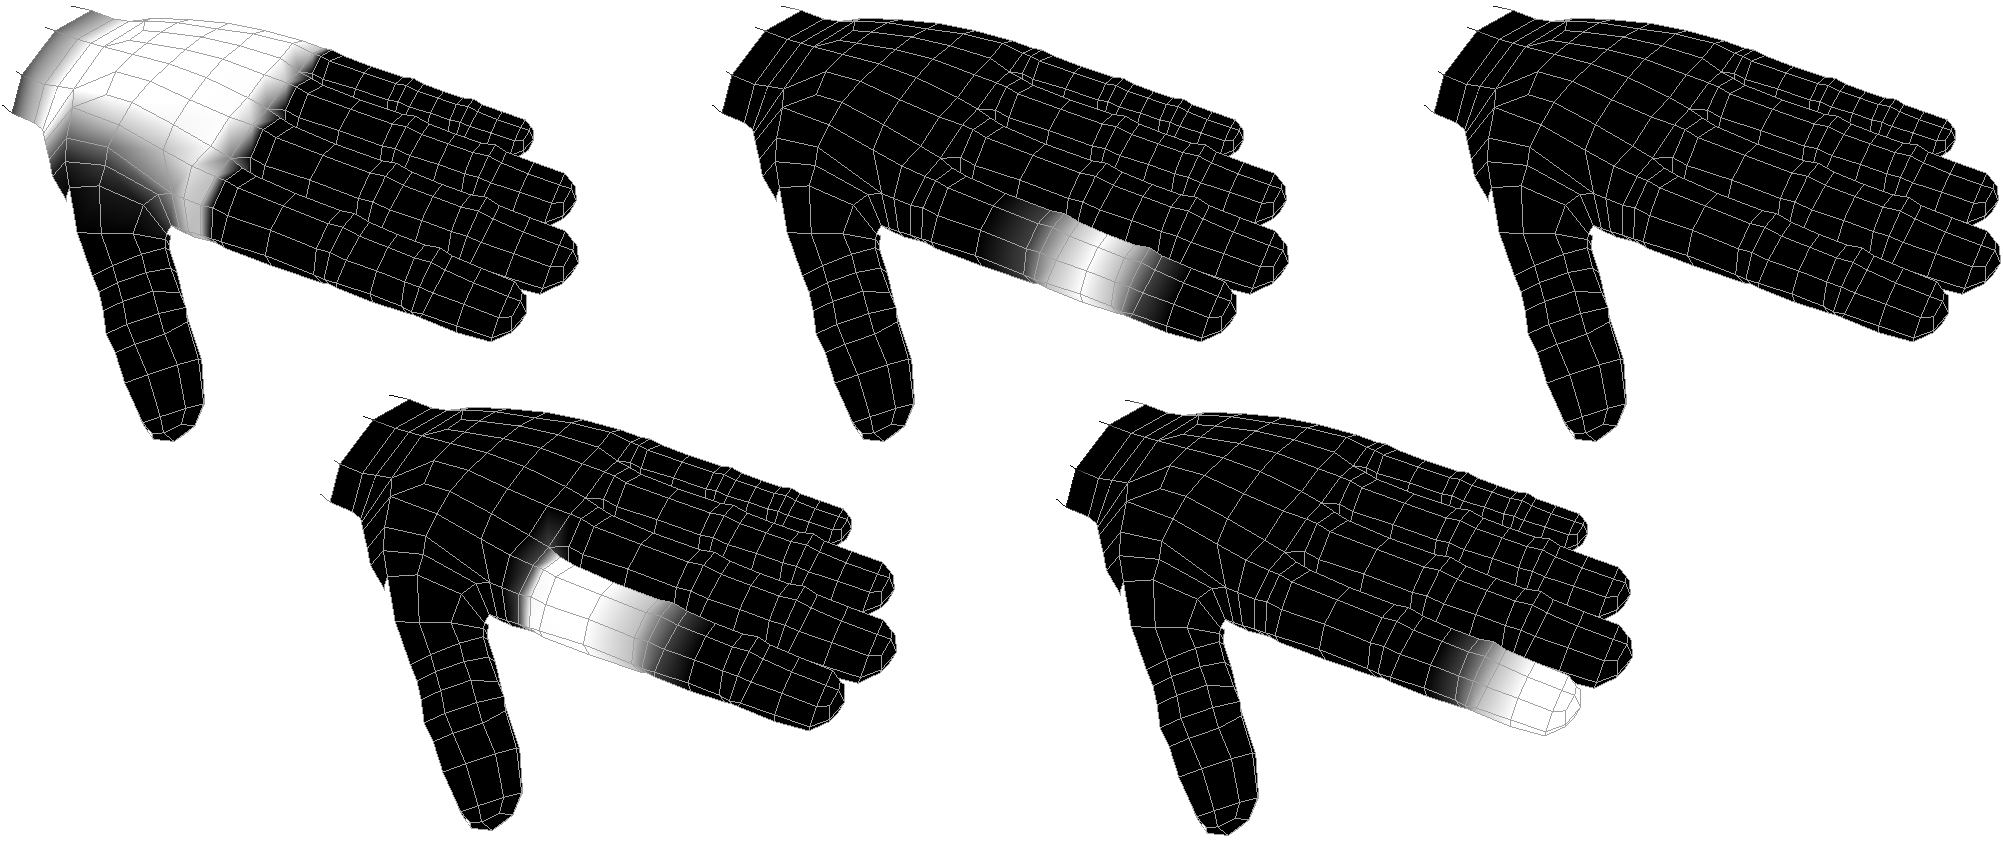
Complete the hands using the "Component" method
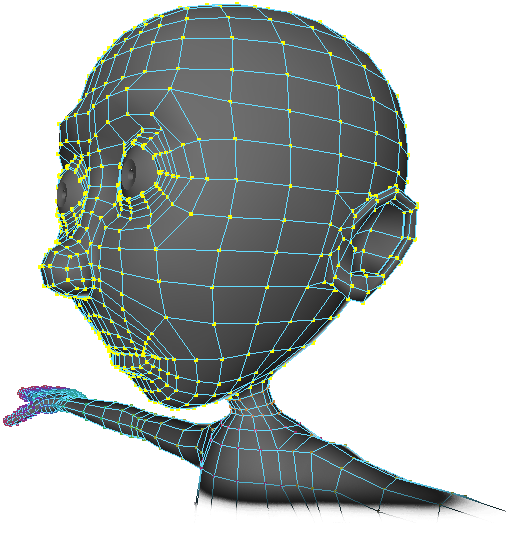
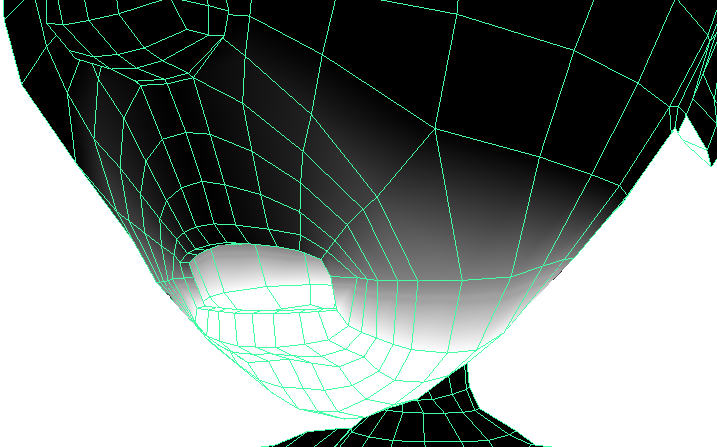
Complete the head using the "Component" and "Add" methods.
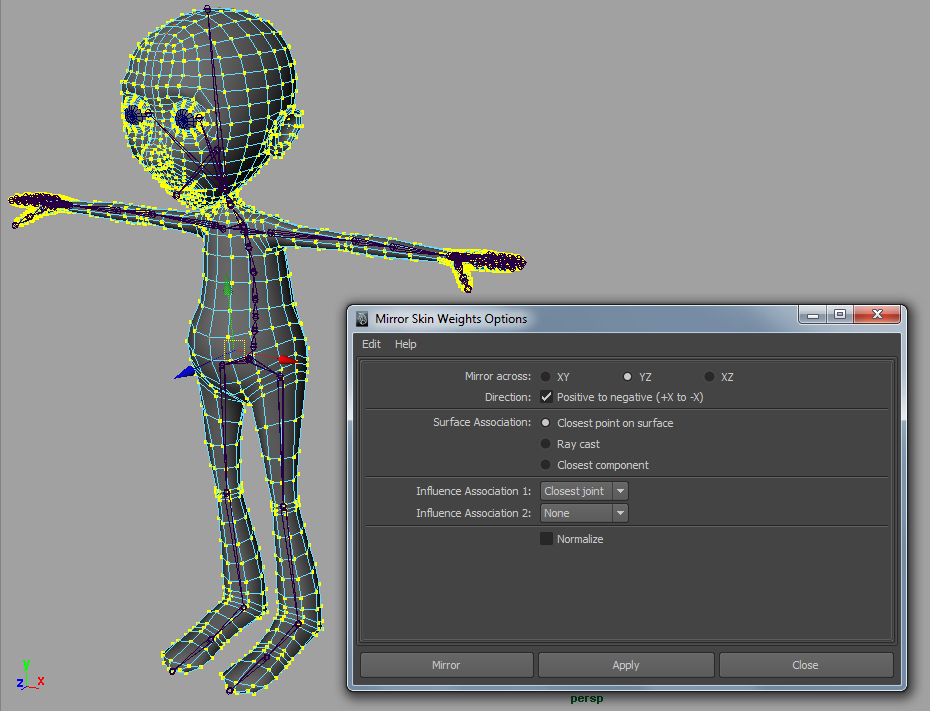
Mirror the weights
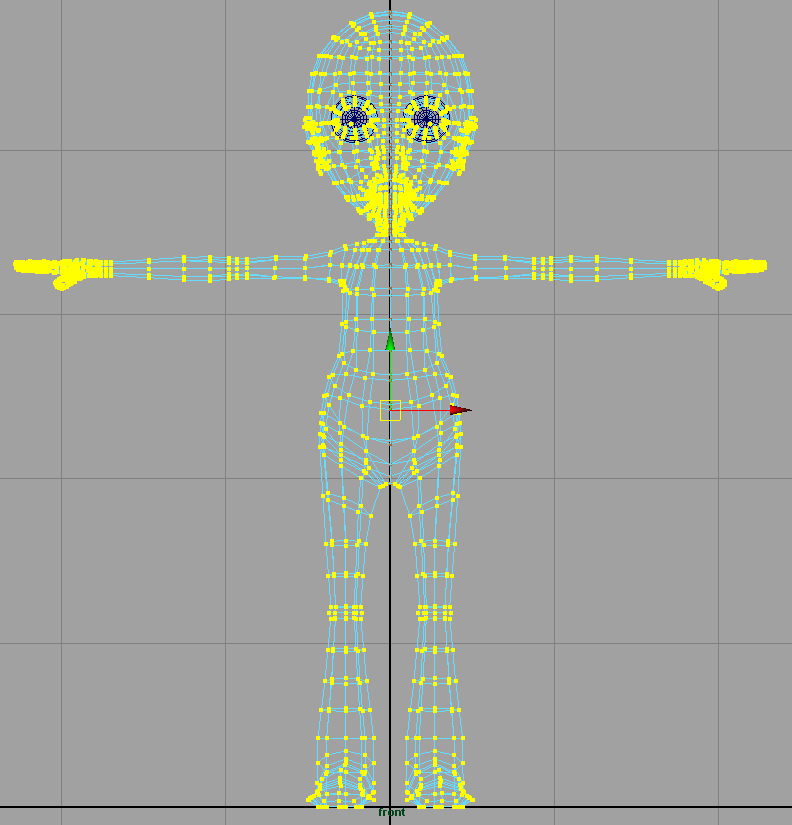
- It is best to do this from the front view with joints not shown (Show>Joints, uncheck it).
- First select all the vertices in component mode then unselect the center vertices (ctrl + leftClick).
- With all but the center vertices selected press Skin>Edit Smooth Skin>Mirror Skin Weights> [ ].
- Use world space to determine what plane to mirror across and what direction. Press Mirror to finish.
- You may need to change the Influence Associations to get the best results. Just make sure you save before you mirror because undoing (like mirroring skin weights) during rigging is a bad idea.