
3D Character Creation
Class 10: ColorTopics
- Color and Light Design
- 3D Modeling Pipeline
- 3D Sculpting
- 3D Texturing
- Project 02

Perfect
Color and Light Design
Poor Understructure
You MUST gesture first. If you look at these drawings you can see I cannot finish them because I did a poor gesture. The figures do not fit in the composition.


Poor Value Rendering
Like a gesture you want to start broad by blocking in your shadows. Avoid soft shadows
You can see here I did not block in my shadows so the images are very flat. I did these in high school and first semester of college.
In a composition you want to pay attention to positive and negative space caused by exotropic shadows. You should also pay attention to the endotropic shadows and the positive and negative shapes it creates.


Poor Value Rendering in CG
Have you ever noticed when characters interact with something CG it look fake. That is because they make masks for shadow and feather them. It would be impossible to create true shadows so they just feather a drop shadow from the mask.

Better Value Rendering
These are from my junior year of college and I finally started blocking shadows. There is much more realistic lighting and a much more 3-Dimensional image.
To help create a more 3-Dimensional image it helps to utilize cross contour hatching and cross hatching, just like when you gesture draw around the figure.
Once you have your general shadows blocked in you can add some subtlety inside the shadow areas.
Some smudging will occur during drawing and that is desired. You can use subtraction (erase) to highlight and define shadows. Don’t forget about core shadows and reflection highlights.
Do Not Smudge to create shadows. Your drawings will lack texture and depth. I hate smudging.
Use a full range of value, from black to white.
Use most of your time you draw for proper layout and understructure before you shade.
Maintain a consistent light source. All shadows should be going in one direction.


Color Scheme
All you need to do is stay to a color scheme. I am bad with color but I know to just not get crazy with it. Just like character design don’t be so literal.
You can see there are multiple scenes here that all have consistent colors.


Color Meaning
Colors convey symbolic and emotional meanings.
Use a color to depict a mood of a scene.
Don’t use literal colors (yellow sun, blue sky, white clouds).
Color can depict weather and time of day.
Use artwork color schemes to help date your film.
Use “loud” colors sparingly, as accents, or they will be competing with each other.
Use color to advance and recede areas of a design (Ariel perspective).
Line is lighter than color, lines read faster.
Color can draw attention. A red rose in an achromatic scene draws a lot of attention to itself. Red on different parts of the body can mean different things. Red nose (sick), red face (embarrassed/mad), hand (caught red-handed), red foot (injury).

Color Use
Use color as representation. Color can say a lot (instead of words). Animation is so much about economy; you want to get as much as you can for as little as possible.
Notice how Hades is cool when he is cool and hot when he is hot.


Corpse Bride is a great example of using color to separate areas, mood, and characters.
3D Modeling Pipeline
3D Modeling Pipeline Overview:
To produce high-end assets the following is the most typical workflow
- Character/Set/Prop Design (research, exploratory, & turnaround)
- Base Mesh Generation (low poly)
- Low/Medium Resolution Sculpt (silhouette)
- Retopology
- High Resolution Sculpt (anatomy, accessories, details, surface)
- Poly Painting
- UV Layout
- Bake Comparative Maps
- Combine Models, Texture, Lighting to Render
Character/Set/Prop Design:
Before you start anything you need to do your homework and produce designs that are not influenced by the computer.
- First Research
- Produce Exploratory Sketches
- Tie Down Final Turnaround

Base Mesh Generation:
The first step in actually producing a high-end model is to produce a base shape you can sculpt onto. It is important to make sure all elements are present in at least a silhouette level.
- Production and Object Specific
- Can be almost entirely completed this way or just roughed in
- Box-Modeling
- Primitive Modeling
- Edge Loop Method
- 3D Scan
- Dynamic Mesh
- Software Specific Mesh Generation
- Future??

Sculpting:
This is very similar to traditional sculpting. It is important to work broad to specific. Develop the whole form overall and slowly tighten the model and work in more and more details across the entire figure
- Low Resolution Sculpt (silhouette)
- Medium Resolution Sculpt (anatomy, accessories)
- High Resolution Sculpt (details)
- HD Resolution Sculpt (surface)
Texturing:
Once you have the “skin” of the model you need to “paint” it. This involves prepping the model by rebuilding it if necessary, filleting the figure into UV islands that are flat and paintable, painting color, shininess, bumpiness, etc. onto the surface of the model.
-
- Retopology
- The process of producing a new mesh with better geometry over top of geometry that is poor
- Can be done before sculpting, after sculpt, sometimes even after texturing, or not at all if the base mesh is accurate enough
-
- UV Layout
- Basically taking your 3D model and flattening it into a 2D version
- You typically complete this before texturing but it is possible to complete it after in Zbrush
-
- Texturing
- Painting color, specular, bump, transparency, etc. information on the model
-
- Bake Comparative Maps
- Automated process of producing texture maps on typically low poly models from their high poly version.
3D Texturing & Sculpting
Color Scheme
All you need to do is stay to a color scheme. I am bad with color but I know to just not get crazy with it. Just like character design don’t be so literal.
You can see there are multiple scenes here that all have consistent colors.
Basic Sculpting (Mudbox)
Mudbox
Autodesk Mudbox will be the primary piece of software used in this course. It is free for students to download and use with proper registration. This application allows you to create organic high-resolution models and textures. It’s primary focus is on a simple intuitive interface that utilizes a robust layer system that allows the artist to sculpt and paint directly on the polygonal form.
…You can sculpt and paint cool stuff.
Sculpting:
The core of Mudbox is sculpting. More than anything else, this is what separates it from other programs.
Brushes:

- Sculpt Brush
- The most basic brush. Simply does addition or subtraction from the surface

- Move Brush
- Allows the user to pull and push the surface of the object

Hotkeys (with Maya preset):
Like most 3D programs it is required that you learn certain keys to quickly select tools or modify an operation. Below are the most useful. There are more that you may find by going to Windows>Hotkeys. You may also adjust, change, or create hotkeys in the popup menu.
Navigation
- Alt + Left Click & Drag
- rotate camera view
- Alt + Middle Click & Drag
- Pan camera view
- Alt + Right Click & Drag
- Zoom/dolly-in camera view
- F
- Frame on mouse
- A
- Frame selection
- W
- Wireframe visibility toggle
- Shift + D
- Subdivide model
- Page Up
- Level up model subdivision
- Page Down
- Level down model subdivision
Modifiers
- Ctrl+Left Click & Drag
- Inverse tool (ex. addition becomes subtraction)
- Shift + Left Click & Drag
- Smooth
Universal
- Ctrl + Z
- Undo last action
- Shift + Z
- Redo last action
- Ctrl + S
- Save
- Ctrl + C
- Copy
- Ctrl + V
- Paste
Tools/Options/Etc.
- B+Left Click & Drag
- Brush size (diameter)
- M+Left Click & Drag
- Brush strength (amplitude)
- Space
- Hotbox (context based quick tool selection and functions menu)
- 1, 2, 3, 4, etc.
- Select corresponding tool visible in bottom panel
- I + Left Click
- Eyedropper
- Shift + M
- Freeze all
- Shift + U
- Unfreeze all
- Shift + I
- Invert freeze
Basic Sculpting (Zbrush)
Sculpting:
The core of Zbrush is sculpting. More than anything else, this is what separates it from other programs.
Brushes:

- Standard Brush
- The most basic brush. Simply does addition or subtraction from the surface

- Move Brush
- Allows the user to pull and push the surface of the object

Standard brush on sphere (With no modifier, adds to the surface. With the alt modifier, subtracts from the surface)
Hotkeys:
Like most 3D programs it is required that you learn certain keys to quickly select tools or modify an operation. Below are the most useful.
Modifiers (in workspace [not on model])
- Click & Drag
- Rotate camera(view)
- Alt + Click & Drag
- Pan camera(view)
- Alt + Click & Drag then Release
- Zoom/dolly-in camera(view)
- Ctrl + Click
- Invert mask
- Ctrl + Click & Drag
- Clear mask
- Shift + Click & Drag
- Snap to view (left, right, front, back, top, botom)
- Alt + Ctrl + Click & Drag
- Unmask an area of a surface to make it manipulable
- Ctrl + Shift + Click & Drag
- Make only the area marque-ed visible
Modifiers (on model)
- Alt + Click & Draw
- Invert whatever tool is currently being used (ex. if used with the standard brush it will push in as opposed to pull out)
- Ctrl + Click & Draw
- Mask an area of surface to make it invulnerable to manipulation
- Shift + Click & Draw
- Smooths the surface of the model
- Alt + Ctrl + Click & Draw
- Unmask an area of a surface to make it manipulable
- Ctrl + Shift + Click
- Make all visible
- Ctrl + Shift + Click & Drag
- Over empty area of workspace makes all invisible
- Ctrl + Shift + Click & Drag
- Over an area of the model to make only that area visible
- Alt + Ctrl + Shift + Click & Drag
- Make the area marque-ed invisible
Universal
- Ctrl + Z
- Undo last action
- Ctrl + S
- Save
- Ctrl + C
- Copy
- Ctrl + V
- Paste
Tools/Options/Etc.
- Space
- Popup brush settings menu
- Q
- Draw/Pointer tool
- W
- Move tool
- E
- Scale tool
- R
- Rotate tool
- B + Other Letters
- Press B to bring up the brush menu, then press other letters to specify the brush desired (ex. B>S>T for standard brush)
- T
- Toggle edit Object (drop tool to canvas)
- Ctrl + N
- Clear canvas (on model not in edit mode)
Blender
Blender:
Blender is the free and open source 3D creation suite. It supports the entirety of the 3D pipeline—modeling, rigging, animation, simulation, rendering, compositing and motion tracking, even video editing and game creation. Advanced users employ Blender’s API for Python scripting to customize the application and write specialized tools; often these are included in Blender’s future releases. Blender is well suited to individuals and small studios who benefit from its unified pipeline and responsive development process.
-Blender.org
1: Menus
Basic file management such as open, close, save,etc. Change preferences, settings, display etc.
2: Workspaces
There are different “areas” inside blender. They can be switched to by select each tab. Each workspace is organized specifically for its purpose.
3: 3D Viewport
This is the primary area you work withing. By default this is the 3D space your various objects such as models, lights, cameras, particles, exist.
4: Outliner
This is basically a list area that you may view the objects in your scene, files, and varioius other items. It’s an organizational area of what is included in your file.
5: Properties
This panel contains the specific information of the scene and whatever objects you currently have selected. It allows you to make adjustments, connections, and create various items.
6: Timeline
Very typical animation style timeline that gives you access to the frames, keys, and other controls dealing with motion.
7: Status Bar
This does two primary jobs. One is that it will tell you what is currently happening but it will also give you tips such as modifier keys, tool options, etc.

Hotkeys:
Like most 3D programs it is required that you learn certain keys to quickly select tools or modify an operation. Below are the most useful.
Navigation
- MM Click & Drag
- Rotate camera(view)
- Shift + MM Click & Drag
- Pan camera(view)
- Ctrl + MM Click or Scroll wheel
- Zoom camera(view)
- Alt + MM Click & Drag
- Snap to orthographic view
- . (on numpad)
- Focus on object/component (selected)
- Alt + MM Click
- Focus on object/component (clicked)
Interface
- Tab
- Toggle object/component mode
- 1 2 3
- Vertex select, edge select, face select.
- N
- Reveals the N-panel that displays the selections transform information, tool options, and camera settings
- Q
- Quick Favorites. Righ-click on anything to add it to your Quick Favorites
Universal
- Ctrl + Z
- Undo last action
- Ctrl + S
- Save
- Ctrl + C
- Copy
- Ctrl + V
- Paste
Transforms
- W
- Draw/Pointer tool
- G
- Move tool
- S
- Scale tool
- R
- Rotate tool
- G or S or R Then X or Y or Z
- Press transform (G/S/R) hotkey, then press letter identifying axis to lock
Tools/Options/Etc.
- Shift + A
- Add mesh
- E
- Extrude
- Ctrl + R
- Loop cut
- K
- Knife
- RM Click
- Right clicking on an element will reveal context sensitive tools if you cannot remember the hotkeys
Painting
Texturing Process:
Like all projects it is best to work broad to specific.
Texture Painting Process:
- Primary Colors
- The first step is to simply apply the main areas of color over the entire model.
- Secondary Colors
- After the entire model has been painted the next step is to paint secondary colors, things like patterns, stripes, logos, text, etc.
- Variation
- Apply varied colors that broadly appears like the primary and secondary coloring (ex. if you look at skin you will see a ton of variation).
- Textures
- Using both color and bump mapping you will add the texture of the surfaces.
- Details
- Add minor details. You should attempt to produce surfaces that show history. This is usually best achieved by using grunge maps.
- Pre-Shading/Rosiness
- In order to make a model really pop it is usually best to darken areas that recede and lighten areas that ascend. It is also a good idea to add redness at the superficial areas of skin.
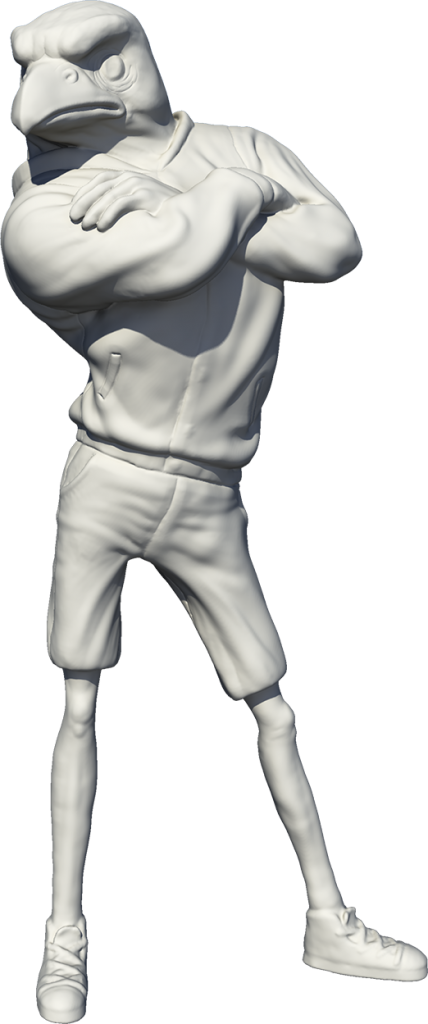
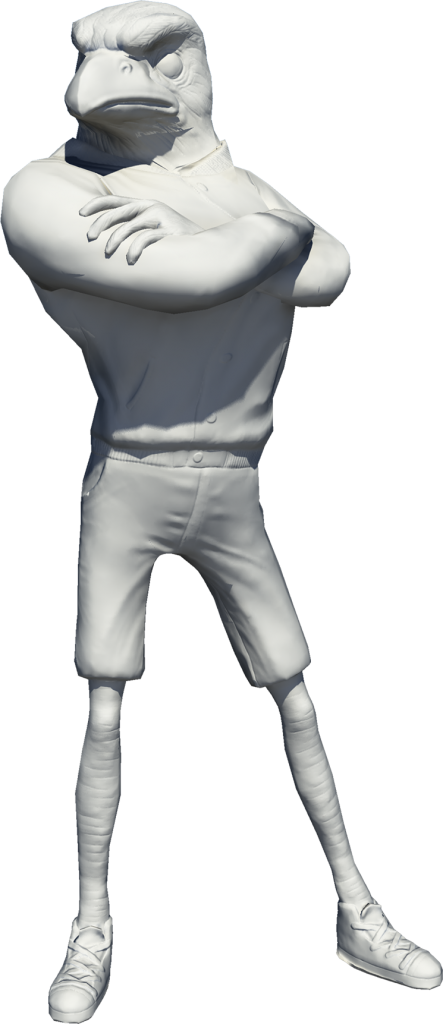
Project 02
3D Character Model Project
The first project is to complete a realistic bipedal model. It doesn’t have to be human. That means is that you may do an elf, dwarf, or other humanoid person. The model should be as accurate and believable as possible. The final product should be something that would be suitable for a triple A game.
You will be graded on the following:
- Geometry:
- There are no errors in the geometry. Few tris used. Appropriate polycount.
- Topology:
- Gridflow is strong. Topology follows architecture well. Should fully support quality deformation.
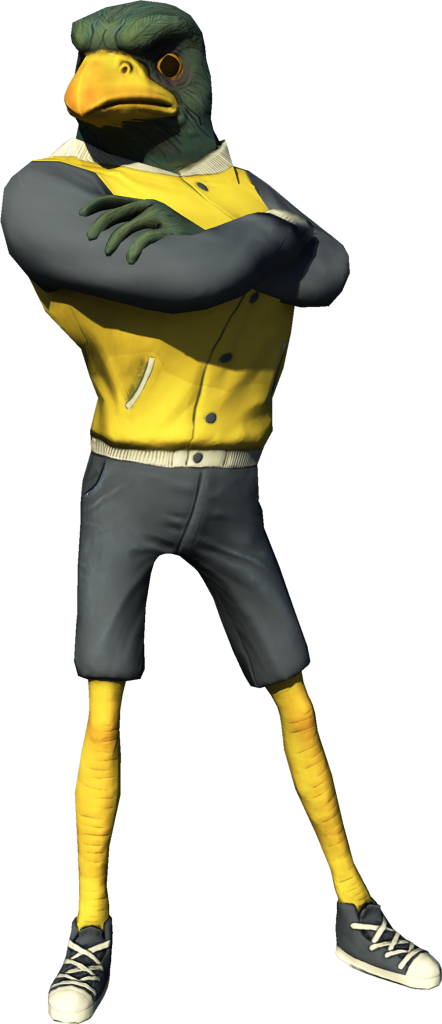
- Texturing:
- Well-crafted UV’s and elaborate materials are developed. Painted textures are fully developed with a strong sense of color theory. Fully “fleshed” out details are included.
- Creativity & Craftsmanship:
- Well structured, clean model. Novel, unique design.\
Resources:
- Assignment Video Tutorials
- You may watch the tutorial videos below to help you complete your assignment.
Assignment Video Tutorials
Wait! Before you go!
Did you remember to?
- Read through this webpage
- Submit 3D Character Model Project on Canvas
