
Digital Imaging I
Class 02: Non-Destructive EditingTopics
- Project Management
- Cloud
- Image Acquisition
- The Camera
- Non-Destructive Editing
- Assignment 02

You made it to class two!
Project Management
Project Management:
An often overlooked aspect of graphic design is project management. It is crucial to plan and organize the activities required to deliver work to the client that is expected and on time.
Burgers:
We are applied artists. That means the work we produce is consumed. We are not creating it for ourselves (fine art). You may cook for yourself but it does not make you a chef. A professional makes food for others. When you think of when professional artists were at their peak (Renaissance), you will see that they are more contractors than artist. They produced art to be used by the masses.
We make burgers. We want to create the best tasting burgers. We want to make them quickly and consistently. We want to sell the most burgers. The key to this is process.
Stages:
Your process may differ but generally speaking you should work broad to specific as well as iterative. A good process might look like below:
- Brief
- You will either meet with the client or will be given parameters to begin work.
- For example, I am given this:
-
HEADLINE: Our Tuesday Special!COPY: Baked Seasoned ChickenChicken seasoned just right served on top of pasta with zucchini, onions and mushroomsPIC: include the attachedLOGO: also attachedADDRESS and PHONE, ETC: 7062 Lewiston Rd., Oakfield | (585) 948-6070 | Find us on Facebook
-
- Rough sketch of concept
- Using what you are given in the brief you want to either sketch out a wireframe or make a quick mockup. It is crucial to do this quickly as to not waste time and get a review to see if you are even on the right track.
- Completed draft of project
- After the concept is reviewed you can then complete the actual project. Be sure to get as much feedback as possible.
- Final and delivered project
- Once completed the project is delivered in a useable format. Be sure to NOT give them the working files. This way they have to come to you for changes.

Cloud
The Cloud:
In digital terms, the cloud is the storage and access of digital files and software on servers over the internet. It is well understood that the Adobe Creative Cloud allows subscribers to access the adobe suite of tools. However, another aspect of this service is the storage of user files as well. This has multiple benefits:
- Save file that may be accessed from any computer with an internet connection
- Easily share access with coworkers for a more streamline production
- Edit images inside browser based Photoshop
- Share work with clients (no subscription required) via the browser with commentary enabled
Image Acquisition
Image Quality:
This course is not specifically designed around image capture but the quality of your images will affect your work. A carpenter needs quality tools.
For the most part I do not care where you get your images but you should generally have the right to use them (copyright/free use/etc.) and they should be high quality (resolution, sharpness, color, etc.).
Online Images:
There are endless amounts of images available online. You may use these in a pinch but you should avoid them if possible.
- Copyright: You should assume you are not allowed to use them commerically. What if you create something that you want to sell? You can’t.
- Unique: If you use images online then it is available to others as well. This make your work less novel and therefore interesting.
- Quality: Most images uploaded to the internet will be smaller so that they are faster to download. This means they will be smaller resolution and more highly compressed. This directly affects your work.
Search Engines:
Google, Bing, and others may be used to search for images. However you should attempt to use images that are fair use. They have built in tools to do so.
Stock Images:
Stock images are a useful tool when you do not have ready access to imagery you need. There are many stock image sites that sell a variety of photos. There are also some free ones. If you are making something for profit I would suggest biting the bullet and paying for high-quality photos (if you cannot capture them yourself).
Some free sites:
- Adobe Stock: These are mostly for purchase or subscription but they do have some free with an Adobe Creative Cloude subscription.
- Unsplash: Has a large library of high-quality free fair use images. They also have some for purchase as well.
- FreeImages: Contains free photos, as well as vectors, clip art, and others.


Digital Camera Basics
This is not a photography class
However, it may be helpful to know a little about cameras.
Digital vs. Analog:
In the past, analog systems were used for media, including cameras. Analog uses a variable signal that consists of frequency and amplitude.
Digital systems use a discrete discontinuous signal. Digital is generally not as high fidelity but it is less susceptible to noise and wear.
Old school film cameras are considered analog. DSLR’s, point & shoot, mirrorless, and other electronic devices (like your phone) are digital.

The curve on the bottom represents an analog wave. You can see the resolution of the digital copy (number of steps) determines how closely it represents the original analog wave.
Point & Shoot vs. SLR (Single-Lens Reflex) vs. Mirrorless:
Point & Shoot cameras display a live view of what the camera lens is seeing. Often the embedded lens is somewhat lacking and configurations are limited. There is a certain amount of disparity between what you see and what you capture.
An SLR or single-lens reflex camera uses a single lens that flips up when you take the shot. SLRs also have much more manual control and more advanced lens support. What you see is what you get. You may also see DSLR. The D stands for digital.
Mirrorless camera are just what the name suggests, mirrorless. This means there the body of the camera is much less bulky because it does not require a set of mirrors to project the image to the viewfinder. Instead the image is directly captured by the sensor and displayed on a screen. Unlike the point and shoot, the sensor on the mirrorless cameras are much larger and therfore much higher quality. Unlike DSLR cameras where you see what you are shooting through the lens, you actually see what the sensor sees, including exposure, aperature, iso, and other settings. These are the new hotness.

DSLR (Digital Single Lense Reflex) Camera (back)

Point & Shoot Camera

DSLR (Digital Single Lense Reflex) Camera (front)
Lens:
This focuses the picture using a compound lens.
Focal length and apertaure are the two main features of a lens
Focal length is the distance from the surface of a lens to its focal point (ccd sensor)
There are a ton of different lenses available, generally:
- Normal lens:
- Angle of view is 50 deg. and a focal length equal to image diagonally.
- Wide-angle lens:
- Angle of view wider than 60 deg. and focal length shorter than normal.
- Telephoto lens:
- Narrower angle of view and long focal length.
This can easily be the most expensive piece of equipment. Never touch the lens, you will scratch it!

Aperature:
The aperture controls the diameter of the lens. It is expressed as F-stop. The smaller the F-stop number (f/value) the larger the lens opening.
You need to use a larger aperture for low-light and to capture fast actions (faster shutter speeds necessary).
Here is a nice page on aperture on Wikipedia
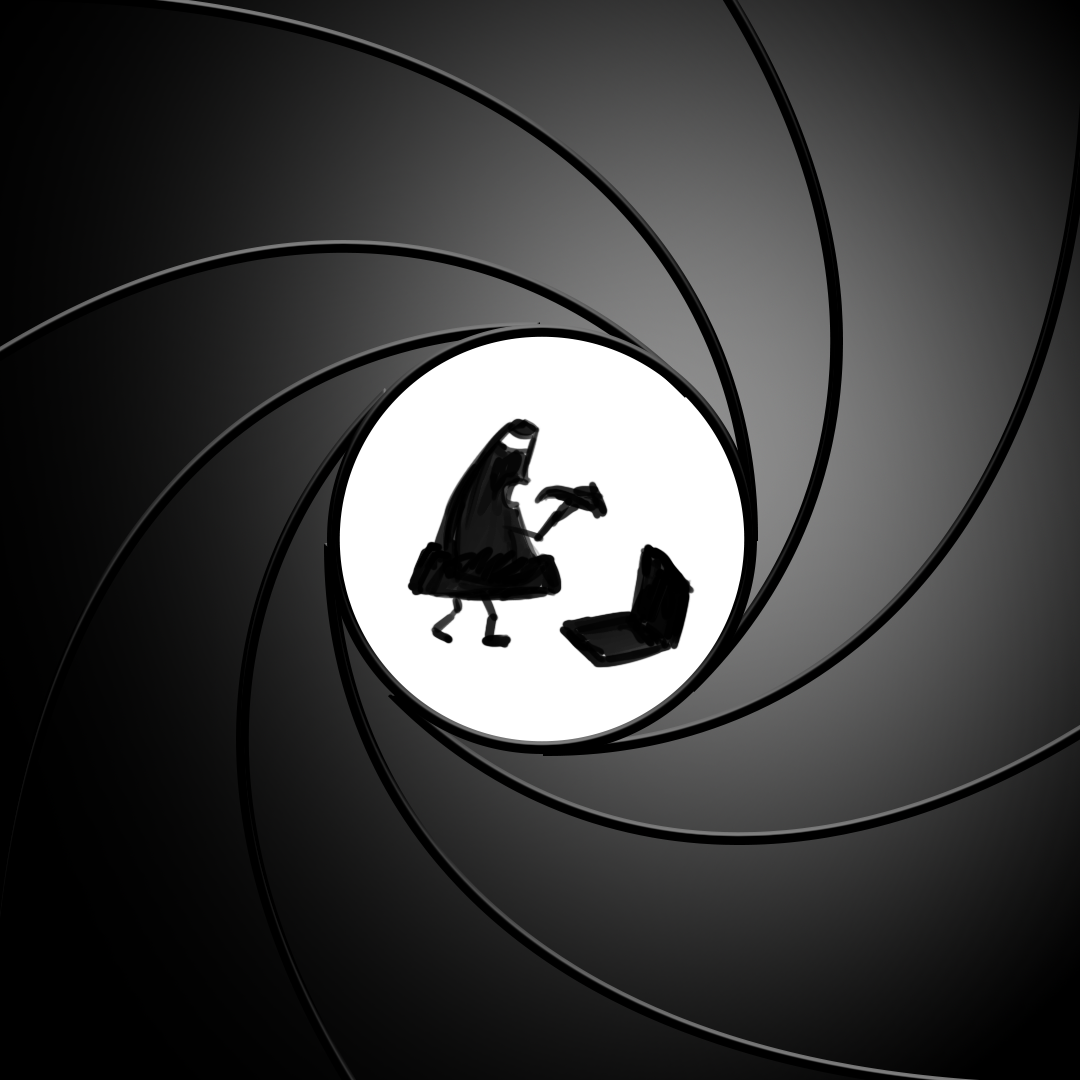
The opening sequence of James Bond looks much like an aperature. I am pretty sure this is what it looked like.
Depth of Field
Depth of Field is portion of a scene that appears sharp. If you want to have a larger depth of field (everything it focus, like a landscape), use a small aperture. If you want a smaller depth of field (one subject in focus, like a portrait), use a large aperture.


Shutter Speed:
Shutter speed is basically how long the shutter is open, exposing the film or sensor.
The longer the shutter is open the lighter the photograph will be.
Use this in combination with aperture to affect the lightness and darkness of your capture.
Here is a nice page on shutter speed on Wikipedia
ISO:
ISO refers to the speed of your film, or in our case, the sensitivity of the sensor.
The lower the number the slower the speed (daylight). The higher the number the faster the speed (night).
The photo on the left has a slow ISO and the right has a fast ISO. Notice how much more grain there is on the right. Moral of the story is only use a higher ISO as a last resort.
Camera Raw:
Camera Raw is the native unaltered format of the digital camera captured by its CCD sensor. CR2, CR3, NEF, ORF, or DNG are examples of camera raw formats. Although most cameras will have the option to store your photos as JPG or maybe even TIFF, these formats are merely compressed lossy versions of what the photographs. These formats are chosen for their small file size and universal usage. Camera raw images are not generally readable without special software. Adobe uses a plug-in like program called Camera Raw (not a great name!) that allows you to convert it to something that Photoshop or other Adobe application may use. As you progress as a photographer you may find yourself using the camera raw file formats more.
Adobe Camera Raw:
Adobe Camera Raw is the plug-in that you will find in Adobe Photoshop and Lightroom that allows the user to convert camera raw images for use in the program they are opened in. These have settings to adjust the image before you work with it in Photoshop. You can only make changes to the image as a whole but the range will be much larger than in Photoshop since you are working with the much more robust camera raw format.

Destructive Editing
Destructive Editing:
Broadly speaking image production workflows can be organized into two camps, destructive & non-destructive.
In a destructive workflow the edits you make to an image are permanently changing the pixels. The only way to change a previous edit is to undo all the way back to it, losing anything you may have done after.
Non-destructive workflows allow you to make change anything you have done whenever you want without losing any work. Obviously non-destructive is prefered but is not always possible with all tasks
Common Destructive Tools:
- Adjustments
- When you select Image>Adjustments these tools adjust the image or marquee selection as a whole. These adjustments include things like hue, saturation, contrast, balance, etc.
- Filters
- The functions in the Filters menu affect whole image areas and are also destructive, permanently affecting the pixels. Filters include things like blur, sharpen, warp, etc.
- Tools
- Most of the tools in the toolbox are considered destructive.
A good way to look at destructive is editing is drawing directly on a picture. Non-destructive would be drawing on glass on top of the drawing.
Non-Destructive Editing
Non-Destructive Editing:
A non-destructive workflow involves using tools and functions that procedurally affects and manipulates pixels but does not directly permanently change them. This allows you to make any changes at any time to your image without losing work.
Common Non-Destructive Tools:
- Smart Objects
- Smart objects allow you to apply transformations & select filters while always maintaining the original pixel data.
- Adjustment Layers
- Adjustment layers are created in the same stack as other layers in Photoshop and affect all image layers below them.
- Masks
- The use of layers and masks allow you to apply adjustments to specific areas.
- Layer Blending Modes
-
“Mixes” layers together using math to either darken, lighten, color, or a variety of other effects.
- Layer Styles
- Applies an effect onto the layer such as drop shadow, stroke, bevel, etc.
Adjustment Layers:
- Solid Color
- Produces a color filling the whole layer.
- Gradient
- Produces a gradient across the whole layer.
- Pattern
- Produces a repreating pattern over the whole layer.
- Brightness/Contrast
- Increases or decreases the luminosity (brightens) and also adjusts the extreme values of the image (contrast).
- Levels
- Adjusts the highlights, midtones, and shadows value (lightness darkness).
- Curves
- Similar to Levels but adds a vertical dimension to the adjustments.
- Exposure
- Brightens or darkens the image based on exposure value.
- Vibrance
- Sort of like adding saturation to the image but more controlled.
- Hue/Saturation
- Allows for shifting the color and the amount of color.
- Color Balance
- Shift the hue of shadows, midtones, and highlights.
- Black & White
- Converts the image to achromatic or monochromatic but let’s the user adjust how each color is represented.
- Photo Filter
- Applies a colored tint over the image.
- Channel Mixer
- Allows to adjust the RBG channels representation.
- Color Lookup
- Applies a sort of color effect to the image based on presets.
- Invert
- Reverses color and value in the image.
- Posterize
- Limits the number of colors present.
- Threshold
- Converts image to pure black and pure white.
- Gradient Map
- Applies a gradient to the value information of the image.
- Selective Color
- Shifts the color information of specific colors and values using CMYK values.
Illustration of cone with the solid color adjustment layer applied.
Layer Blending Modes:
You can choose how each layer interacts with each other. By default (normal mode) all layers are simply “on top” of each other with only the transparent parts display what is “underneath.”
You can see a list of the layer blend modes here.
Assignment 02
Subject Photography:
If you plan on being a photographer or graphic designer you will need to be able to highlight a subject. Portraits, advertisements, packaging, infographics, web pages, etc., all have images at the center of their designs. In this assignment you will take a high quality photo of a subject. You may use your phone but a DSLR or Mirror-less camera is suggested for better control and higher quality results. The subject of your photo is up to you. It’s suggested taking photos of still objects that you might use for an advertisement; think of food for a menu, a product for an advertisement, pet for petfood packaging, etc.. Staging, lighting, etc. should be considered. Once you have taken your photo/s you will then apply non-destructive techniques to enhance the photo. This is a relatively simple assignment, so you focus should be on quality. Your image should be 6 by 9 inches with 300 ppi.
One of the most overlooked aspect of working with digital media is file management. For this assignment you will submit your work in three formats, PSD, JPG, and a link to the Cloud. Your files should be name “yourLastName_assignment02a”, “yourLastName_assignment02b”, and “yourLastName_assignment02c”.
You may download the project cover sheet here.
You will be graded on the following:
- Project Cover Sheet
-
Thoroughly completed and thoughtfully written with little or no grammatical errors.
-
- Assignment Specific Requirements
-
Single Photoshop Document at 6″ x 9″, 300 ppi
- Photography of subject (staging, lighting, camera settings, etc.)
- Non-destructive editing (adjustment layers, smart objects, etc.)
-
Three submissions
- PSD (your working Photoshop file)
- JPG (what you might use in production)
- Cloud (what you would use for client approval)
-
-
Craftsmanship
-
Clean high-quality work
-
-
Creativity
-
Interesting and novel.
-
Resources:
- Project Cover Sheet
- You may download the project cover sheet here.
- Assignment Video Tutorials
- You may watch the tutorial videos below to help you complete your assignment.
Assignment video Tutorials
This tutorial covers non-destructive subject photo editing. Download this file for the example below.
Wait! Before you go!
Did you remember to?
- Read through this webpage
- Submit Week 02 Subject Photography Assignment on Blackboard
- original image, repaired image, and project cover sheet
