Now that you have some familiarity with Wordpress we can begin to make more polished content. In this lab we will create the landing page (homepage) using the Elementor plugin we previously installed.
Click on the > to start
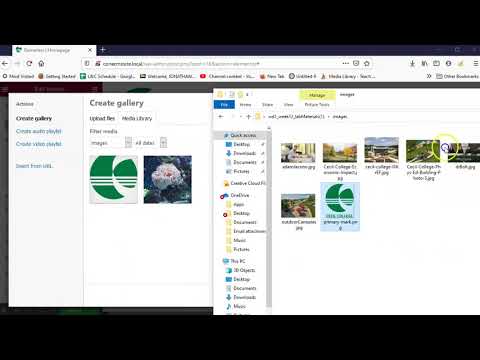
You may use your own images or the ones included in the zip folder below
CMS Site (homepage) Lab Materials (


- The first thing we need to do is create the actual homepage page.
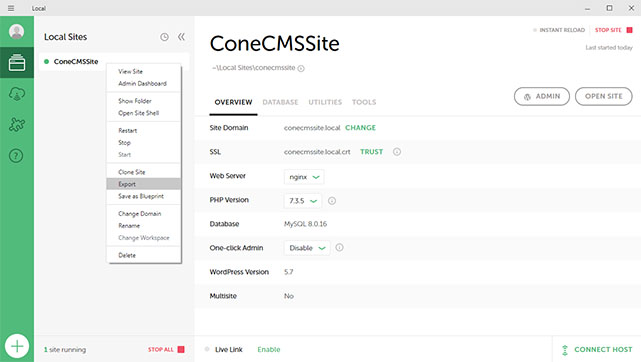
- Open Local.
- Click on your site name. Press START SITE on the top right to make the site "live".
- Press on Admin. The browser will open to the admin login page. Log in (should be vcp and vcp).
- Click on Pages in the Dashboard.
- Press Add New at the top of the page to create a new page.
- You will be brought to the built-in Wordpress Gutenberg page builder. Enter "Homepage" in the Add title field and press Publish (twice).
- Press the
 Wordpress icon to navigate back to the Dashboard. Select Settings>Reading in the left menu.
 - Under Your homepage displays toggle-select A static page (select below). In the drop-down Homepage: choose the page you just created, Homepage.
- Now the page you created will be the landing page for the site.


- Now let's get to the business of actually building the homepage. We will leverage the Elementor plugin we downloaded in the previous lab to build the page.
- In the Dashboard navigate to Pages.
- Select the Homepage.
- Select Edit with Elementor at the top of the page. You will be brought to the font-end of the page with the Elementor page builder enabled.
- Press the Settings button at the most bottom-left of the page. The Page Settings panel will appear.
- Turn on Hide Title (yes). Select Elementor Full Width from the Drop-down menu under Page Layout.
- Press Update.
- These settings have removed the Homepage title (obviously don't want that on the landing page) and made the layout a full-width so the sidebar is no longer visible.


- The specific page settings are applied. Let's apply settings for Elementor for the entire site.
- Press the menu button. Select Site Settings. Here you will find the setting you may use for the entire site.
- Select Global Colors. Choose a green, white, light black, and yellow for the colors. Press Update.
- Explore the Global Fonts and make any changes you would like. You may make changes to the other options as well.
- Select Site Identity.
- Change the Site Name to "Cecil College".
- Change the Site Description to "Own your future".
- Choose Image, Cecil logo (here), for the Site Logo and Site Favicon.
- Press Update. Press

- Finally we can actually start making the page. Elementor works like most responsive frameworks. It uses rows, columns, and elements. We will build out rows with columns then place out elements inside. Each element has settings that you can customize them with.
- Press the (Add New Section) button. Choose the one column option.
- The left panel will change to Edit Section where you can adjust the row. If you accidental click off of the section simply right-click on it and select Edit Section to bring the panel back up.
- Change the Content Width to Full Width (extends the content to the width of the row).
- Toggle on Stretch Section to YES (pushes the row to the edges of the page).
- Change Height to Min Height, then choose 250px (this will force the height of the section to be larger).
- Select the Style tab at the top of the Edit Section panel.
- Under Background, select Normal, then the Slideshow button (most right button).
- Press the add image button and upload two Cecil landscape images.
- Feel free to explore the different options and make any changes you'd like.
- When you are happy with your choices press Update to save your changes.

- We have customized a section to have a background image that is a sort of slideshow. Now let's apply elements on to it.
- First press Elements button to return to the Elements panel.
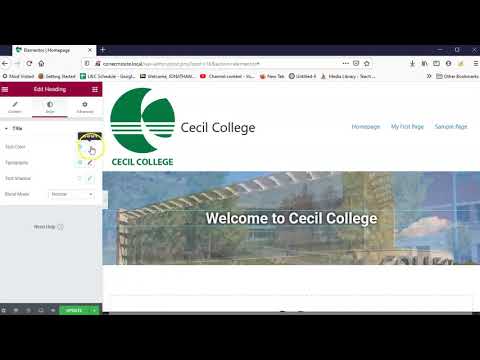
- In the Elements panel click and drag the Heading element onto the inside the section. This will create a heading element.
- Inside the Edit Heading panel change the Title to "Welcome to Cecil College".
- Change the Alignment to center.
- Select the Style tab.
- Adjust the settings to make the text easier to see. Try changes to Text Shadow.
- Press Update when you are done and then to return to the Elements panel.
- Click and drag the Button element under the heading you made inside the section. This will create a button element.
- Change the Alignment to center.
- Select the Style tab.
- Adjust the settings to make the button text easier to see. Try changes to Text Color.
- Press Update when you are done and then to return to the Elements panel.
- You have completed your first section and elements.

- We have a single section completed but the page needs more sections and elements. Let's complete the rest. It is the same process as the previous slides.
- Press the (Add New Section) button to add another section and choose three columns.
- The default section settings are fine. Press the to return the Elements panel. Click and drag the Image Box into each column.
- Select each Image Box element you created and apply images, text, and adjust the settings.
- Add another section, . Select two columns with the left column being half the size of the right.
- Stretch Section should be set to YES.
- Select the Style tab. Under Background select Normal. Background Type should be Classic (first button). Color should be Default>Primary.
- Press Update then to return to the Elements panel.
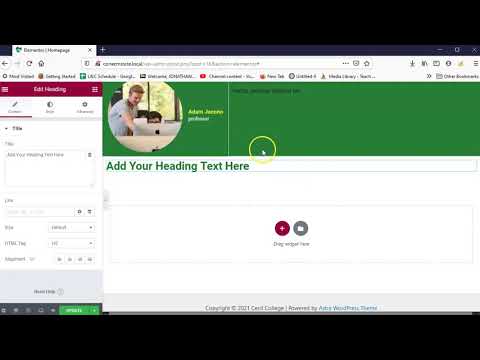
- Click and drag the Testimonial element from the Elements panel into the first column. Apply images, text, and general settings.
- Click and drag a Heading and a Text Editor element from the Elements panel into the second column. Apply text and general settings.
- Add another section, . Select one column.
- Click and drag a Heading into the column. Click and drag the Basic Gallery under the heading you just created. Apply images, text, and general settings to the elements.
- Feel free to explore the options on the page.
- Once you are happy with your page press Update. Your homepage is complete!
- Press the settings button then the View Page to exit the Elmentor page builder and view your results.
- You should explore and add anything you would like in the site. The best way to learn is just to play around with it. When you are happy you are ready to export it.
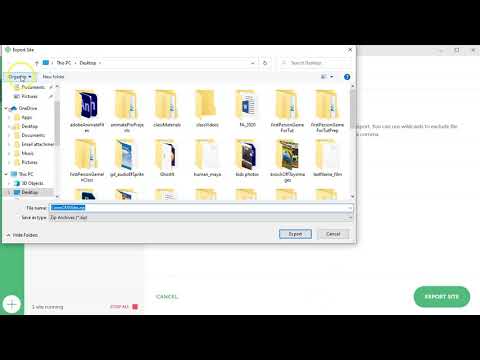
- In Local right-click on the site name in the list on the left. In the popup choose Export. Don't enter anything in the window. Press Export. In the popup choose where you want to export and export.
- Now, log into Blackboard (Here) and click on this course. Inside the course, select Class 12, then the Class 12: CMS Site (homepage) Lab folder, then the assignment with the same name. Finally, Attach the zipped file.

I am sure you can see how quickly and easily you can create webpages in Wordpress and a robust page builder such as Elementor. This is one of the reasons this has become such a popular solution to web design. It is more about making design choices and less about technical knowledge. You will find however that knowing HTML, CSS, and how the internet generally works will make you a power user.
If you run into any issues please do not hesitate to contact me:
- jcone@cecil.edu
- (240) 466-1996