
Outline:
- Human Skeletal Muscles
- Adipose & Epithelial Tissue
- Other Features (hair, eyes, teeth)
- Auto-Topology
- Hair Creation
- Lab Time
- Assignment 02 (retopology & sculpt)
Class Lecture Part 01
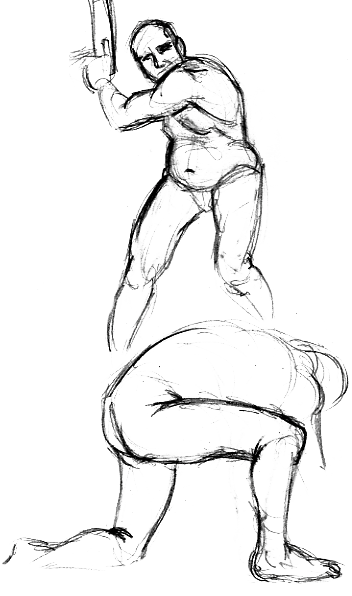
Human Skeletal Muscles
Types of Muscles:
There are three types of muscle:
-
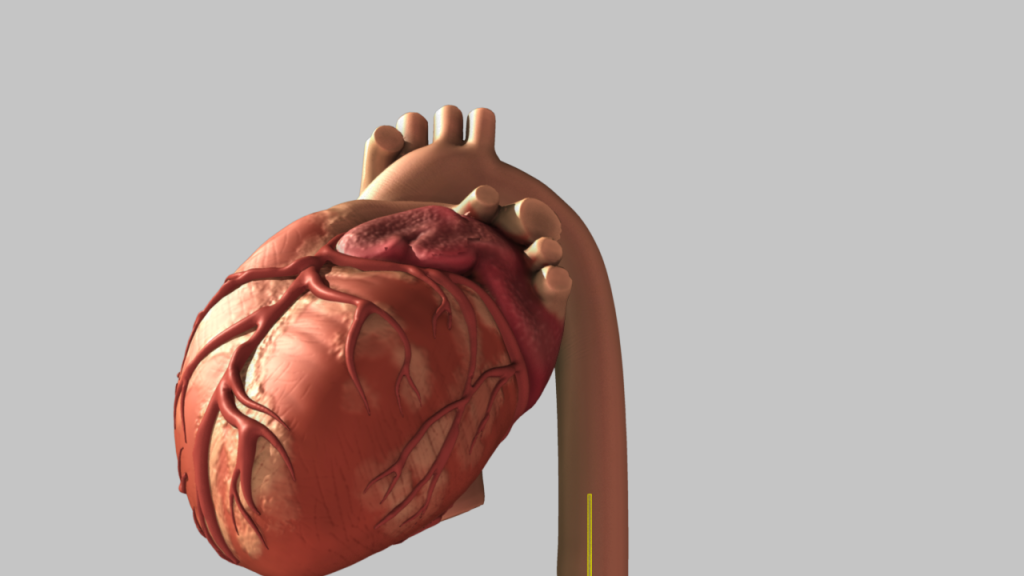
- Cardiac Muscle
- Muscles of the heart
-
- Smooth Muscle
- Involuntary muscle, ex digestion
-
- Skeletal Muscle
- Voluntary muscle, ex biceps
We are going to concerns ourselves with skeletal muscle since that visibly affects the form of the body.
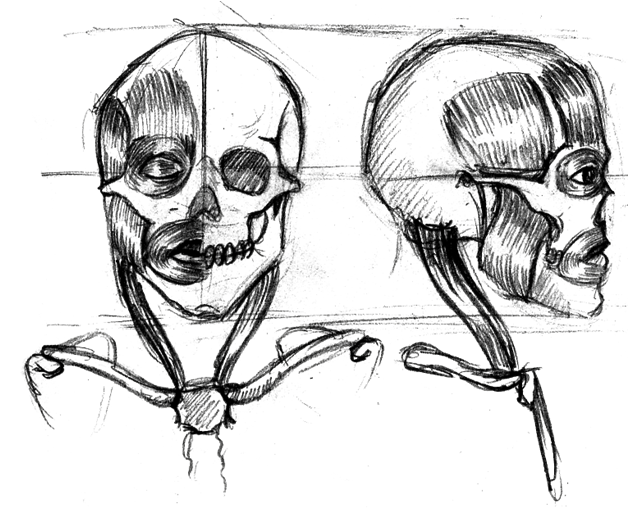
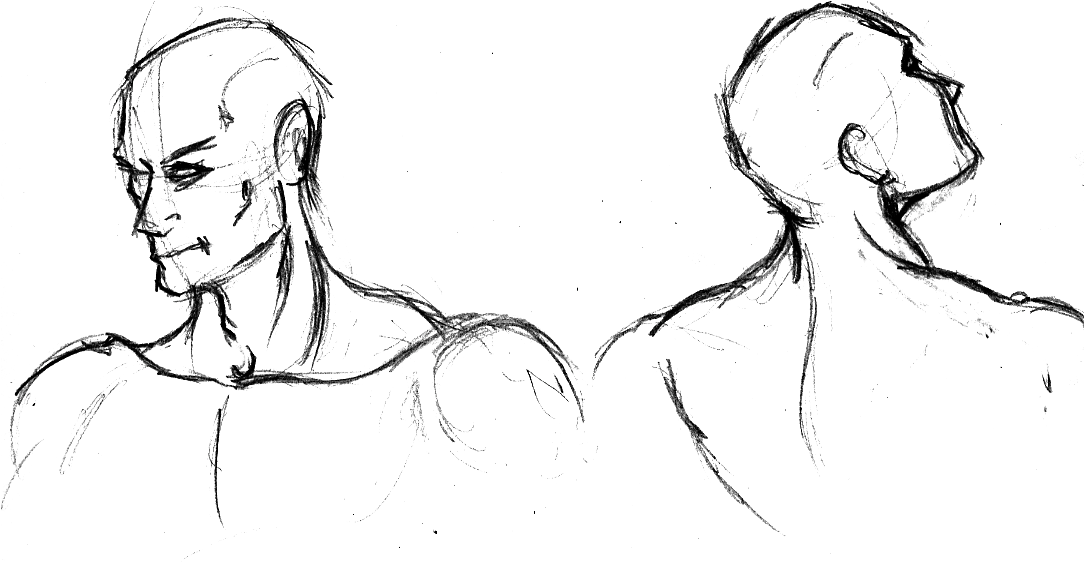
Head:
- Temporalis
- Masseter
- Sternocliedomastoid
- Frontalis
- Orbicularis Oculi
- Orbicularis Oris
Info:
Muscles of the head are quite thin and usually not visible except for when you are specifically using one, like clenching your teeth.
Keep an eye on how the muscles “flow” into each other.
Tips:
Note the sternocliedomastoid, temporal, and masseter muscles.
Notice how the sternomastoid inserts into the sternum and clavicle to form a nice ‘V’ shape.
The trapezius inserts into the occipital bone which sort of looks like a cape.
Torso (anterior):
- Pectoralis Major
- Serratus Anterior
- External Obliques
- Rectus Abdominus
- Anterior Abdominal Aponeurosis
- Inguinal Ligament
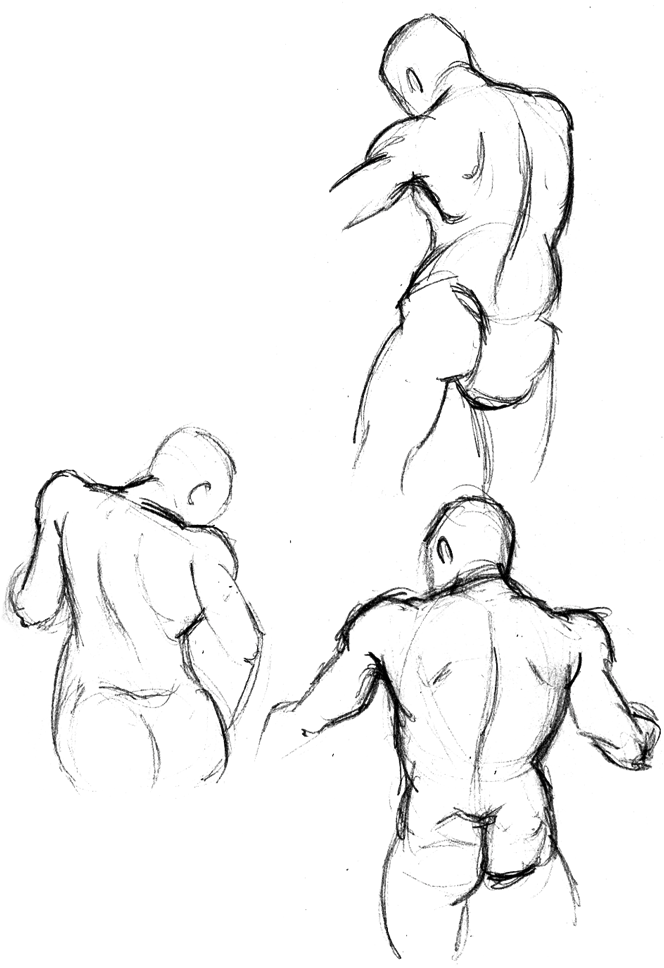
Torso (posterior):
- Erector Spinae Group (Sacrospinalis/multifidus)
- Rhomboids
- Lattisimus Dorsi
- Trapezius
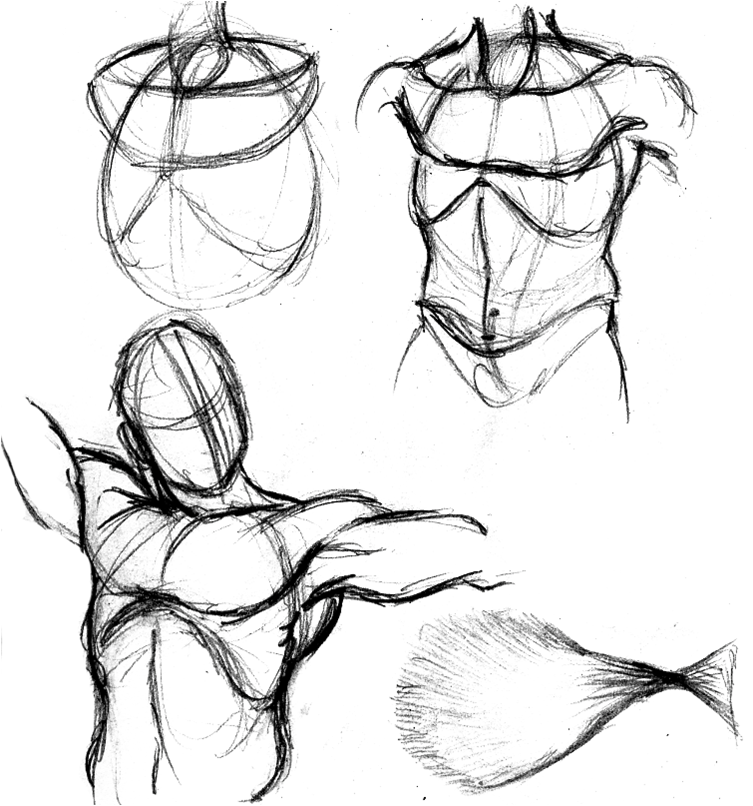
Tips:
The skeleton supports the muscles so it is very important to get the cup and egg correct.
The pectoral is actually twisted in order to run along the side of the humerus.
Note how the pectoral, deltoid, and lat all wrap around the emerging arm.
Info:
Erector Spinae group is the name of the group including the Sacrospinalis/Multifidus which ride on either side of the vertebrae creating a muscular ridge. It is actually a group of muscles and tendons, not just one. They originate at the transverse processes and insert into the spinous process.
Rhomboids attach to the medial edge of scapula and originate at c6 and c7. Rhombus shaped.
Latissiums dorsi strong shape originating at the lower lumbar and pelvis and inserting into the humerus. Kind of like an upside down pectoralis major.
Trapezius is probably the strongest shape. Attaches to the occipital, scapula, and spinous processes. Reveals the 7th cervical vertebrae.
Arm:
- Deltoid
- Bicep Brachii
- Triceps Brachii
- Coracobrachialis
- Forearm Pronators/Flexors
- Forearm Extensors
- Forearm Flexors

Info:
Deltoid is your shoulder, biceps brachii are your biceps, triceps brachii are your triceps, and the coracobrachialis is on the medial side of the arm.
Brachialis is between the bicep and the tricep.
Notice how the muscles weave into each other.
Brachioradialus is the largest muscle of the forearm. The remaining muscles are easiest to break into flexor, extensors, and pronators.
Tips:
The arm forms a sort of ‘chain-link” pattern.
Again notice the muscle flowing into each other.
Legs and arms are great places to utilize straights.
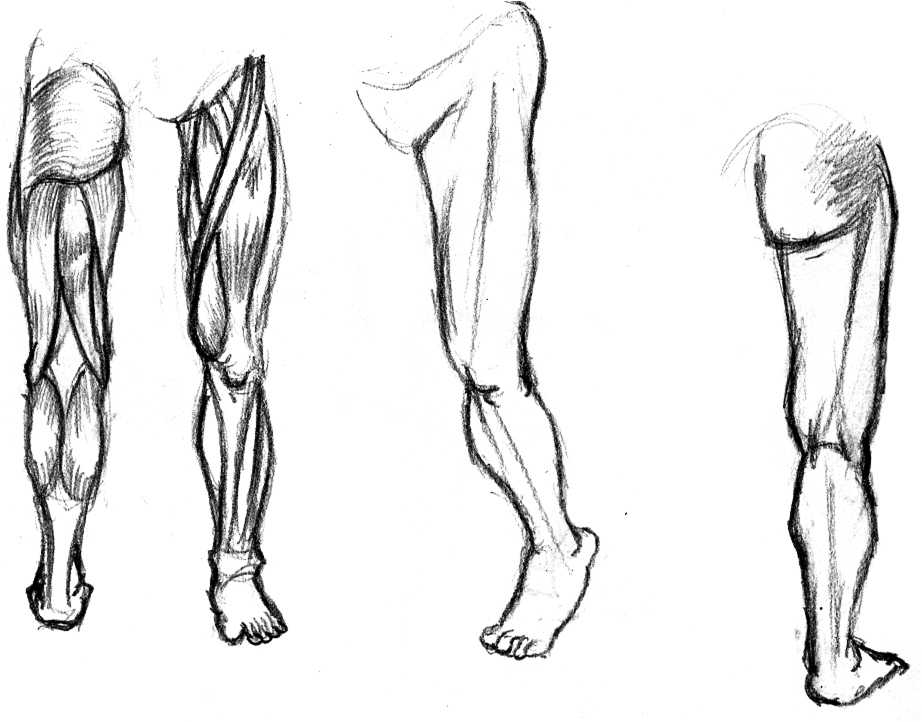
Leg:
- Gluteus Maximus
- Gluteus Medius
- Quadriceps:
- Vastus Lateralis
- Vastus Medialis
- Vastus Intermedius
- Rectus Femoris
- Sartorius
- Illioltibial Band
- Hamstrings
- Biceps Femoris
- Semitendonosis
- Semimembranosis
- Adductors
- Adductor longus
- Adductor Magnus
- Gracilis
- Gastrocnemius
- Tibialis Anterior
- Soleus
Info:
Semitendinosis is on the medial side of the knee. Semimembranosis is just outside of that.
Biceps femoris is lateral.
Sartorius is a key forming muscle.
Ilialtibeal band runs on the lateral side of the leg from the ilium to the tibia.
Tips:
Notice how the insertion of the hamstrings affects the form.
The Sartorius creates a curve around the vastus medialis.
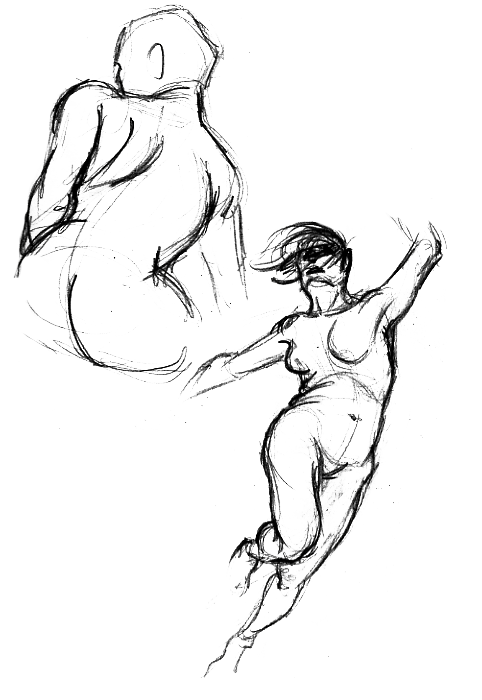
Adipose & Epithelial Tissue
Adipose Tissue:
Fat will always sag. Look at the fat mouse it is not round it is triangular. Babies are chunky but round (no sag).
Females tend to collect adipose tissue on their hips and thighs (subcutaneous fat). Males collect generally in their stomachs (visceral fat).
Notice how the fat is squished on the buttocks to show a solid contact (good for animation).
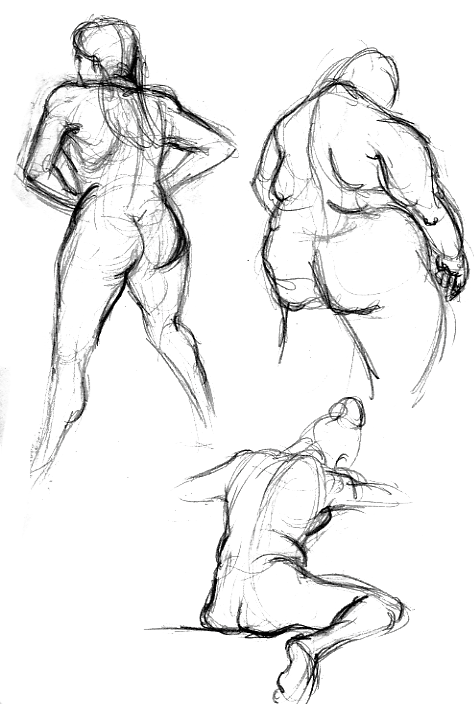

Epithelial Tissue:
Like a rubber suit or clothing the skin will ripple and fold. Use these as nice accents where possible.
Look for overlap and hint at it where possible. This helps avoid “flatness.”
Other Features (hair, eyes, teeth)
Class Lecture Part 02
Eyes:
- The eyes are the “window to the soul” and are the first thing the audience looks to, so it is crucial to get them right.
- The eyeball contains a number of structural features that affect the way it looks.
- The eyeball is not in fact a perfect sphere. It is slightly oblong.
- The sclera is the white of the eye and slightly overhangs over the iris that creates the shadow that makes the outer edge of the iris appear darker.
- The cornea is the clear lens protecting the iris and pupil.
- The pupil is the hole in the iris that direct light to the retina. This hole obviously appears black.
- The head is approximately 5.6 eyeballs wide.
- The iris is close to half the size of the of the whole eyeball.
- The eyeballs should point outwards roughly 3 degrees.
- Really observe your eyes and you will notice how asymmetrical they are
- We will create two piece of geometry to fake the structure of the single organ.
- We create an elongated transparent sphere for the lens and a perfect sphere with a dent in it.
Hair:
- Like cloth it is best to use reference when producing hair since there are so many variations.
- Generally speaking it is best to treat hair similar to cloth, as whole shapes and not individual strains.
Teeth:
- Like ears, teeth are very annoying to model but have little affect on the overall look of the figure.
- Mainly what you want is asymmetry and variation throughout.
- You may model the teeth, gums, and pallets as one piece or individually.
Auto-Topology
Class Lecture Part 03
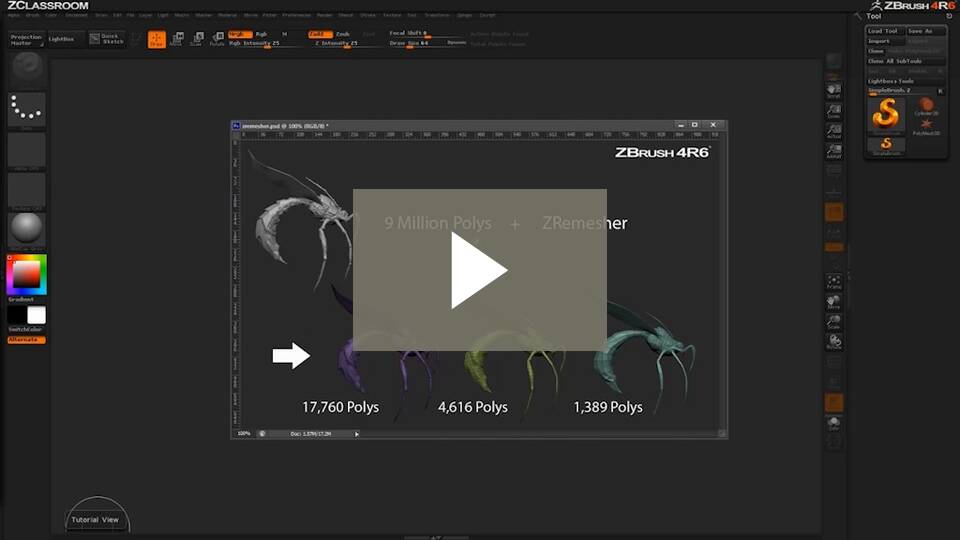
ZRemesher:
Zbrush has a built in retopology tool that will automatically remesh your model with a better gridflow without having to do it manually in a program like Autodesk Maya. It is as simple as a button press. Be aware, although the results are impressive manual retopology allows for better control and therefore better results.
To apply ZRemesher:
- Expand Geometry in the Tool panel (at most right
- Adjust the settings (Target Polygons Count at around 15 [15,000] is a good start)
- Press ZRemesher to execute
Hair Creation
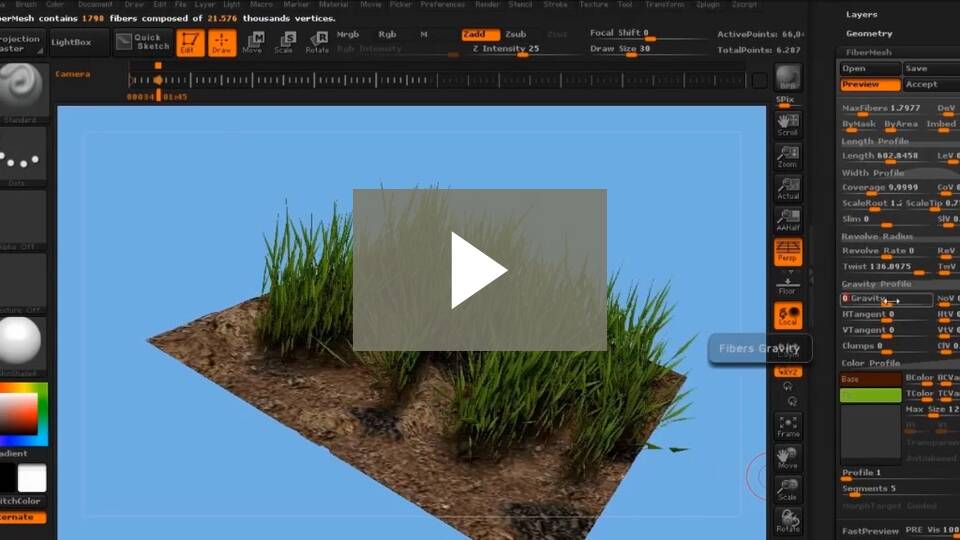
Fibermesh:
Zbrush has a built in hair modeling system. Fibermesh produces real geometry strands for each hair (may be other things such as plants, feathers, anything that is repeated in a hair-strand like pattern) that may be trimmed, colored, and generally groomed.
To apply Fibermesh:
- Mask the area you wish to apply hair (Fibermesh)
- Expand FiberMesh in the Tool panel (at most right) and click on Lightbox>Fibers
- In the Lightbox select the preset closest to what you are looking for
- Expand Modifiers in the FiberMesh section and adjust the settings (length is a good start)
- Press Accept to execute the fibermesh creation
- Expand the SubTool section of Tool panel and select the fibers layer
- You may now use the various grooming brushes to interact with the hair and style it
Planes:
Many games will simply use a series of image planes to give the illusion of hair strands since this is computationally less expensive than actual hair geometry. This is a bit cumbersome to produce.
To produce hair planes (Maya + Photoshop):
- In Photoshop
- Create an image around at 512px or 1024
- Select a brush that represents hair strands well
- Paint bucket the background to black
- On a new layer paint the color map
- Duplicate the color layer and desaturate it for the bump map
- Duplicate the bump layer and apply exposure and set it is perfectly white to make the alpha/specular maps
- Save each layer separately
- In Maya
- Create a plane that is longer than wide and make sure there are enough subdivision to support hair shapes
- Manipulate the shape to form a hair group
- Create a new material (blinn)
- Apply the color map to the color channel, the alpha to transparency, bump to bump, and alpha also to specular color
- Duplicate the hair model and form it to fit the head until the head is covered. Look for variation

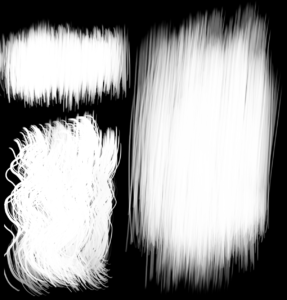
alpha & specular map
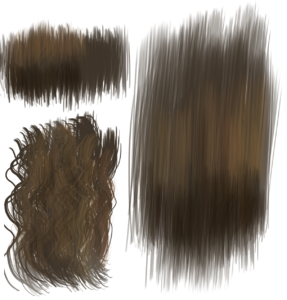
color map
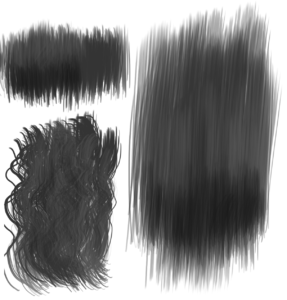
bump map
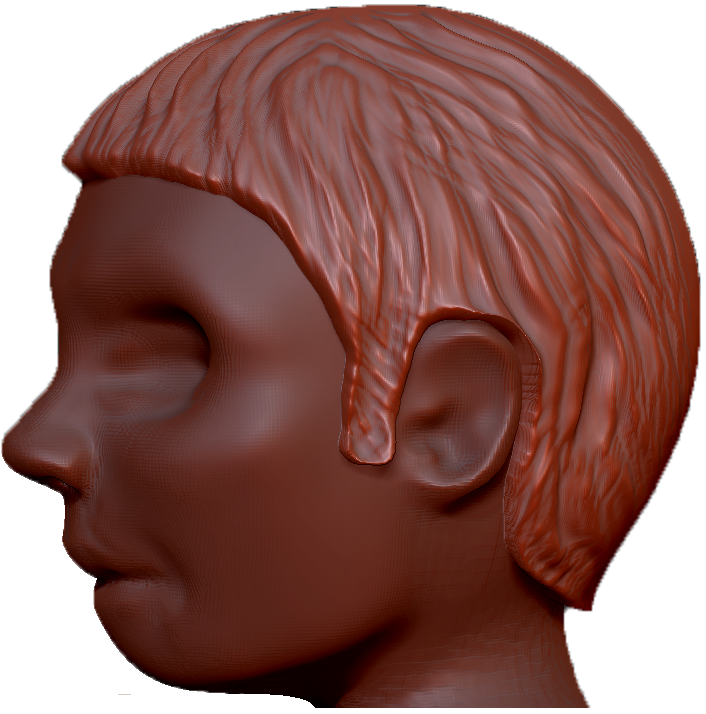
Solid Shapes:
The easiest method for producing hair is simply to create a hair shape. Just simple object/s with hair details painted on it.
To produce a hair shape (Zbrush):
- Mask the area you wish to model hair
- In the Tools (at most right) panel expand the Subtool section
- At the bottom expand Extract, adjust the settings for thickness & smoothness, and press Extract
- A new piece of geometry is produced. Use the various sculpting tools to form a hair shape
Lab Time
Get to work!
Assignment 02
Human Model
The second assignment is to complete a realistic human model. It is suggested that you use yourself as a reference since you are readily available but is not required. The model should be as accurate and believable as possible. The final product should be something that would be suitable for a triple A game.
For Next Class: Complete the retopology & sculpt
You will be graded on the following:
- Geometry:
- There are no errors in the geometry. Few tris used. Appropriate polycount.
- Topology:
- Gridflow is strong. Topology follows architecture well. Should fully support quality deformation.
- Texturing:
- Well-crafted UV's and elaborate materials are developed. Painted textures are fully developed with a strong sense of color theory. Fully "fleshed" out details are included.
- Creativity & Craftsmanship:
- Well structured, clean model. Novel, unique design.
Resources:
- You can find the rubric under the Assignments content folder in Blackboard.