
The next lab series will involve creating a responsive website utilizing the Bootstrap framework. Before we begin it is best to create a mockup of our desired result called a wireframe.
Click on the > to start
You will need the images here to complete the lab:
Responsive Site (wireframe mockup) Lab Materials (

- Most (maybe all) responsive frameworks utilize a row/column system. Therefore we must design the wireframe with this in mind. Luckily there are image templates.
- First navigate to PhotoPea (link here) and open the 960_grid_12_col.psd file. (it is included in the lab materials in the previous slide or you can download it here).
- Import the images for the lab by selecting File>Open & Place.... Select the images in the lab materials to import them (you can also download them here, here,here,here, here, & here).
- Turn off the layer visibility on the images you just imported until you need them later.

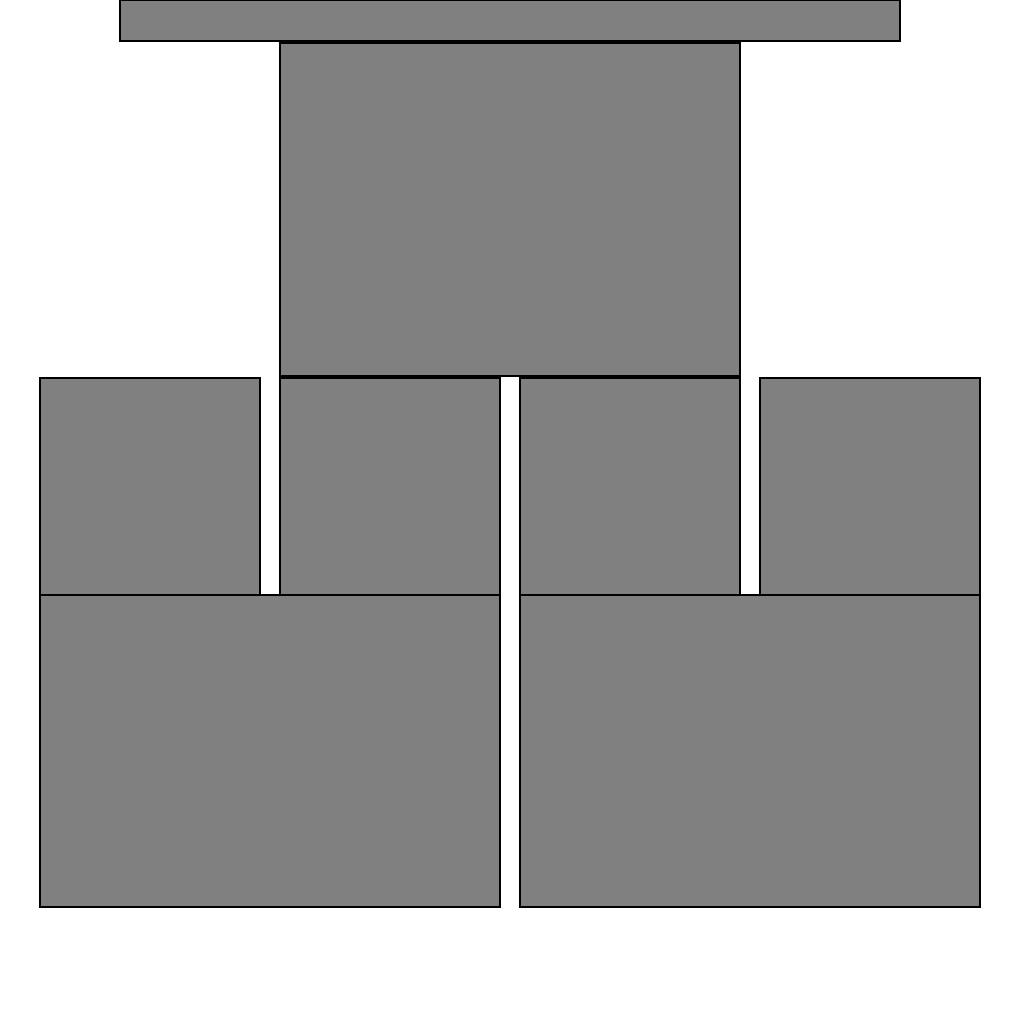
This is what you should have at the end of the video (without guides)
- The easiest way to block out the grid is to draw out rectangles.
- Select the Rectangle Tool
 . Change the Fill to a mid-gray, the Stroke to 2.0 pt black
 .
. - Draw out boxes for each area of the site, snapping to the column grid and maintaining heights across rows.
- When you are done it should look like the example below-right.

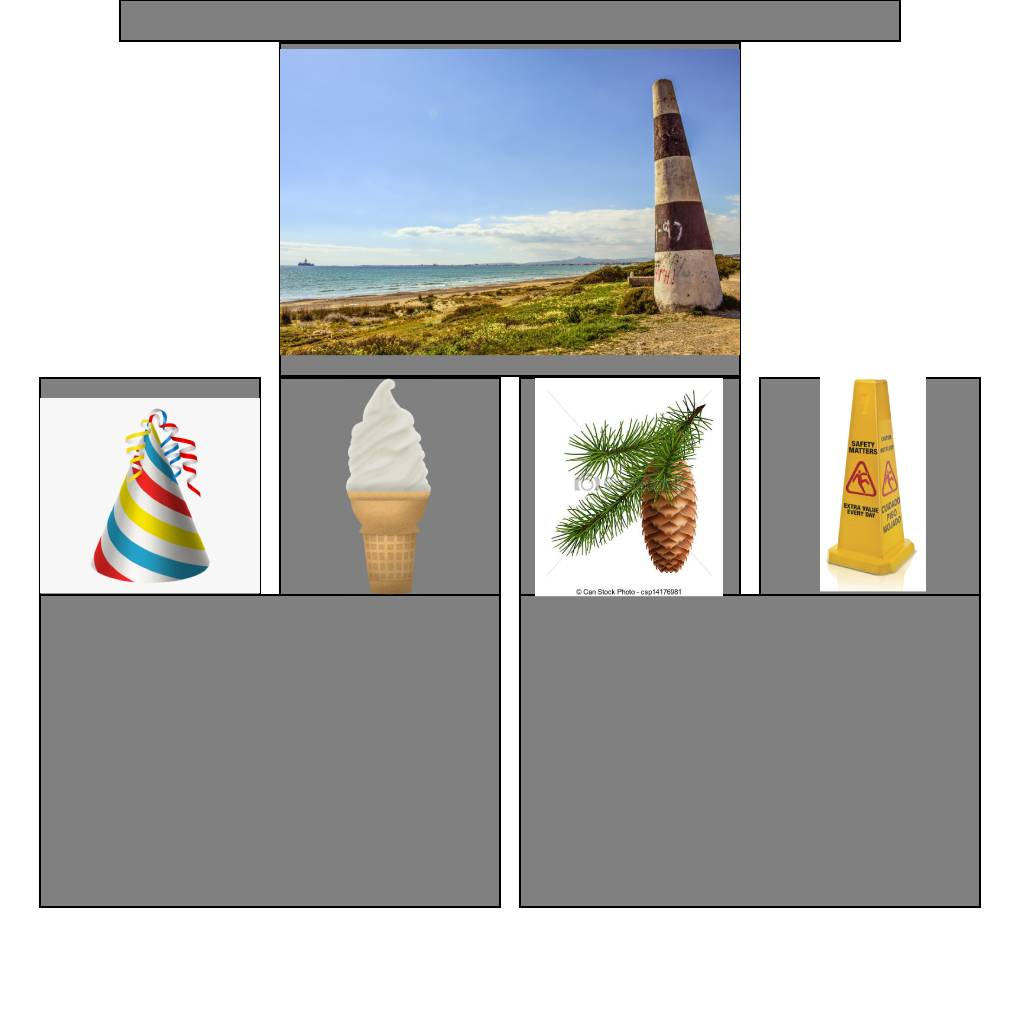
You should fit the images to the boxes (roughly)
- Next you should lay out the images.
- Turn the layer visibility back on for each image.
- Select the Move Tool
 . Check on Auto-Select and Transform controls
  .
. - Select each image, move, and scale them to fit the boxes you drew earlier. These will be our placeholder images.
- You may use Images>Adjustments>etc. to make value, hue, contrast, etc. changes to the images. You want them to feel more cohesive.
- When you are done it should look like the example below-right.

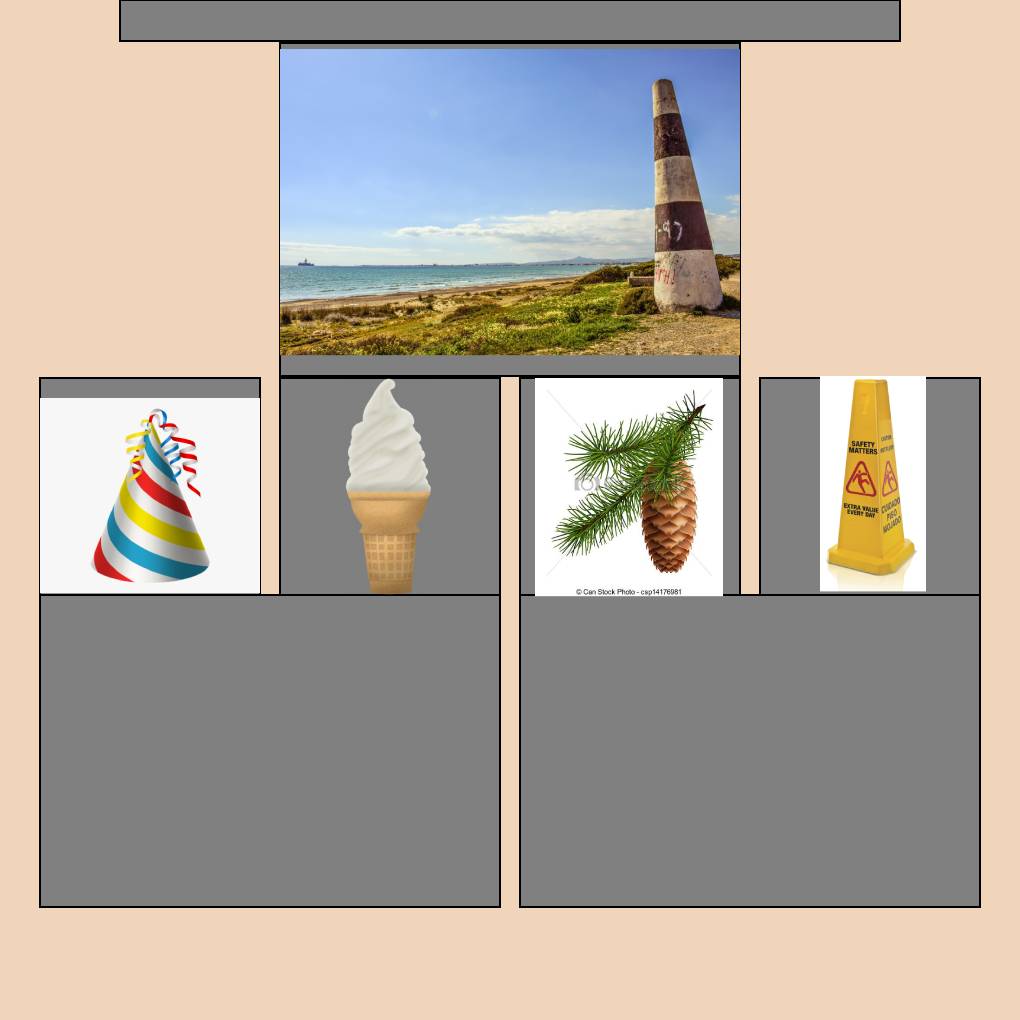
You should just have a background color. Feel free to use your own color scheme
- Now let's adjust the color. Typically you want to limit your colors. They should also harmonize. Color theory is both very simple and very complicated. Lucky for us there are some cheats.
- Visit Adobe Color. Use the interface to select three colors for your site.
- Select the Paint Bucket Tool
 by pressing on Gradient Tool to reveal it "underneath".
 - Change the color it will create by using the the Color Picker
 at the bottom of the toolbar on the bottom left. Click on it. Copy the hex code of your color from Adobe Color and paste it in the Hex: text box.
 - Select the Background layer and click on it in the actual image to paint bucket the color on the layer.
- When you are done it should look like the example below-left.

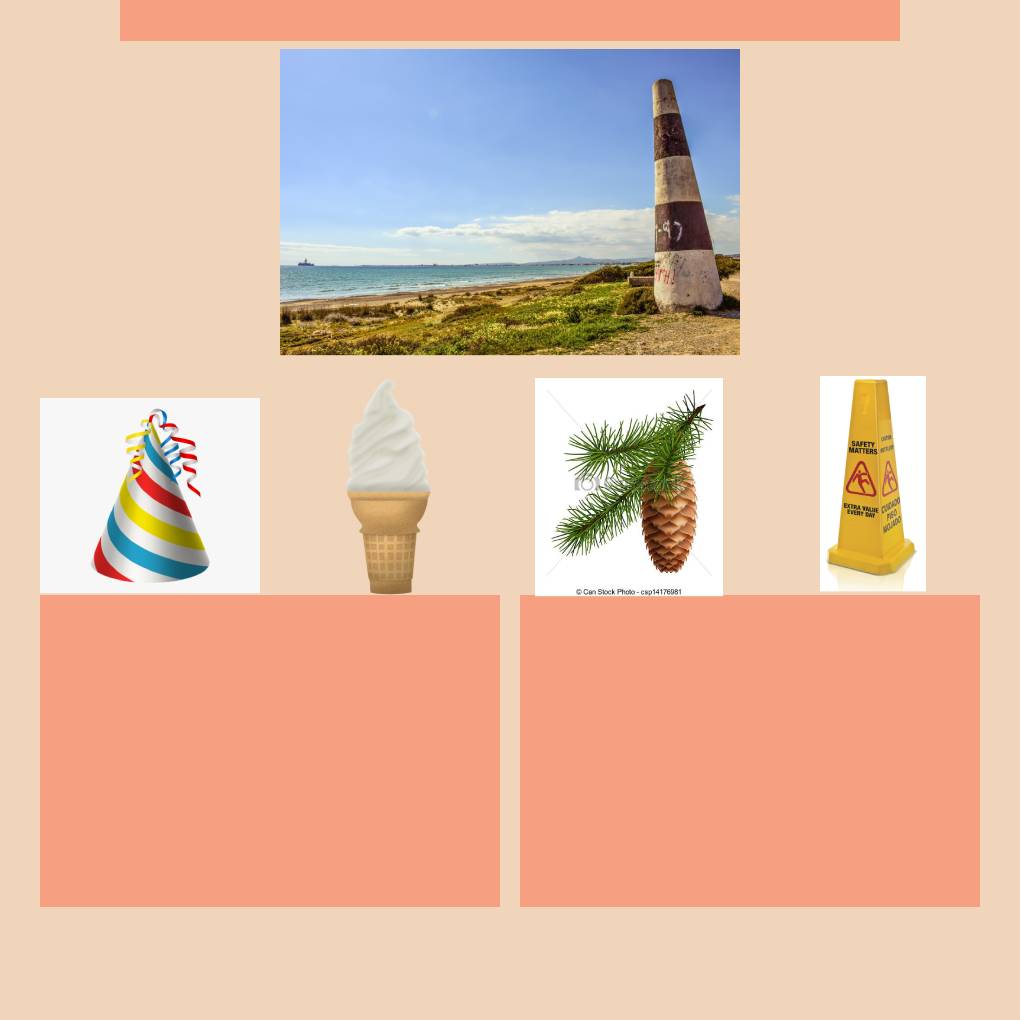
Apply colors to the boxes and remove the unnecessary ones
- Continuing on with color, let's change some of the box colors
- Select the Rectangle Tool
 then select a layer with one of drawn rectangles in the Layers panel at the bottom-right.
 - Change the Fill and Stroke colors. The Fill color should be copied from one of the Adobe Color colors you chose earlier and the Stroke should be set to None
 .
. - Repeat this step for each rectangle you wish to color.
- You will want to just delete some of the rectangles where you do not wish to have a background color.

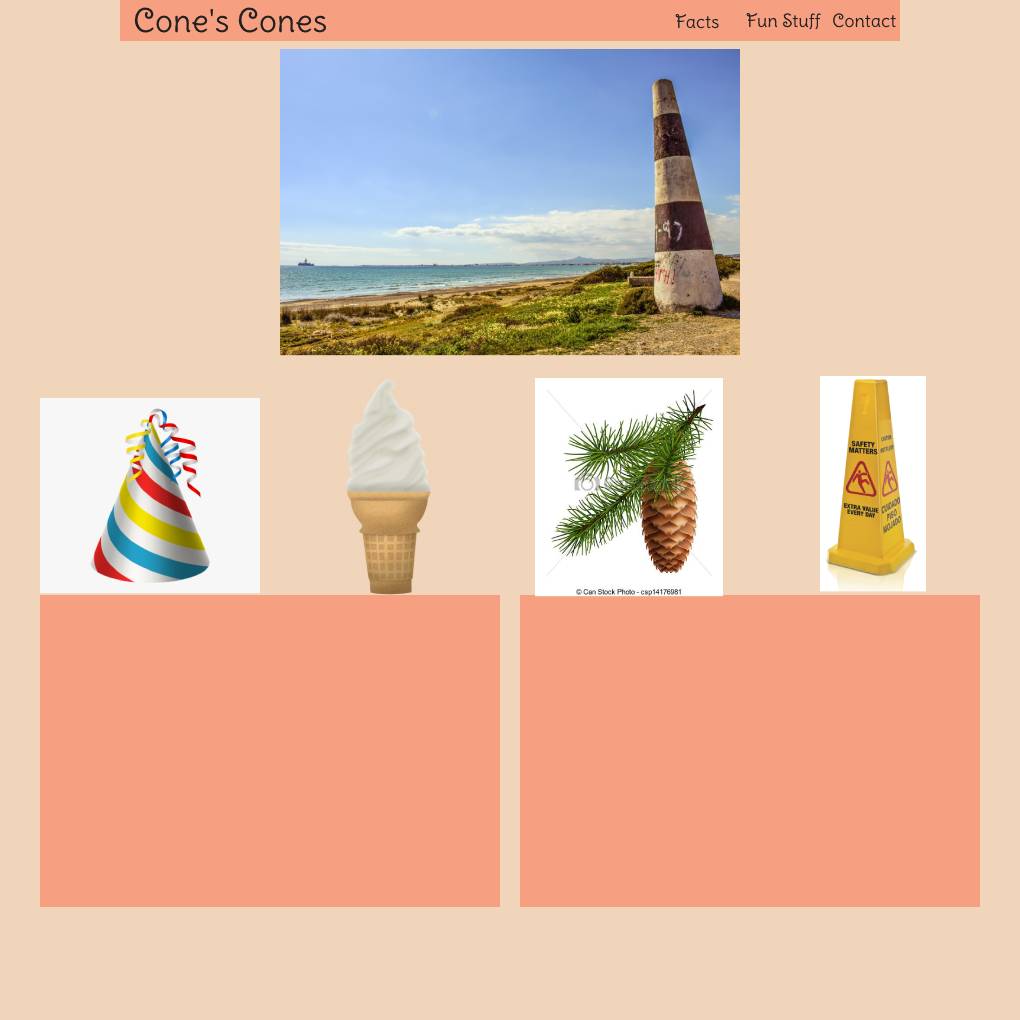
Apply text to the heading and menu sections
- Your page consists mostly of three elements; images, color, and text. Time to apply the text. First you should choose your font. Generally speaking you want an interesting heading font that draw the user in and a legible easy to read font for body text.
- Select the Type Tool
 Change the setting to your desired heading font
  .
. - Click where you would like to place your headings and type them.
- Complete all the headings.

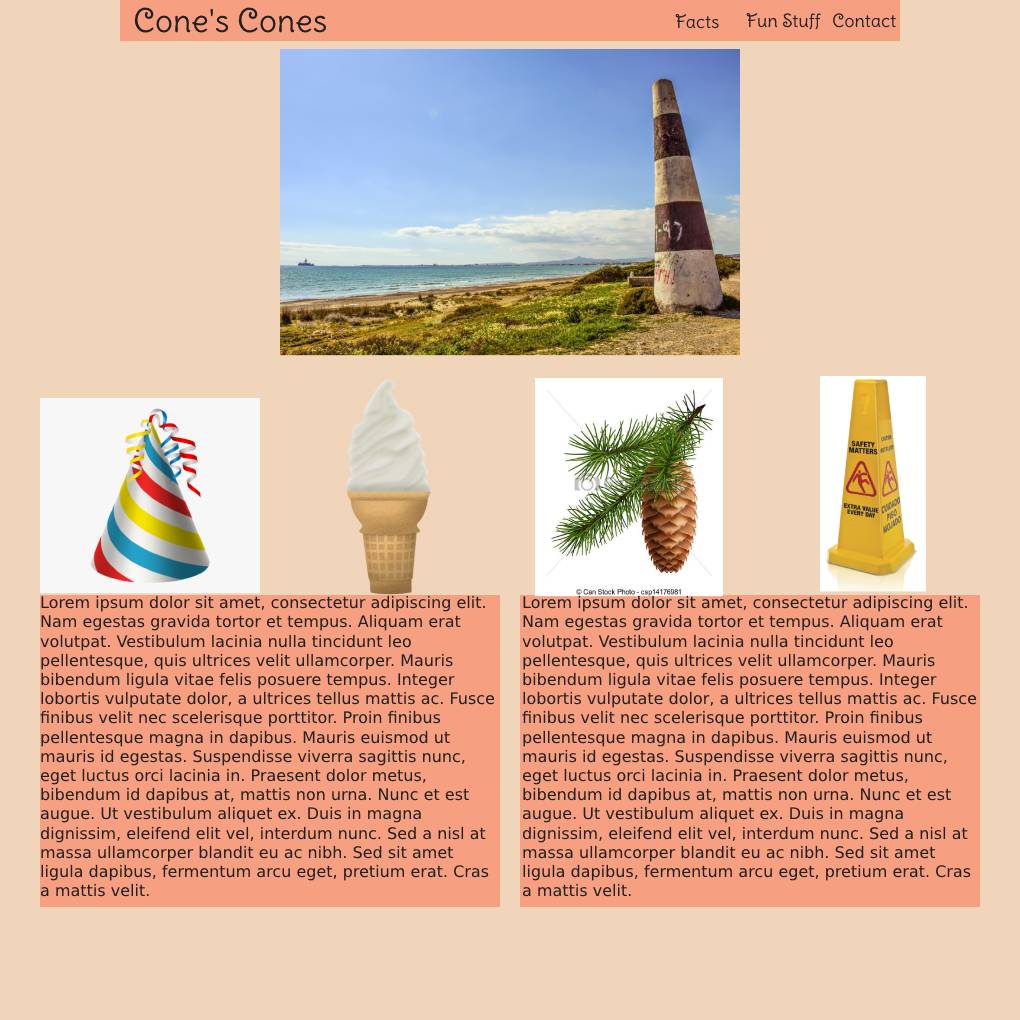
Use dummy text (lorem ipsum) to fill in your body
- For the body text we will just use placeholders.
- Visit lipsum.com to generate lorem ipsum. This dummy text can be used as our placeholder. After you generate the text press ctrl + c (cmd + c) to copy.
- With the Type Tool
 still selected change the setting to your desired body font
  .
. - This time click and drag a box where you would like to place body text. Press ctrl + v (cmd + v) to paste the lorem ipsum text you copied earlier. That should fill the box.
- Complete the same steps for the remaining body text.


Your results may very some. Feel free to make it your own. Just follow the general steps and rules.
- Before you submit you should make any adjustments to the wireframe mockup image you would like.
- Once you are happy with the image you should save your image by pressing File>Save as PSD.... Enter yourLastName.psd and press save.
- Now, log into Blackboard (Here) and click on this course. Inside the course, select Week 06, then the Week 06: Responsive Site (wireframe mockup) Lab folder, then the assignment with the same name. Finally, Attach the zipped file.

This week we created a wireframe mockup image that we will use in the creation of our site for the rest of the lab. This step isn't necessarily required but it is a great way of rapidly creating the design and giving it to a client for review.
If you run into any issues please do not hesitate to contact me:
- jcone@cecil.edu
- (240) 466-1996


