Multimedia Production
Class 07: Puppet RiggingTopics
- Puppet Rigging
- Puppet Creation Assignment

Class 007. Very classy
Puppet Rigging
Body Rigging Options
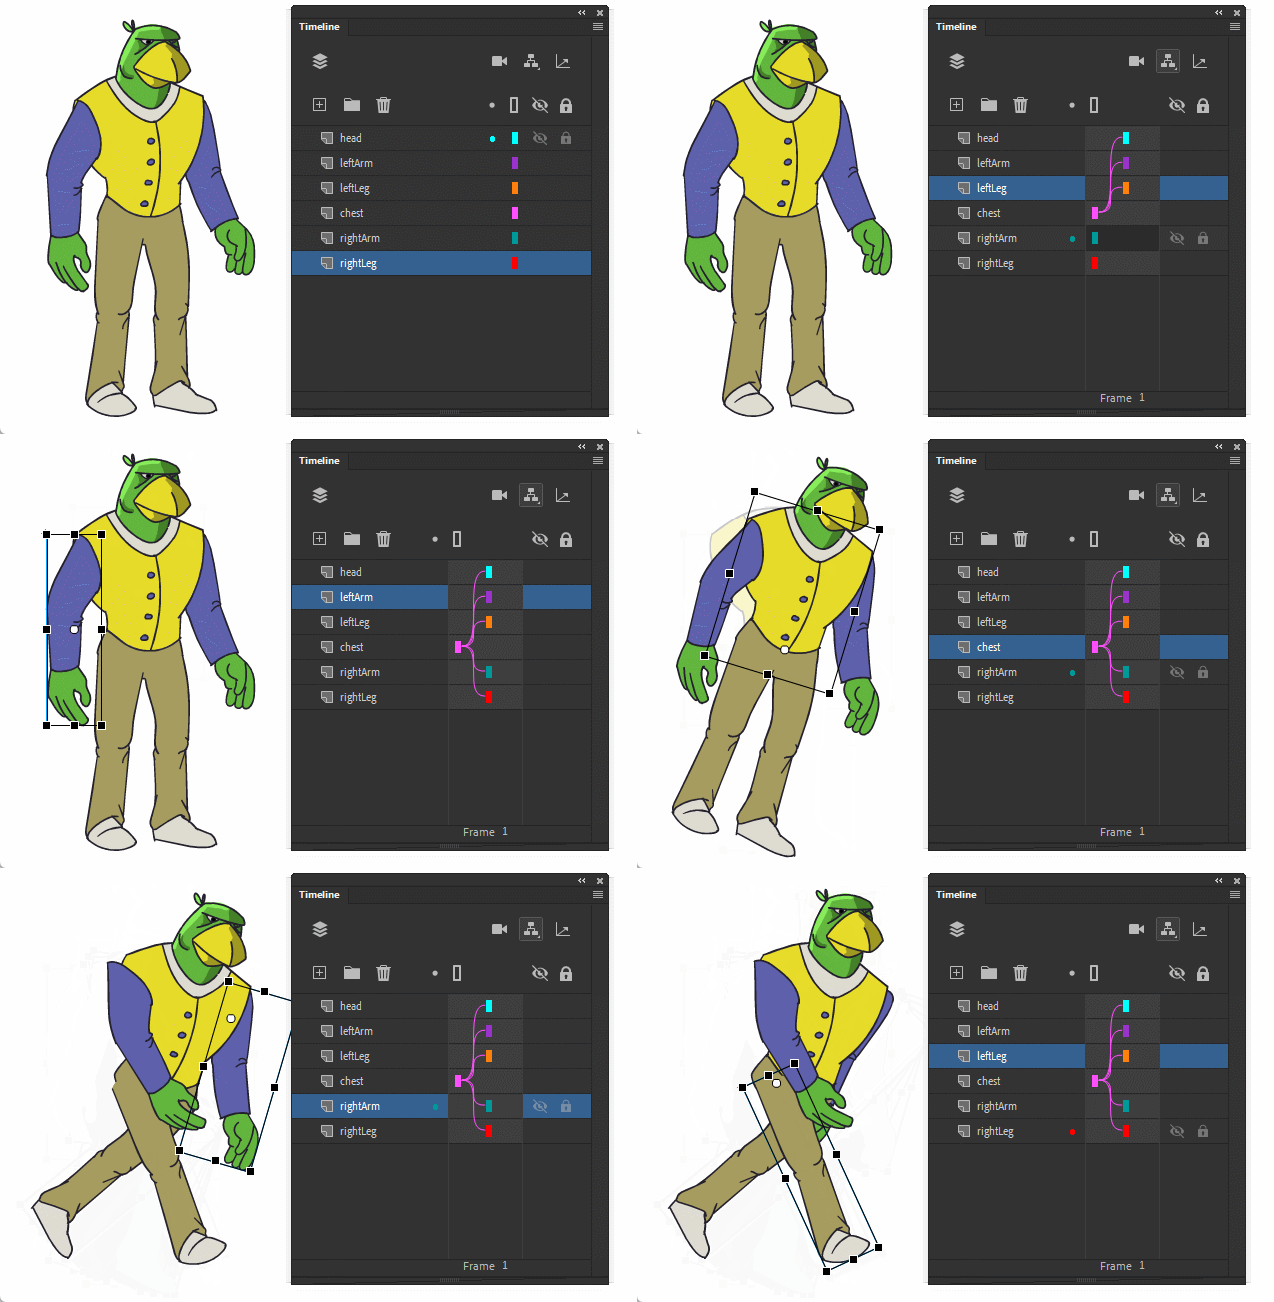
Parenting:
Parenting involves creating a hierarchal structure of objects where elements moved, move the elements below them. This is the most basic type of rigging available in almost all animation programs.
In Adobe Animate this is actually a bit complicated…
- In a Canvas project you may only “parent” one symbol to another by nesting it inside the symbol itself. This means you cannot preview in real-time your changes.
- In an ActionScript project you can parent symbols/layers to each other directly in the timeline much like other applications.
Bone Tool:
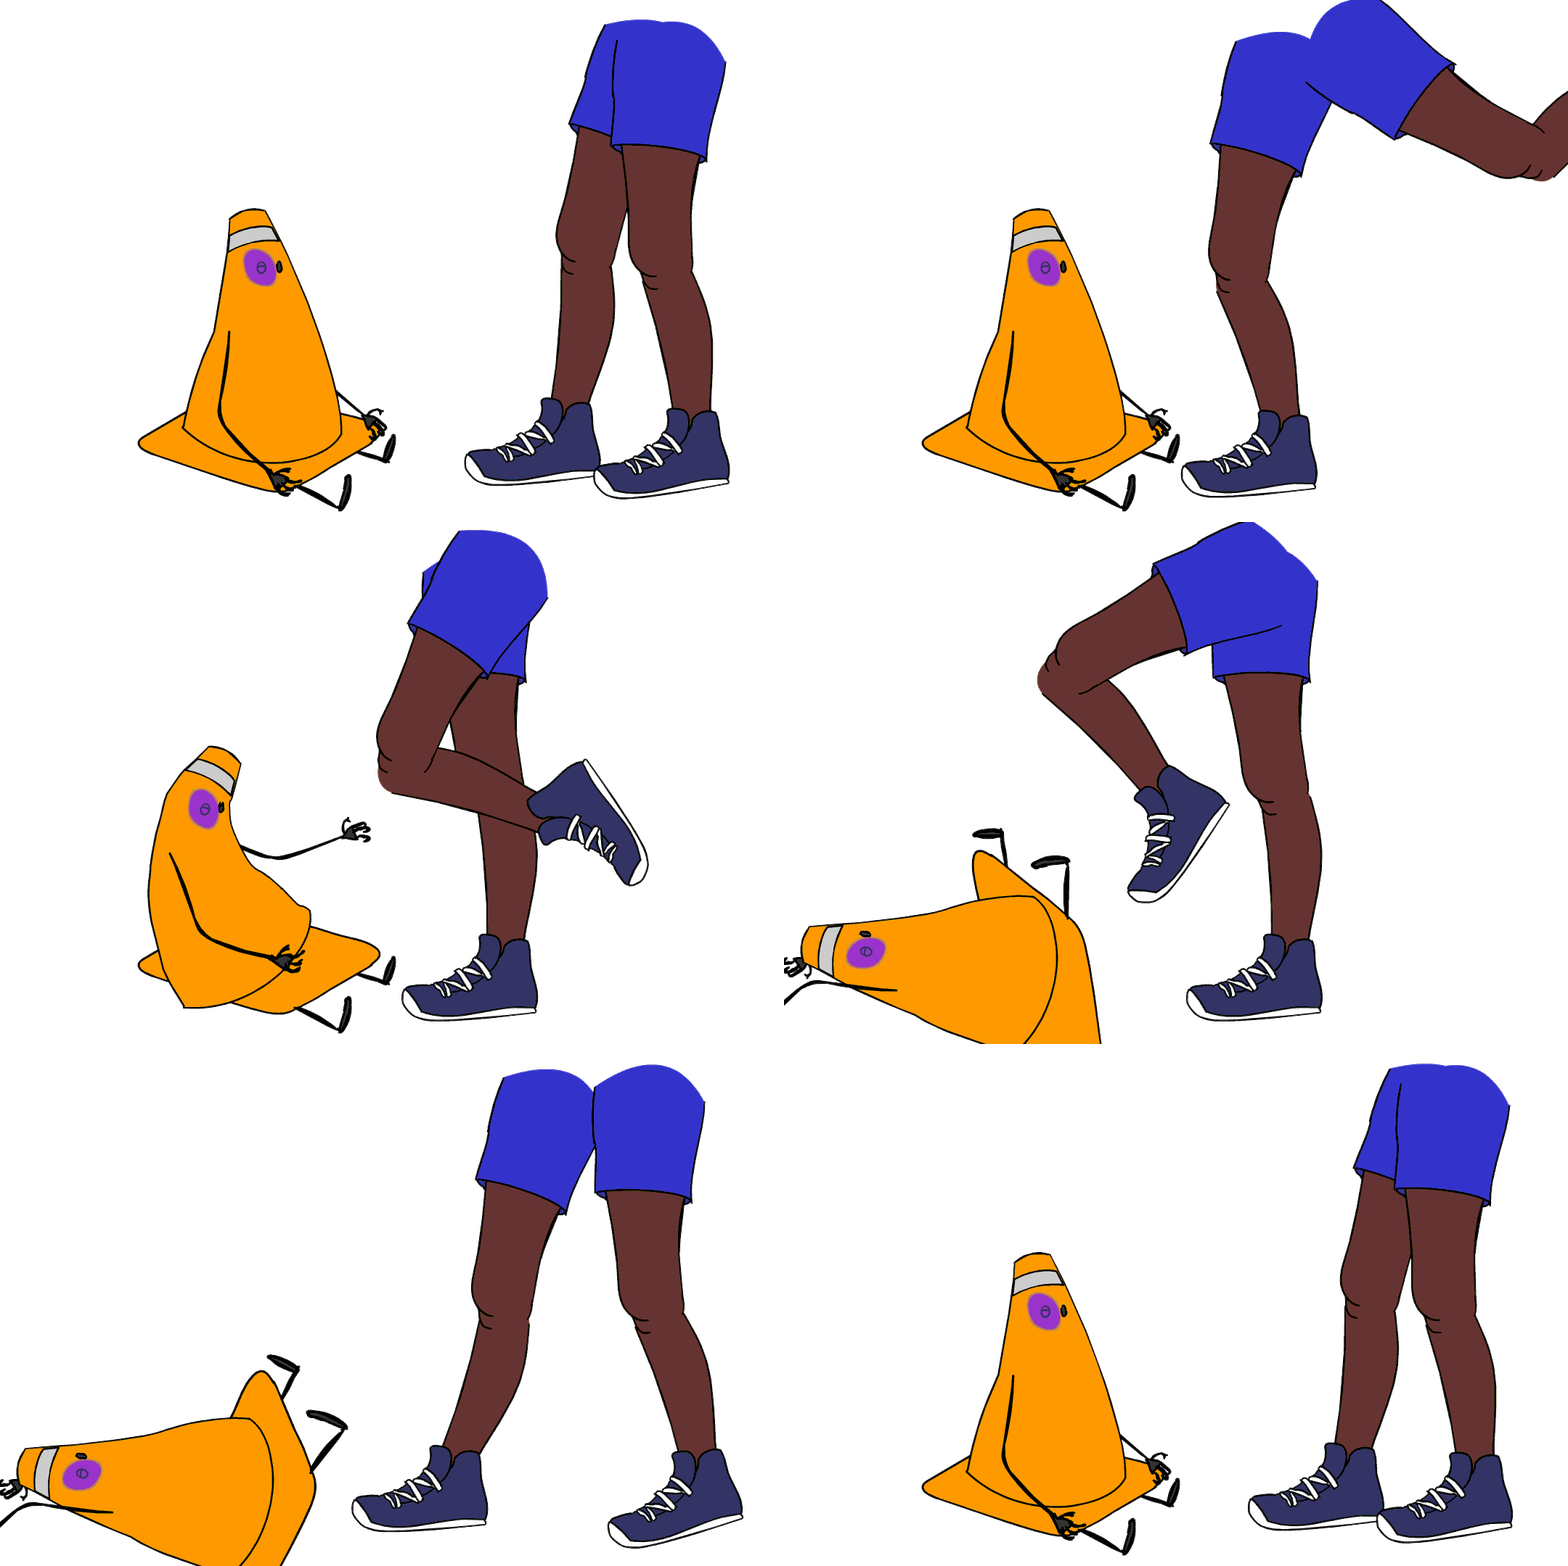
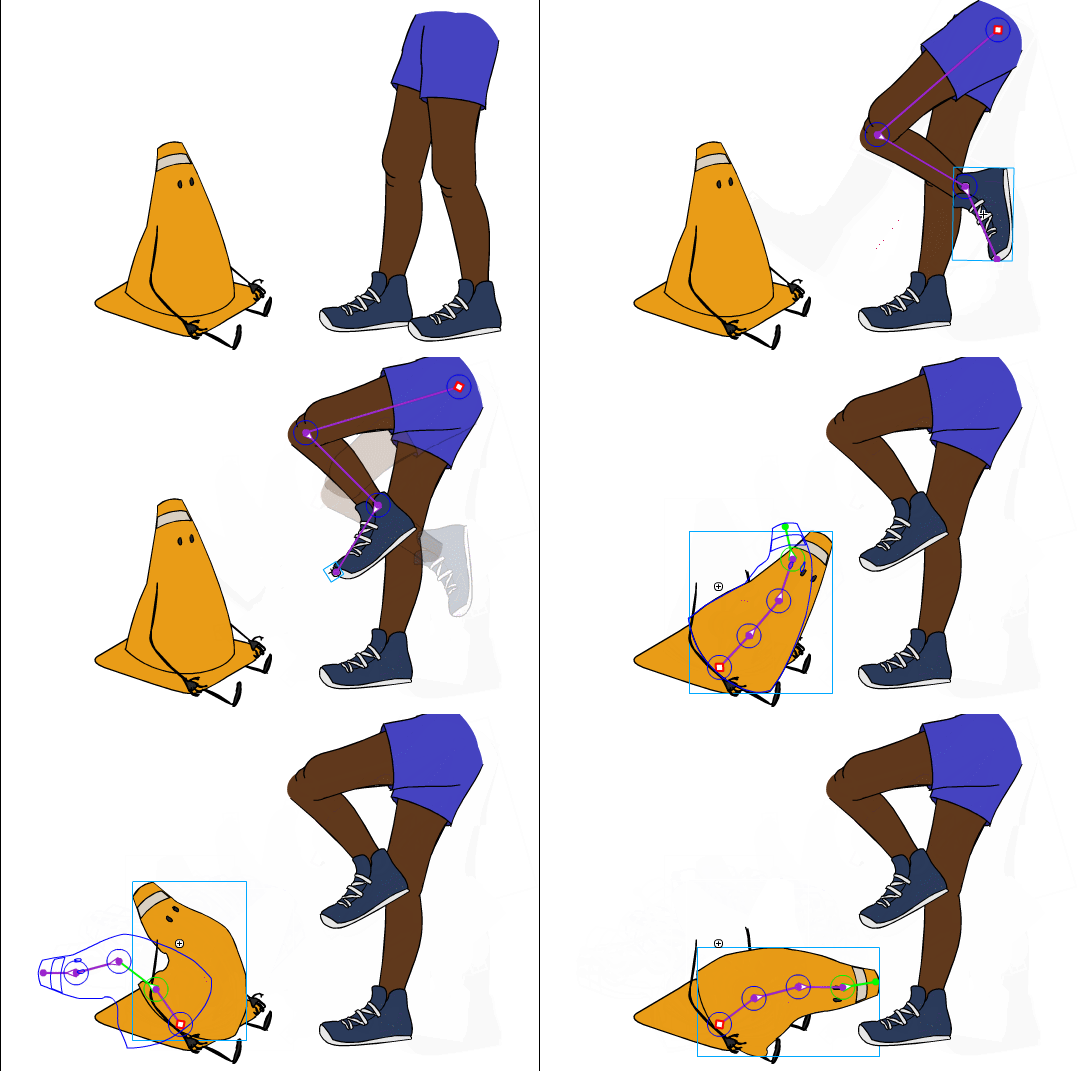
The bone tool allows you to create an IK rig using either a single fill or multiple symbols. IK (inverse kinematics) is a term used to describe the method of rotating a parented chain by selecting the last child. For example, instead of rotating the shoulder, then elbow, then wrist, then figure to point; you would grab the finger and place it where you want and the rest of the arm would follow. This is available in both Canvas and ActionScript projects.
Asset Warp Tool:
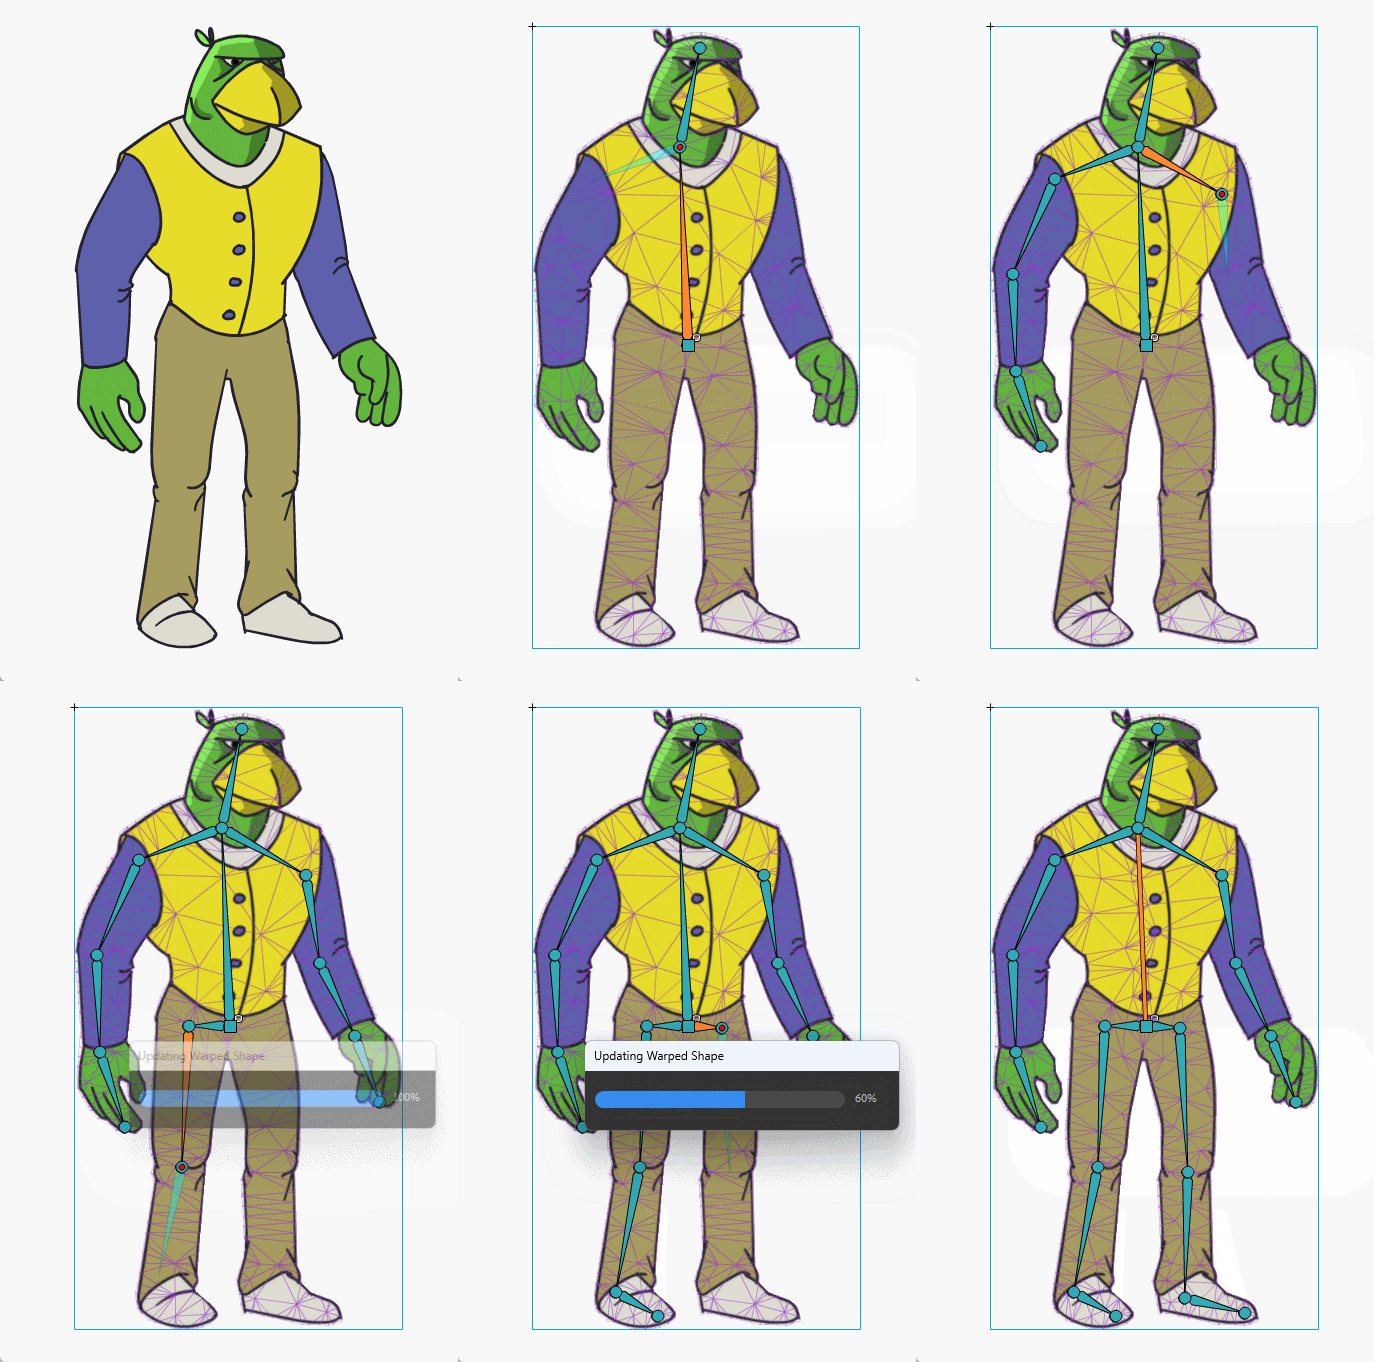
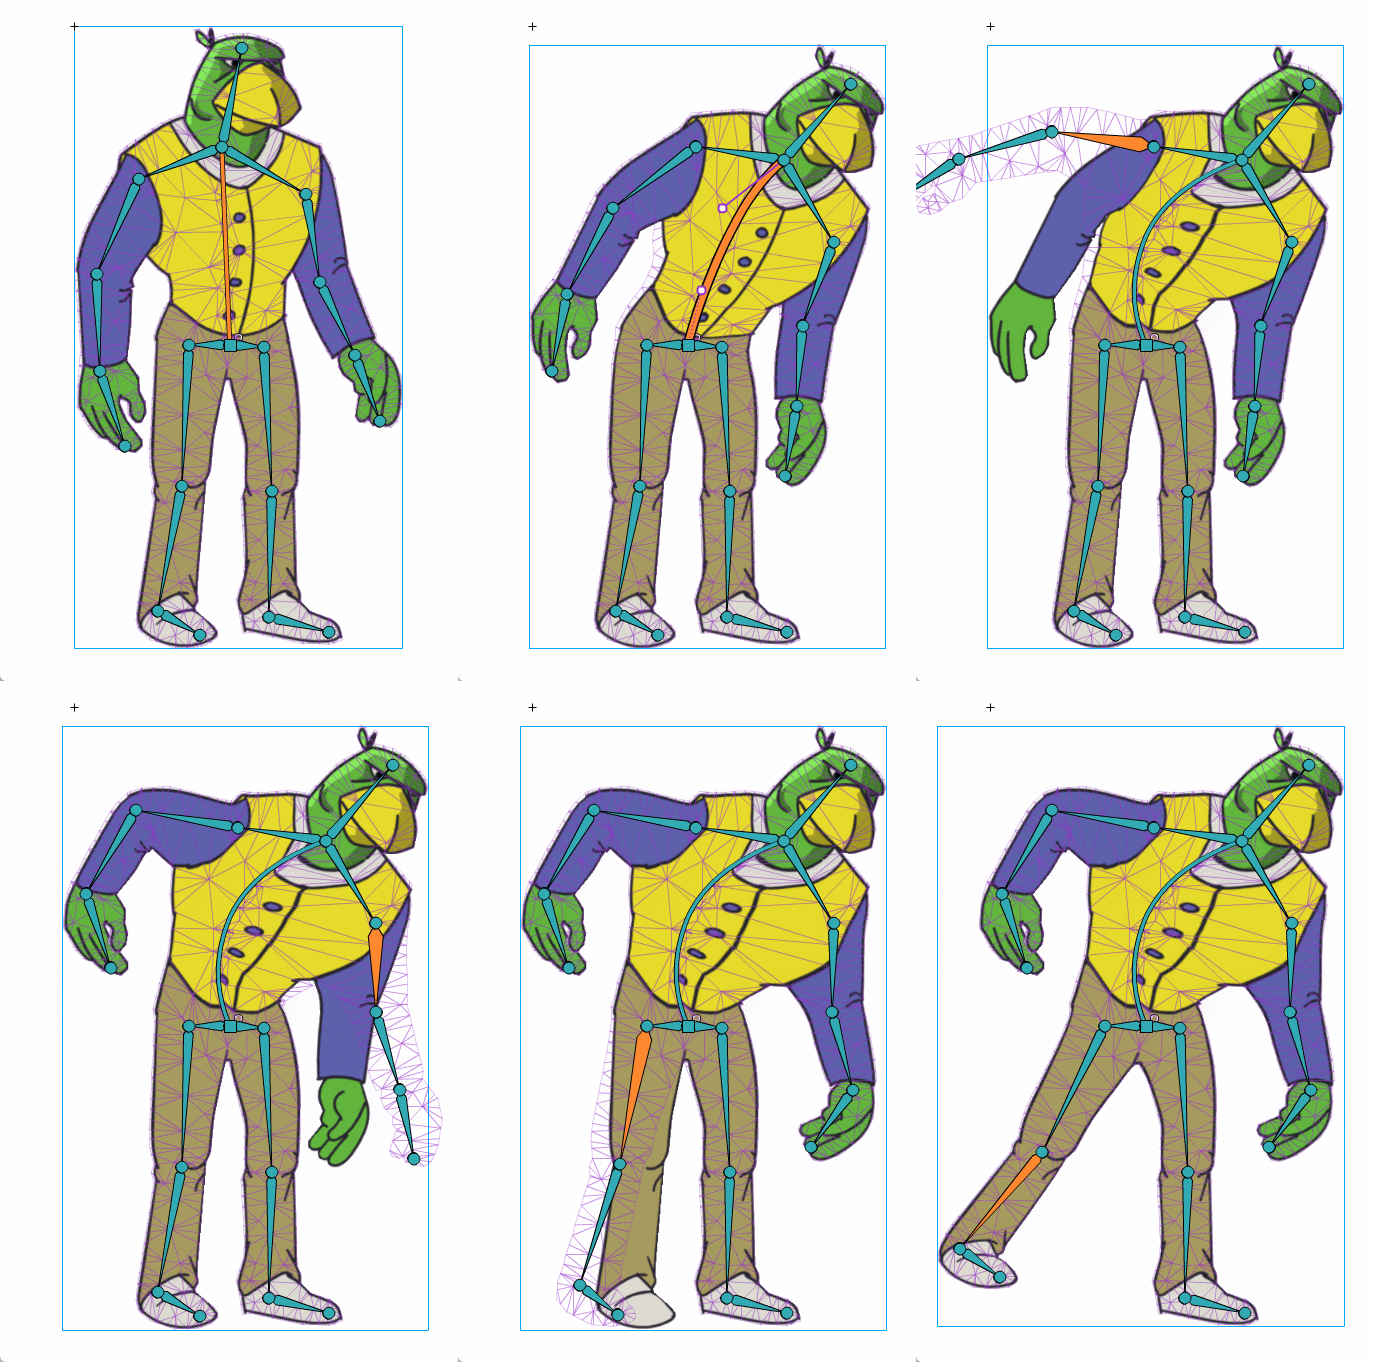
The newest puppet rigging tool (often referred to as modern rigging), allows you to create a chain of effectors similar to bone tool but instead warps the graphic it is applied too. This is a pretty quick process but may result in undesired deformation if you are not careful.
Asset Warp Options:

Swapping Graphics
Swap Symbol:
It is possible to swap the currently selected symbol with another. Simply select the keyframe where you want to swap it out, select Swap Symbol, and choose the symbol you wish to replace it with. This does not work with the bone or asset warp tool (you can swap symbols but not key it).

Frame Picker:
The frame picker allows you to swap between frames inside a movie clip or graphic symbol. The idea is that you could create a symbol with different versions on each frame inside and then change them as needed when animating. For example, you could create a mouth symbol. Inside its timeline you could have different mouth shapes representing different phonemes representing auditory sound. During animation you could change the mouth to the different shapes changing the frame shown to represent the lip-sync sound.
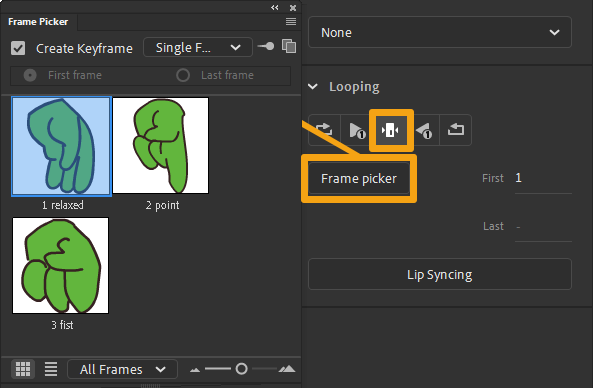

“Elephant shoe”
In order to create an animation above with the auto-lipsyncing feature you must use the graphic symbol frame picker option.
Mask Layers:
Masks allow parts of an image to be visible while hiding other parts. In Animate this is done by creating a layer above, creating an image on that layer, and selecting that layer to be treated as a mask. The image below will only be shown where the mask image is present. It works similar to a clipping mask in Photoshop. This can be utilized on a puppet to contain elements of a face during a head turn for example.

Puppet Creation Assignment
Puppet Creation Assignment:
In class we create a basic 2D cutout style puppet for animation. You will repeat the same process on your own character. This will be used in the next assignment to animate lip-sync. Your puppet must be able to create full-body poses.
You will be graded on the following:
- Lab Requirements
- Techniques and processes covered in the instructional material is followed and implemented.
- Creativity & Craftsmanship
- Excellent design choices, novel & appealing, and solid clean caliber work.
Resources:
- Assignment Video Tutorials
- You may watch these tutorial videos below to help you complete your assignment.
- Assignment Lab Materials
- You may download the lab materials here: puppetDrawingComplete.
Assignment Video Tutorials
Wait! Before you go!
Did you remember to?
- Read through this webpage
- Watch the videos
- Submit Puppet Creation Assignment on Blackboard
