Game Design
Class 11: 3D ModelingTopics
- Character Modeling
- Environment Modeling
- First Person (3d modeling) Lab Demonstration
- Enemy Model Assignment

There is greatness in you. Can you feel it?
Character Modeling
Character Modeling:
Modeling can be broken down into two major categories, character and environment. Character/soft-surface/organic modeling is typically done utilizing a sculpting approach. It results in a much more freeform smooth surface.
Pixologic Sculptris
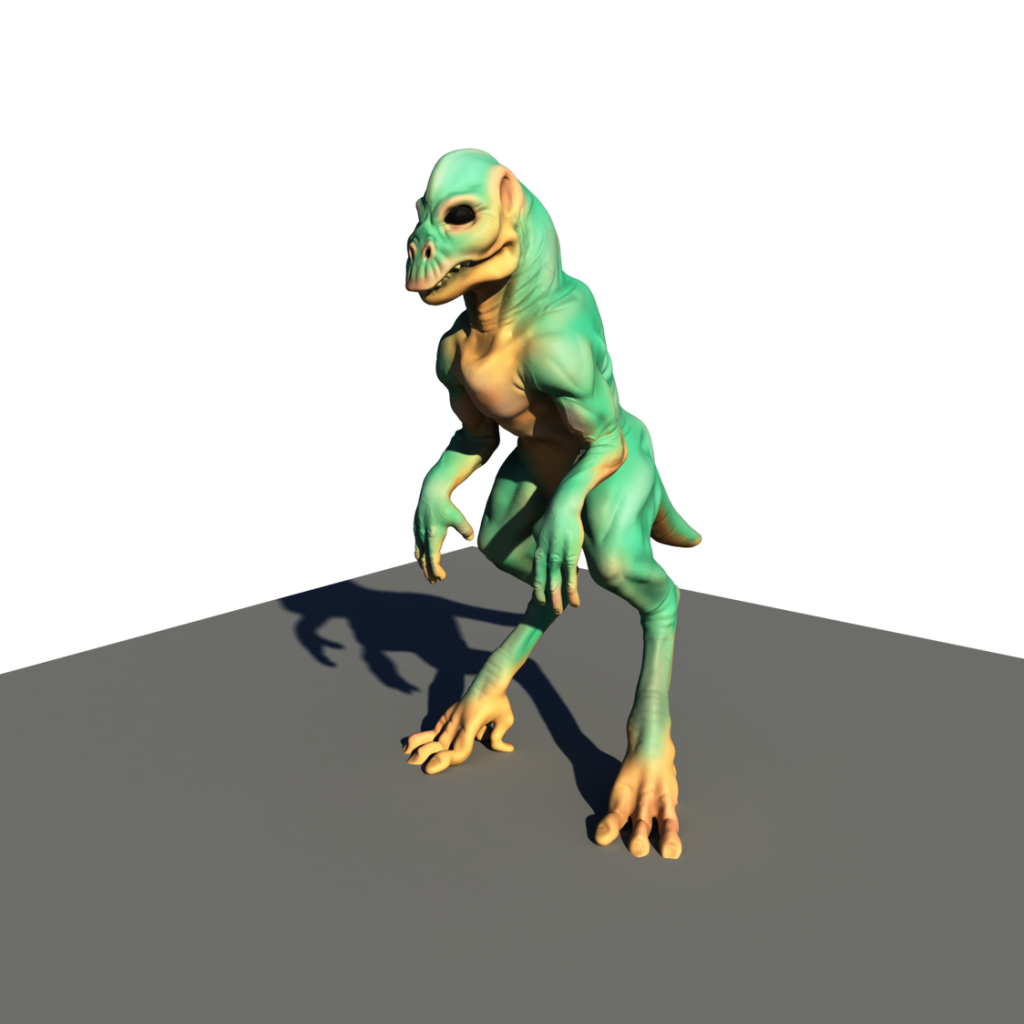
This is a free sculpting software that allows you to produce a model in a completely traditional not technological way. It uses a process called dynamesh to dynamically generate geometry onto the surface as you manipulate the model.
You can download the software here:

This model took less than an hour. Done traditionally, a model like this may take up to eight hours.
Environment Modeling
Environment Modeling:
Environment/hard-surface/inorganic modeling is almost always completed in a CAD-like environment. It involves utilizing primitives and applying extrusions, cutting, and other tools.
Autodesk Maya
Maya is a 3D computer graphics application capable of developing models, rigging, animation, simulations, and lighting & rendering.
It has become an industry standard used to produce content for animated films, visual effects, video games, and much more.
As a student you may download and use Maya for free. Create an educational account and download the software here.
First Person (3d modeling) Lab Demonstration
Assets
- Environment
-
- Terrain
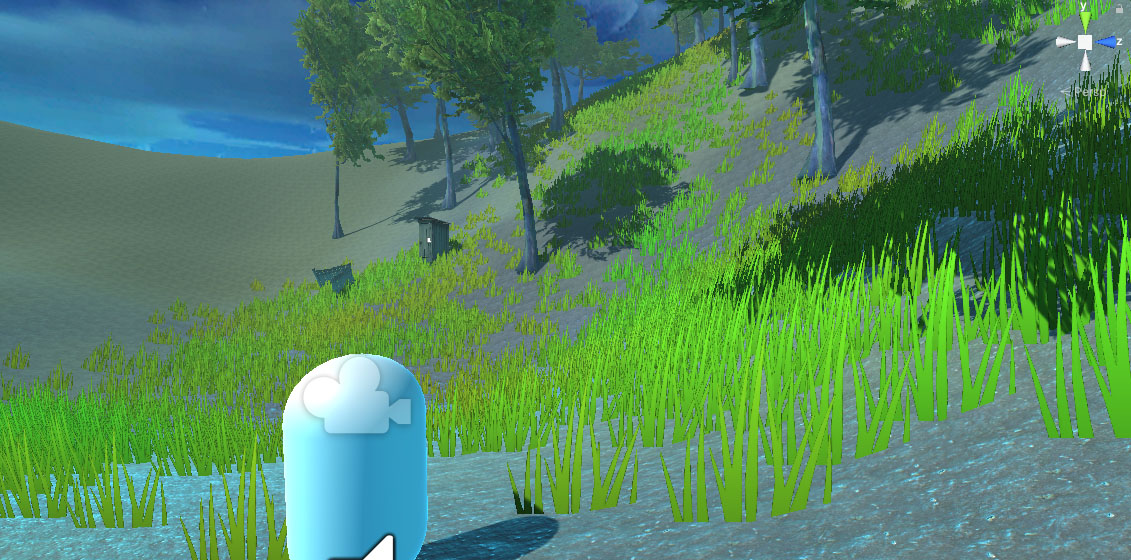
- The ground that is sculpt through a heightmap
- Trees/Details
- Trees and other details such as rocks are placed on the terrain
- Other assets
- Other geometry is imported such as buildings and water. A skybox is imported
- Game Controller
- This will control the game for now it will spawn the enemies
- Characters
-
- Player
- First person controller
- Enemies
- Zombies that will seek you out and damage you

We do not have finalized graphics but a good start.
Scripts
- New Scripts
-
- PlayerControllerScript
- We will apply a shooting mechanic to this script
- PlayerStatsScript
- Holds health and may add or remove it
- EnemyControllerScript
- Directs the enemy towards the player, applies damage, and handles health
- EnemySpawnScript
- Will spawn the enemy wherever it is place at a rate given
using System.Collections;
using System.Collections.Generic;
using UnityEngine;

public class PlayerControllerScript : MonoBehaviour
{
    private LayerMask enemyMask = 1 << 10;

    public float nextFire = 0.0f;
	public float fireRate = 0.5f;
	public float damageAmt = 25.0f;
	public float knockBackAmt = 250f;

	public Transform shootPos;

	public GameObject hitSpawn;
	EnemyControllerScript enemyControllerScript;

	public LineRenderer line;

	Ray shootRay;
	RaycastHit hit;
	bool shootResult;
	GameObject spawnedHit;

	void Update ()
	{
		if(Input.GetButton("Fire1") && Time.time > nextFire)
		{
			Shoot(shootPos.position, shootPos.forward);
			nextFire = Time.time + fireRate;
		}
	}

    void Shoot (Vector3 origin, Vector3 direction)
    {
		shootRay = new Ray (origin, direction);
		Debug.DrawRay (shootRay.origin, shootRay.direction * 3f, Color.red, 1f);

		line.enabled = true;

		line.SetPosition(0, new Vector3 (origin.x -.25f, origin.y -.25f, origin.z  + .1f));
		line.SetPosition(1, shootRay.GetPoint (100));

		StartCoroutine(ShootLine());

		shootResult = Physics.Raycast (shootRay, out hit, 50f);
		if (shootResult)
		{
			spawnedHit = Instantiate (hitSpawn, hit.point, Quaternion.identity);
			StartCoroutine (ShootSpawn (spawnedHit));

			enemyControllerScript = hit.transform.GetComponent<EnemyControllerScript>();
			if(enemyControllerScript != null)
			{
				hit.transform.gameObject.GetComponent<Rigidbody>().AddForceAtPosition (shootRay.direction * knockBackAmt, hit.point);
				enemyControllerScript.EnemyHealthAdjustment(-damageAmt);
			}
		}
	}

	IEnumerator ShootLine()
	{
		yield return new WaitForSeconds (.25f);
		line.enabled = false;
	}

	IEnumerator ShootSpawn(GameObject spawnedHit)
	{
		yield return new WaitForSeconds (2f);
		Destroy (spawnedHit);
	}
}
using System.Collections;
using System.Collections.Generic;
using UnityEngine;

public class PlayerStatsScript : MonoBehaviour
{
    public float playerHealth = 100f;

    public void PlayerHealthAdjustment(float playerHealthAdjustment)
    {
        playerHealth += playerHealthAdjustment;
    }
}using System.Collections;
using System.Collections.Generic;
using UnityEngine;
public class EnemyControllerScript : MonoBehaviour
{
private GameObject playerObject;
private UnityEngine.AI.NavMeshAgent enemyNav;
private LayerMask playerMask = 1 << 9;
public bool playerPresent;
public float enemyHealth = 100f;
public float enemyAttackAmount;
public float enemyAttackRate;
private float enemyNextAttackTime = 0.1f;
void Awake()
{
playerObject = GameObject.FindGameObjectWithTag ("Player");
enemyNav = GetComponent<UnityEngine.AI.NavMeshAgent>();
}
void Update ()
{
if(!playerPresent)
enemyNav.SetDestination (playerObject.transform.position);
}
void FixedUpdate()
{
playerPresent = DetectPlayer();
AttackPlayer();
}
bool DetectPlayer()
{
Vector3 fwd = transform.TransformDirection(Vector3.forward);
if (Physics.Raycast(transform.position, fwd, 1, playerMask))
return true;
else
return false;
}
void AttackPlayer()
{
if(playerPresent && Time.time > enemyNextAttackTime)
{
enemyNextAttackTime = Time.time + enemyAttackRate;
playerObject.GetComponent<PlayerStatsScript>().PlayerHealthAdjustment(-enemyAttackAmount);
}
}
public void EnemyHealthAdjustment(float enemyHealthAdjustment)
{
enemyHealth += enemyHealthAdjustment;
if(enemyHealth <= 0)
{
Destroy(gameObject);
}
}
}using System.Collections;
using System.Collections.Generic;
using UnityEngine;
public class EnemySpawnScript : MonoBehaviour
{
public GameObject enemy;
public float spawnRate;
private float nextSpawnTime;
void Update ()
{
if(Time.time > nextSpawnTime)
{
nextSpawnTime = Time.time + spawnRate;
Instantiate (enemy, transform.position, Quaternion.identity);
}
}
}Enemy Modeling Assignment
Enemy Model:
Using your design from the previous assignment as a starting point you will create a model of your enemy for your survival shooter game. We will cover some methods to produce the model and texture but you may use whatever method you feel comfortable with. You should have a complete lower poly model and color texture image. Once completed you should submit an obj file and jpg or png texture image.
You will be graded on the following:
- Lab Requirements
- Techniques and processes covered in the instructional material is followed and implemented.
- Creativity & Craftsmanship
- Excellent design choices, novel & appealing, and solid clean caliber work.
Resources:
- Assignment Video Tutorials
- You may watch the tutorial videos below to help you complete your assignment.
Assignment Video Tutorials
Wait! Before you go!
Did you remember to?
- Read through this webpage
- Submit Enemy Model Assignment on Blackboard


