Digital Imaging I
Class 04: CompositingTopics
- Selection and Transform Tools
- Compositing Techniques
- Assignment 04

Welcome to class fore!
Selection and Transform Tools
Selection Tools
Photoshop has a variety of tools available to select areas of the image. Generally it is best to use the more automated broad tools and work your way to the more specific manual tools. You can see an overview of selection tools available in Photoshop below.
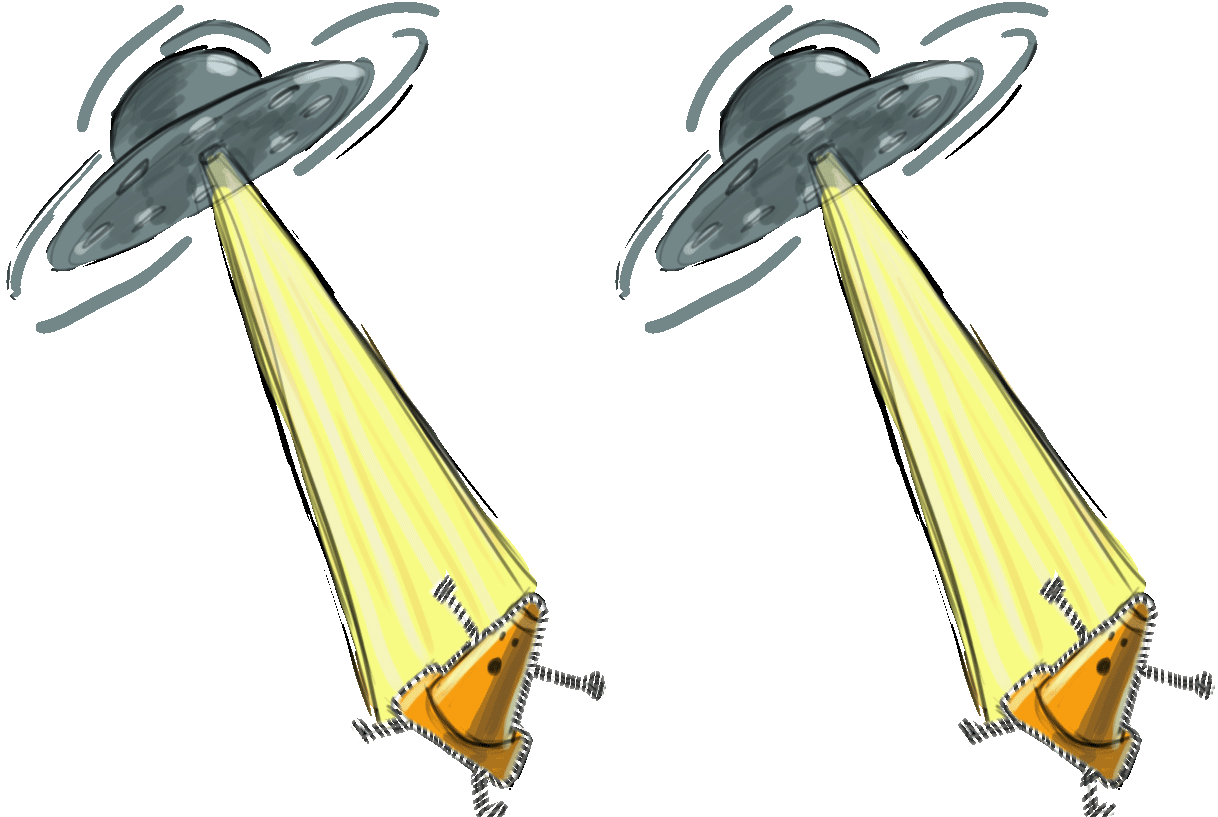
“I’ve been selected!”
Marquee Select Tools
- Rectangular Marquee Tool
- Used to make a rectangular selection.
- Eliptical Marquee Tool
- Used to make a circular selection.
- Single Row Marquee Tool
- Used to make a selection of a single horizontal line.
- Single Column Marquee Tool
- Used to make a selection of a single horizontal line.

Lasso Tools
- Lasso Tool
- You can freehand draw a selection.
- Polygonal Lasso Tool
- Allows you to create a selection based on drawing a polygonal shape.
- Magnetic Lasso Tool
- While drawing freehand the selection will snap to the subjects edges.

Quick Selection Tools
- Quick Selection Tool
- Creates a selection based on edges of a subject.
- Magic Wand Tool
- Makes a selection similar to the fill tool in that it selects areas based on the similarity of what is clicked on.
- Object Selection Tool
- Using a marquee you select an area and Photoshop will attempt the select an object inside.

Other Ways to Select:
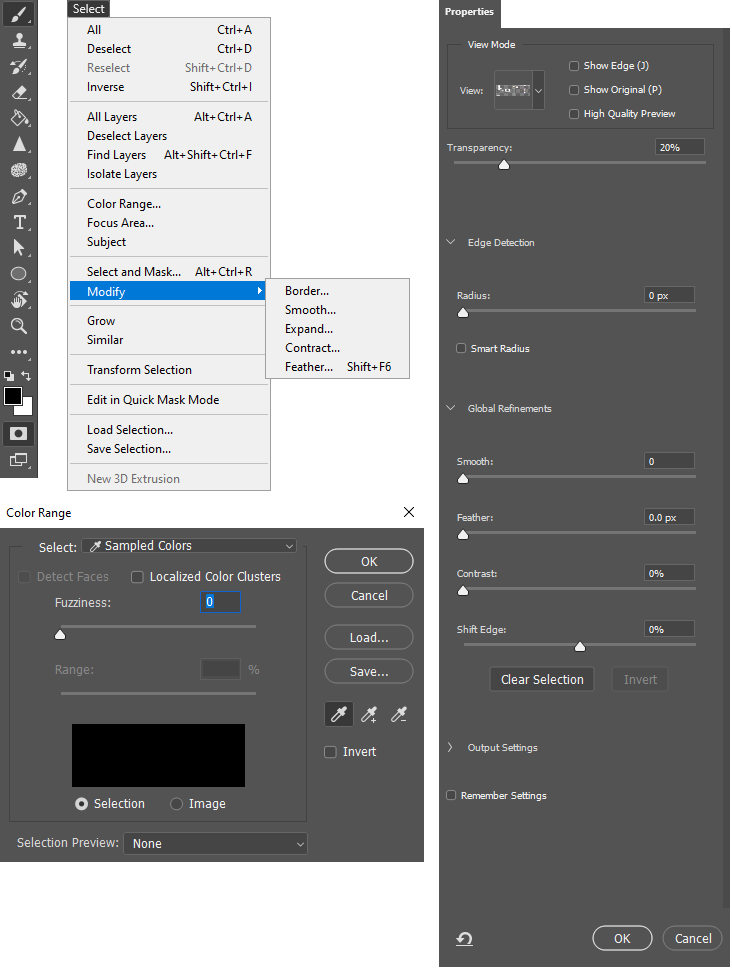
Transform Tools
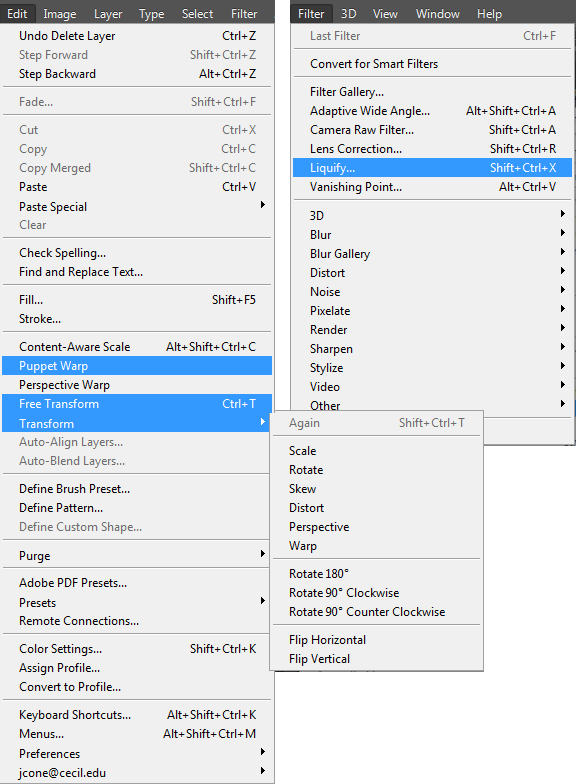
These tools allow you to manipulate position, scale, skew, and deformation of imagery. You can see a description of the tools available below.
- Edit > Free Transform
- Allows you to scale and warp your object.
-
- hotkeys:
- press ctrl/cmd + t enables free transform.
- hold shift to scale proportionally.
- hold ctrl/cmd to warp corner handles independently of other handles
- Edit > Transform
- There are a variety of options to scale and warp your selected object.Scale, Rotate, Skew, Distort, Perspective, Warp | Rotate 180, Rotate 90 Clockwise, Rotate 90 Counter Clockwise | Flip Horizontal, Flip Vertical.
- Edit > Puppet Warp
- Using pins you can grab and stretch areas of an object.
- Filter > Liquify…
- Using brushes you can warp an image.
Compositing Techniques
Compositing:
The process of combining multiple images to one cohesive image. Generally you are trying to make it look natural or at least somewhat believable.
Assignment 04
Composite Image:
For this assignment you will combine together multiple images to create a single composite. Utilize any of the methods we covered in class. Try to be creative as well as produce something that is unified.
You will submit this digitally on Blackboard. All assignments will also include the project cover sheet. You can grab it here. Just answer the questions in the document.
Be sure to post your images on the Discussion Board for critique.
You will be graded on the following:
- Project Cover Sheet
-
Thoroughly completed and thoughtfully written with little or no grammatical errors.
-
- Composite Masking
-
Masking is excellently done. Difficult areas are handled masterfully.
-
-
Composite Editing
-
All elements combine to create a truly unified piece. Overall image look natural.
-
-
Craftsmanship & Creativity
-
Beautifully and consistently completed throughout. Novel and interesting in comparison to peers.
-
Resources:
- Project Cover Sheet
- You may download the project cover sheet here.
- Assignment Video Tutorials
- You may watch the tutorial videos below to help you complete your assignment.
Assignment Video Tutorials
Wait! Before you go!
Did you remember to?
- Read through this webpage
- Submit Week 04 Composite Image Assignment on Blackboard
- Composite image and project cover sheet
- Post your finished images and description on the Week 04 Composite Image Assignment Critique Discussion Board
- … and reply to at least two of your peers’ work on the Discussion Board
