Outline:
- Deformation
- Blend Shapes
- Assignment 03
Deformation
Deformation:
In 3D computer animation anytime a model is bent, twisted, warped, or articulated in any fashion it is thanks to deformers. There are a variety of deformers available in Autodesk Maya that allow you to give life to your models.
There are a variety of deformers in Maya:
- Skin Cluster
- Non-Linear
- Blend Shapes
Blend Shapes
Blend Shapes:
Blend Shapes: Blend shape deformers let you change the shape of one object into the shapes of other objects. Blend shapes do exactly what the name suggests. (in other software these are often referred to morphs or morph targets)
Blend shapes can be use for all sort of things:
- Transform one object into another (swan to a princess [difficult])
- Fix particular shapes (push the butt out when leg goes back)
- Use for simple animation (open/closed drawer)
- Add extra deformations (you could place a non-linear wave deformer on to a blend shape)
- Most common for facial animation (make all of your targets for a character’s face)
- All sorts of things YOU haven’t come up with (the sky is always the limit; fie on you sky!)
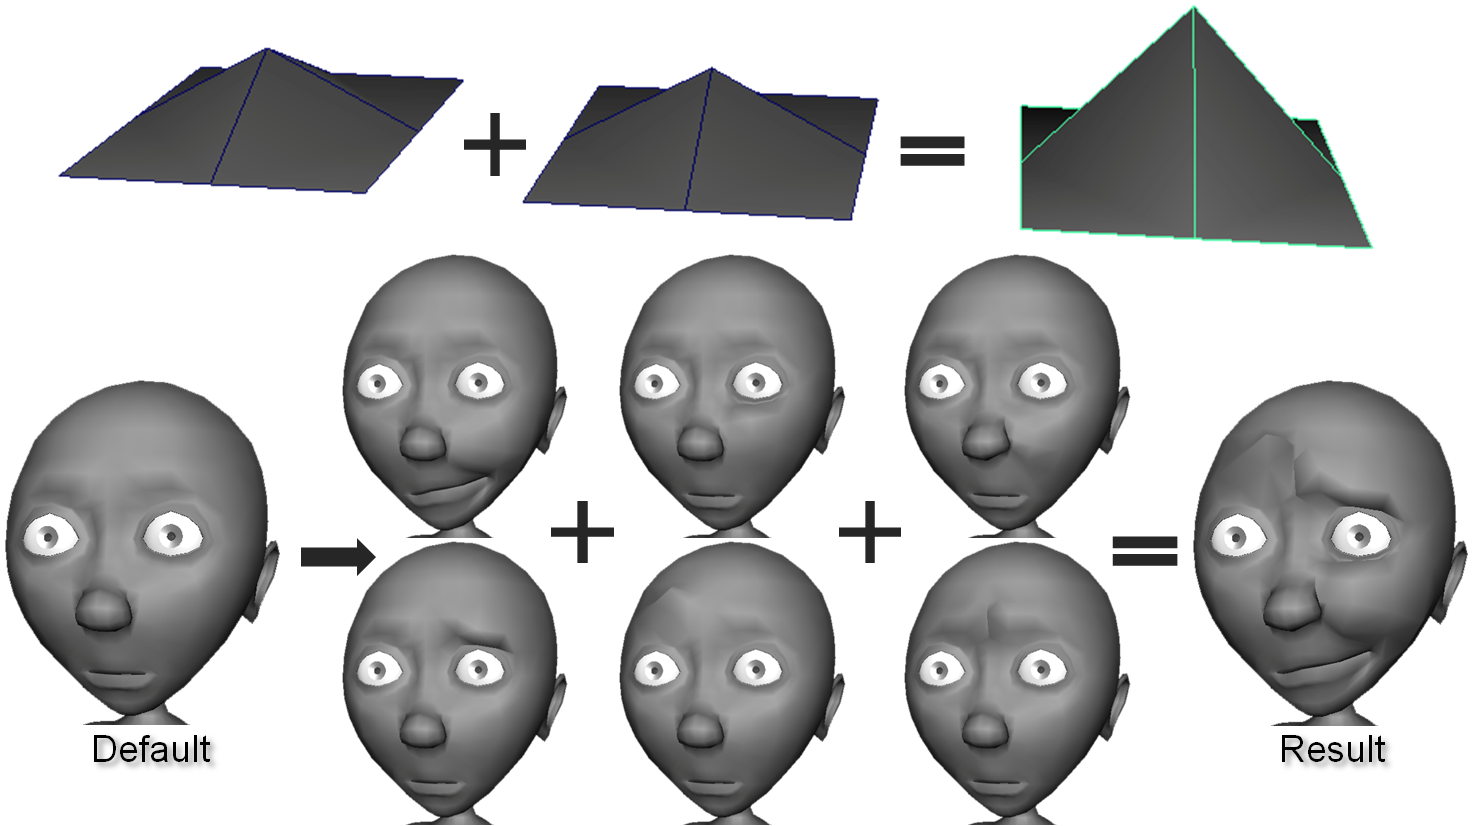
Facial Blend Shapes:
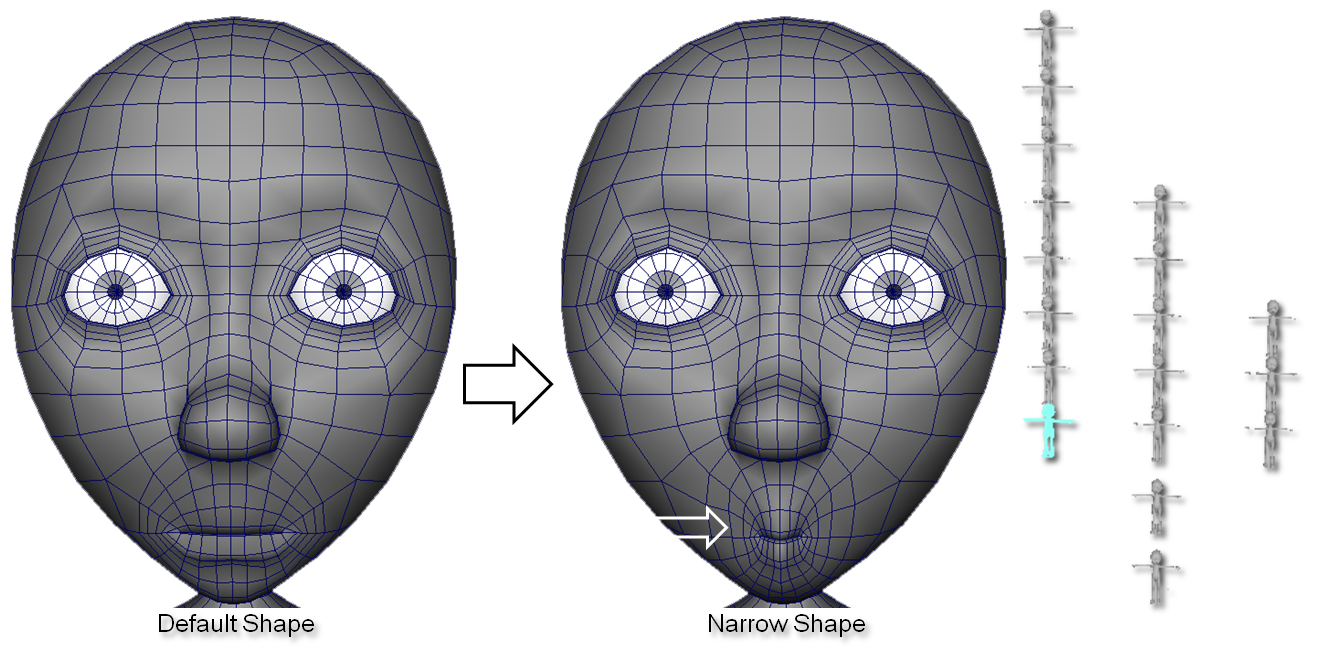
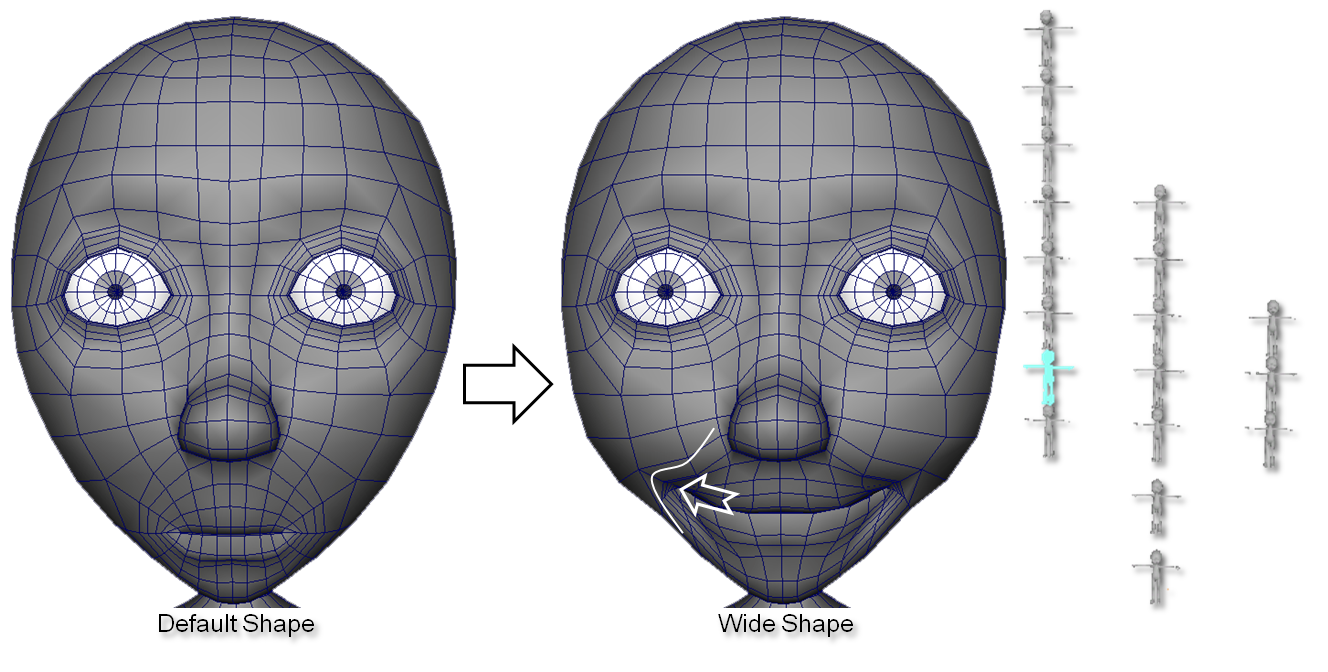
Blend shapes are still the preferred method for rigging the face.
Mouth Narrow:
Mouth Wide:
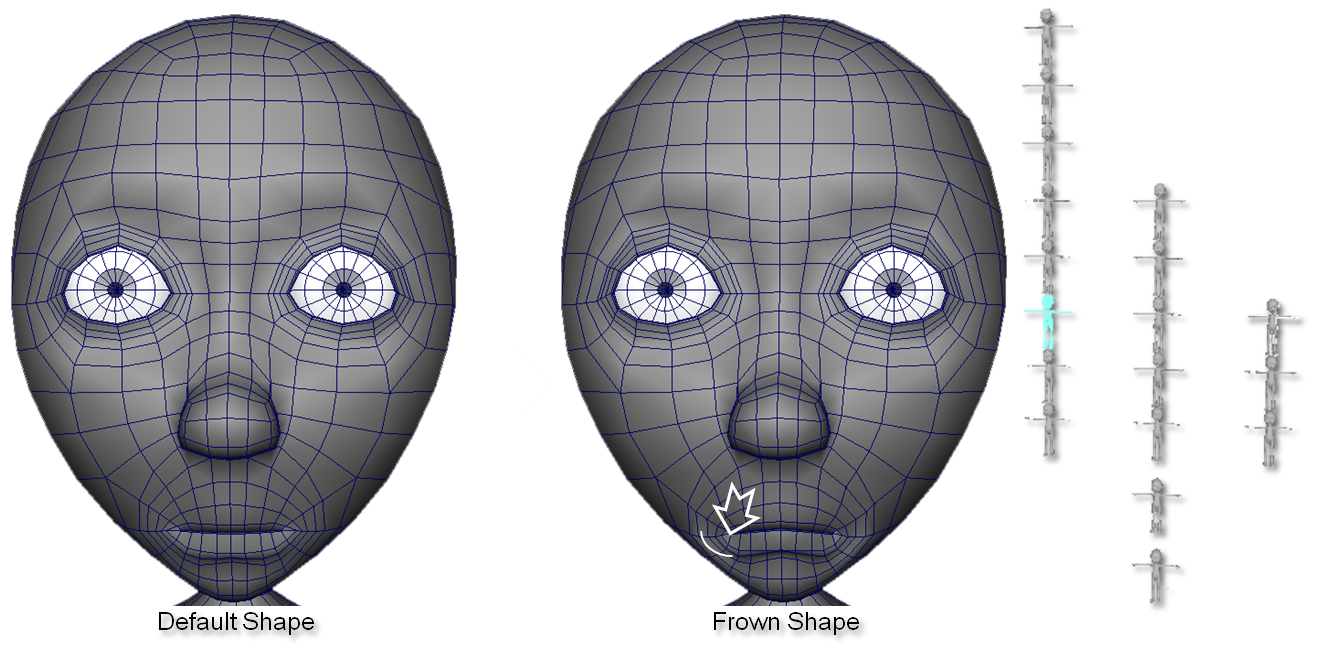
Mouth Frown:
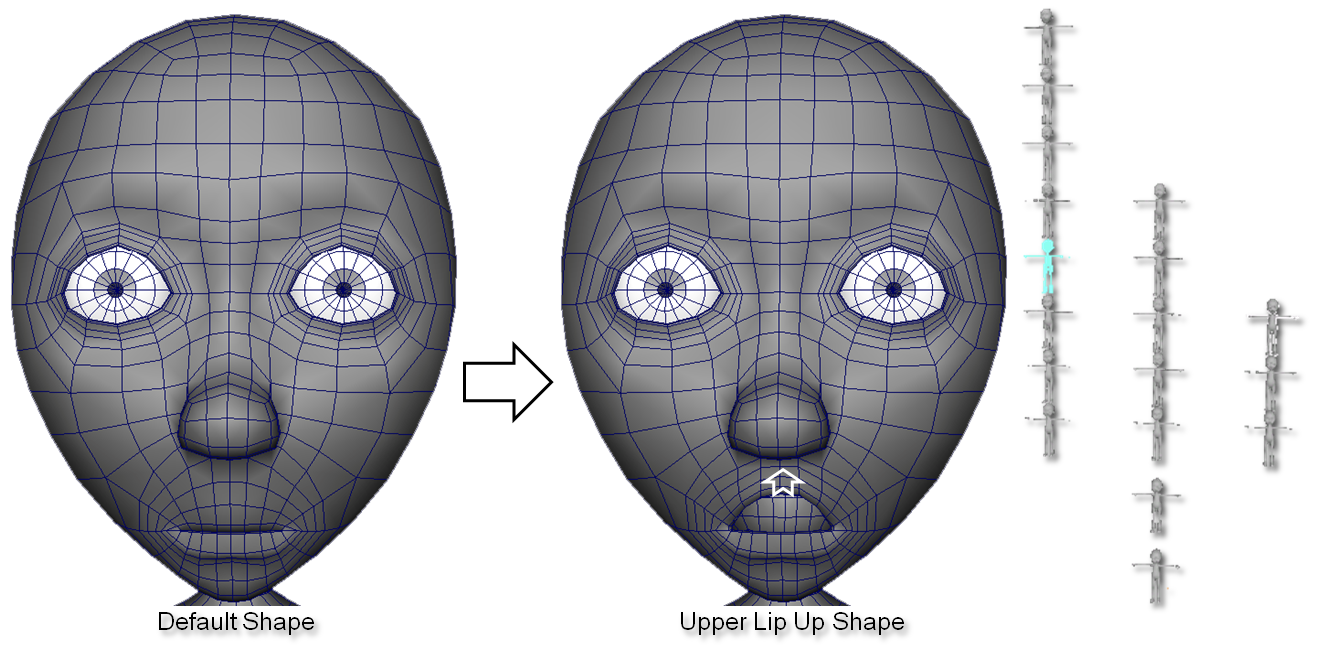
Mouth Upper Lip Up:
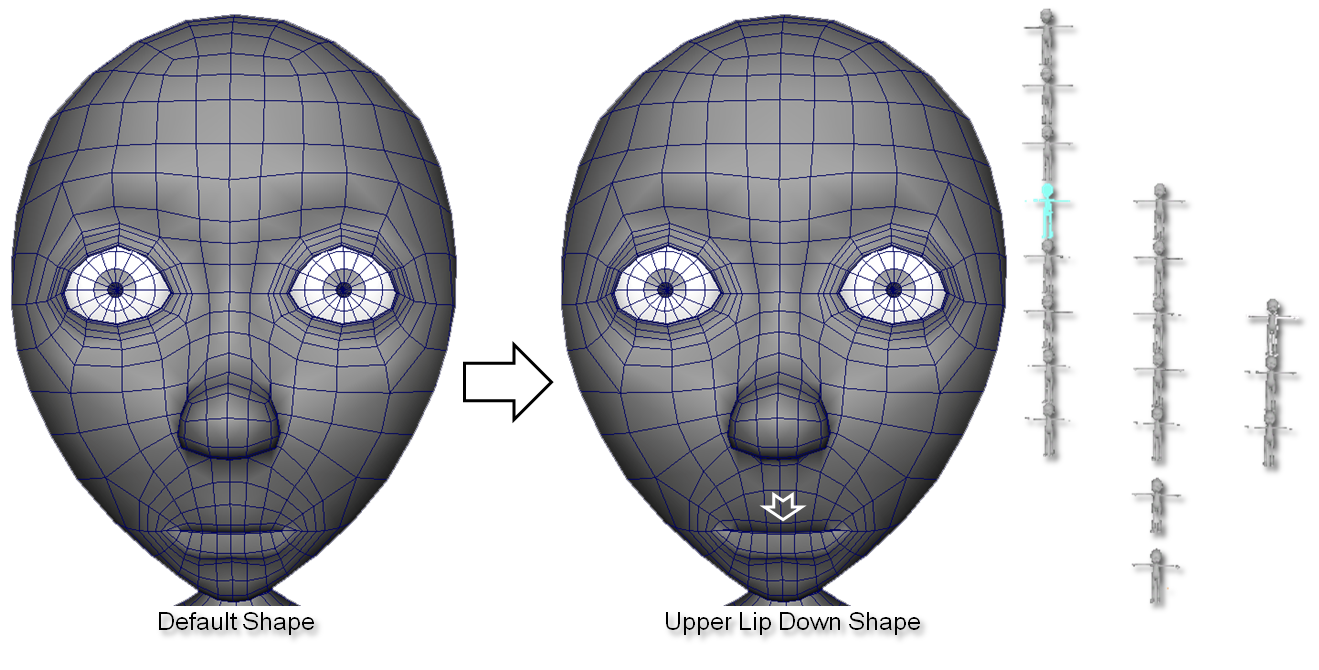
Mouth Upper Lip Down:
Mouth Lower Lip Down:

Mouth Lower Lip Up:
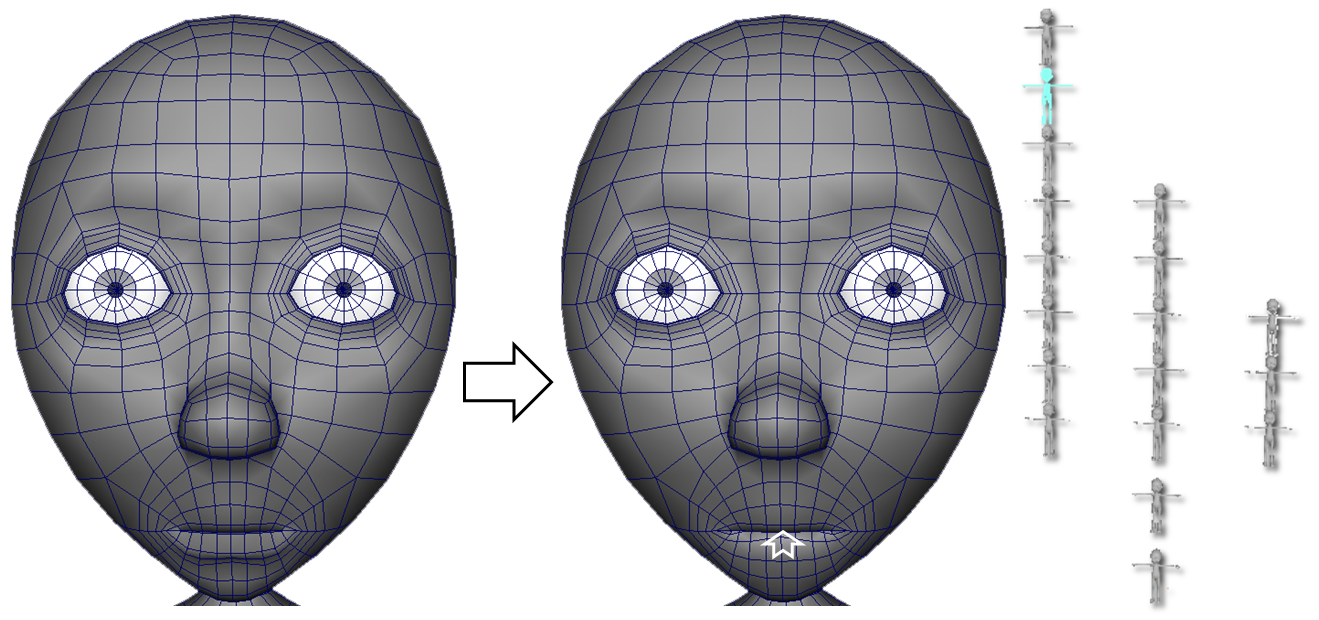
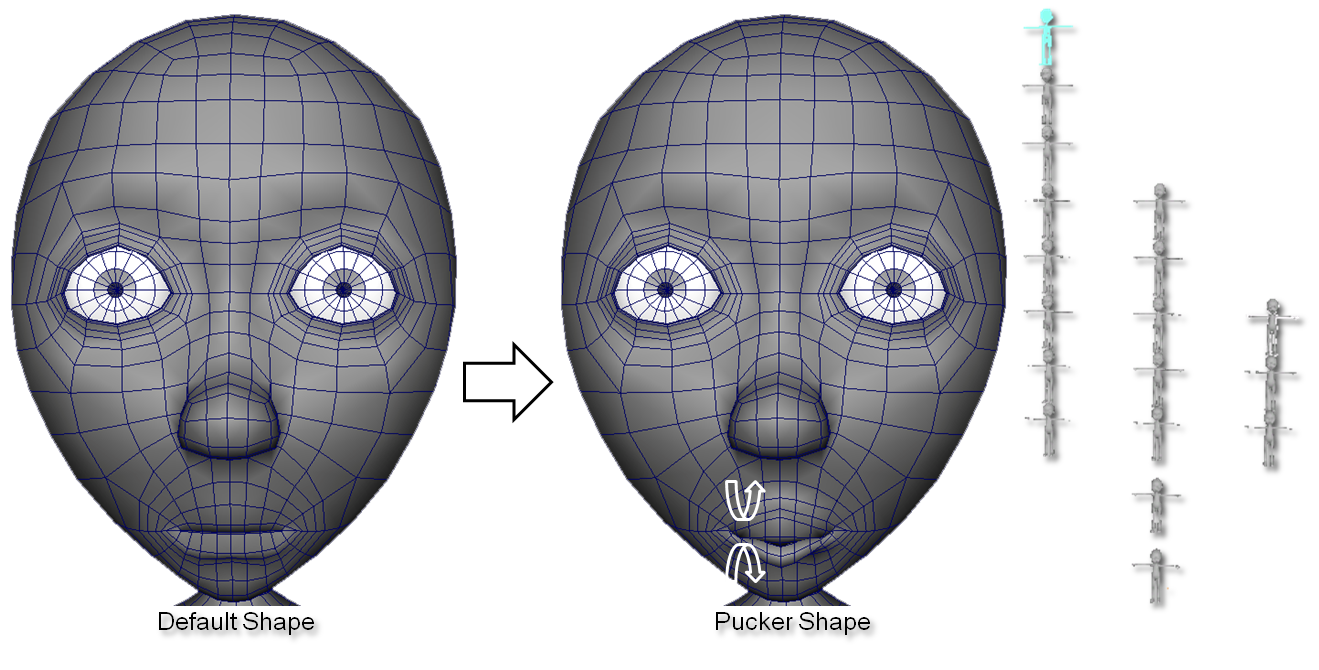
Mouth Pucker:
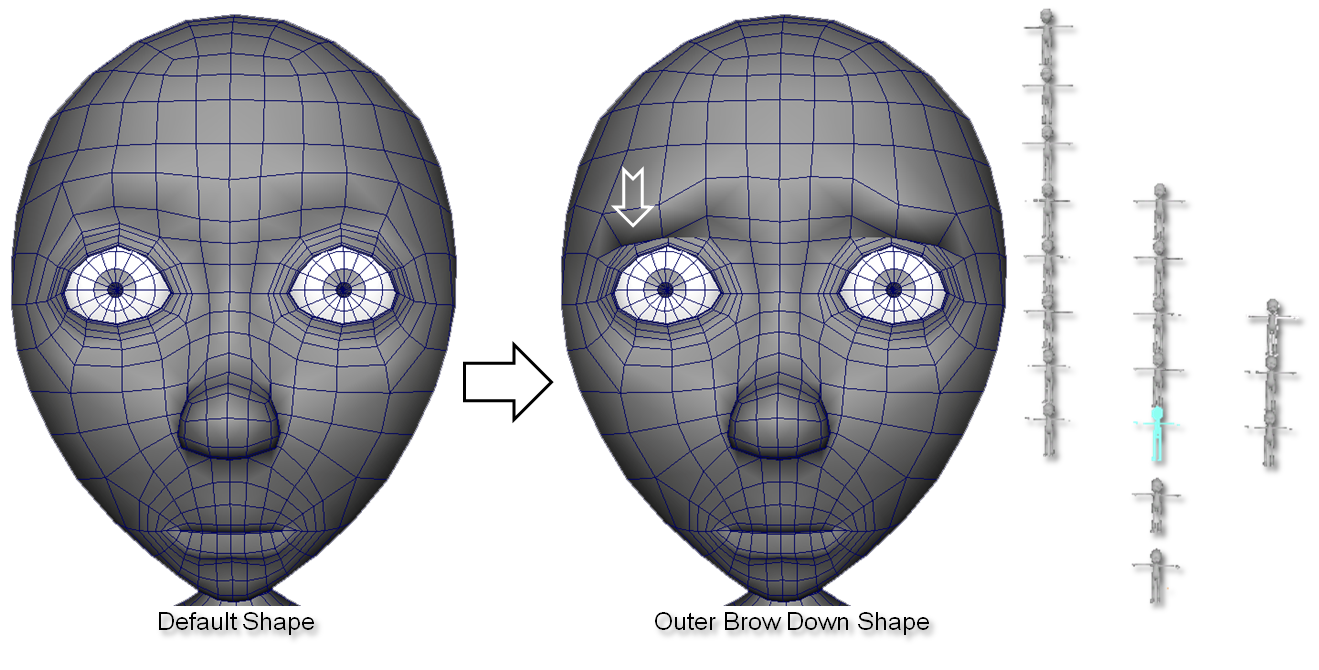
Brow Outer Down:
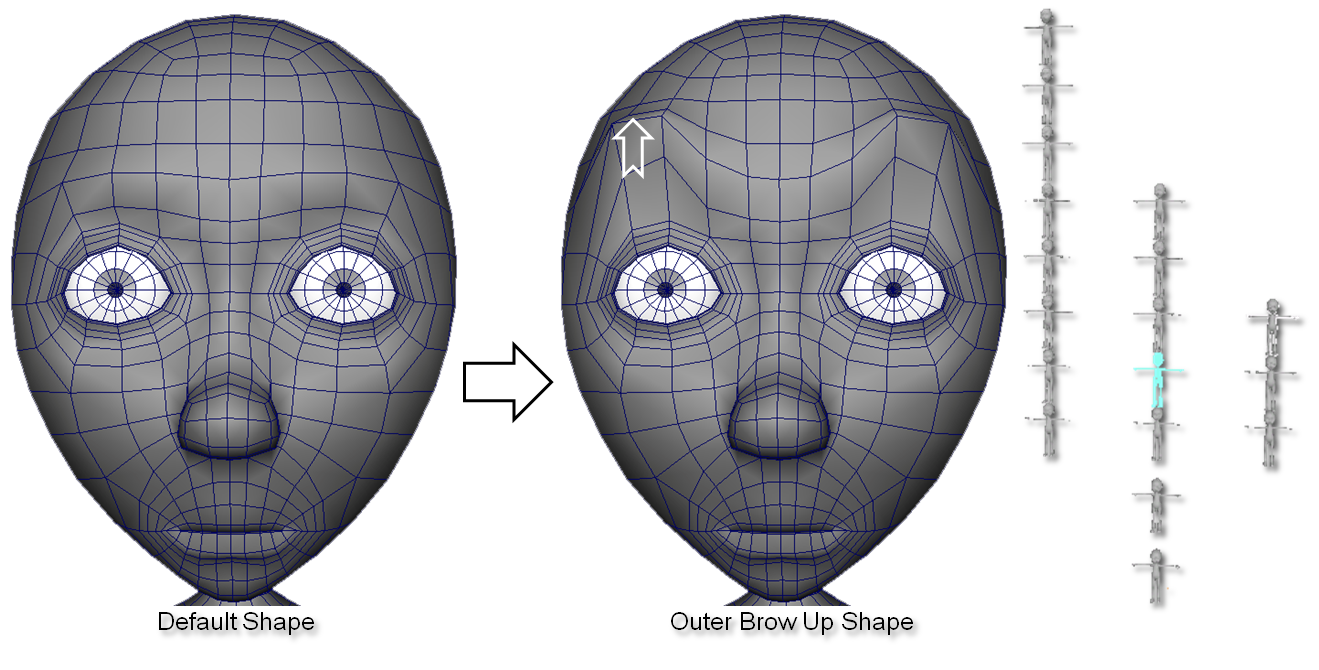
Brow Outer Up:
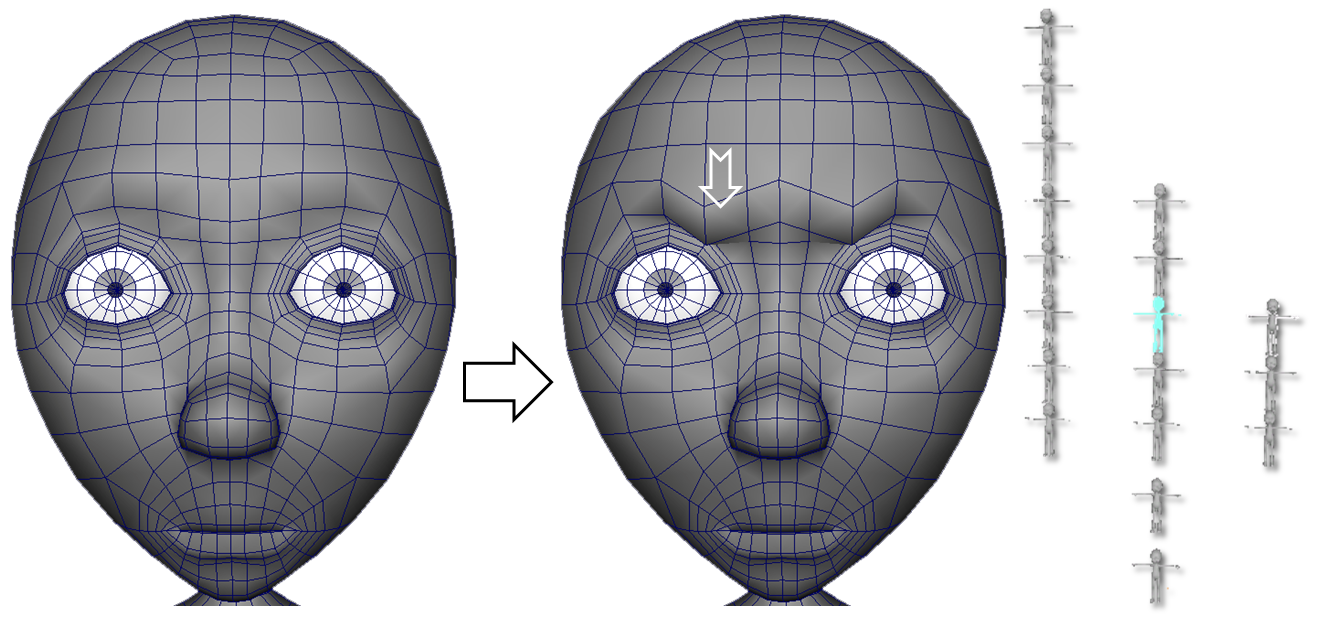
Brow Inner Down:
Brow Inner Up:
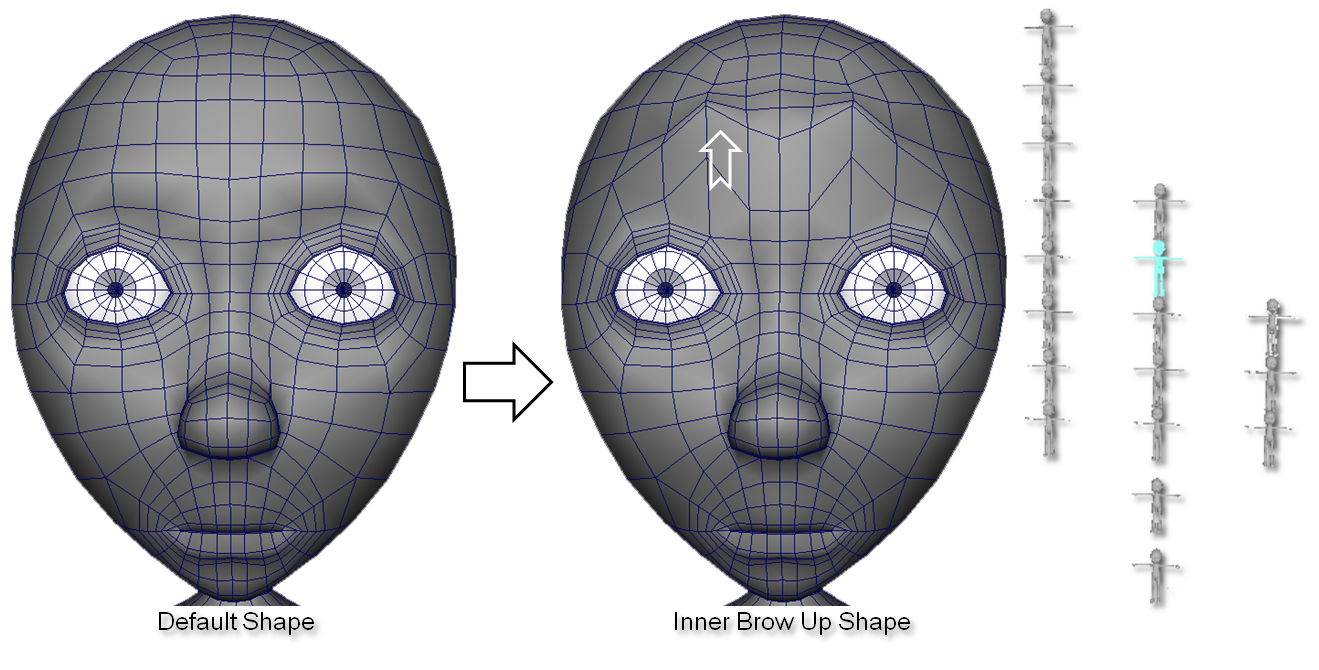
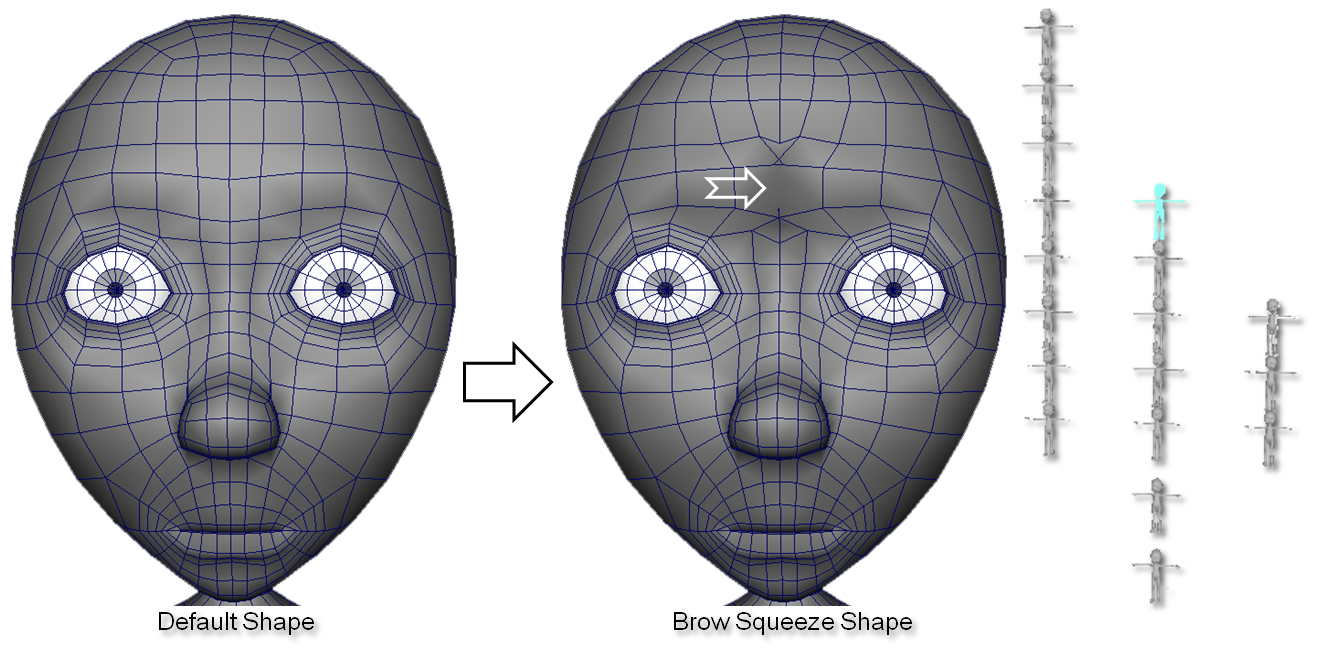
Brow Squeeze:
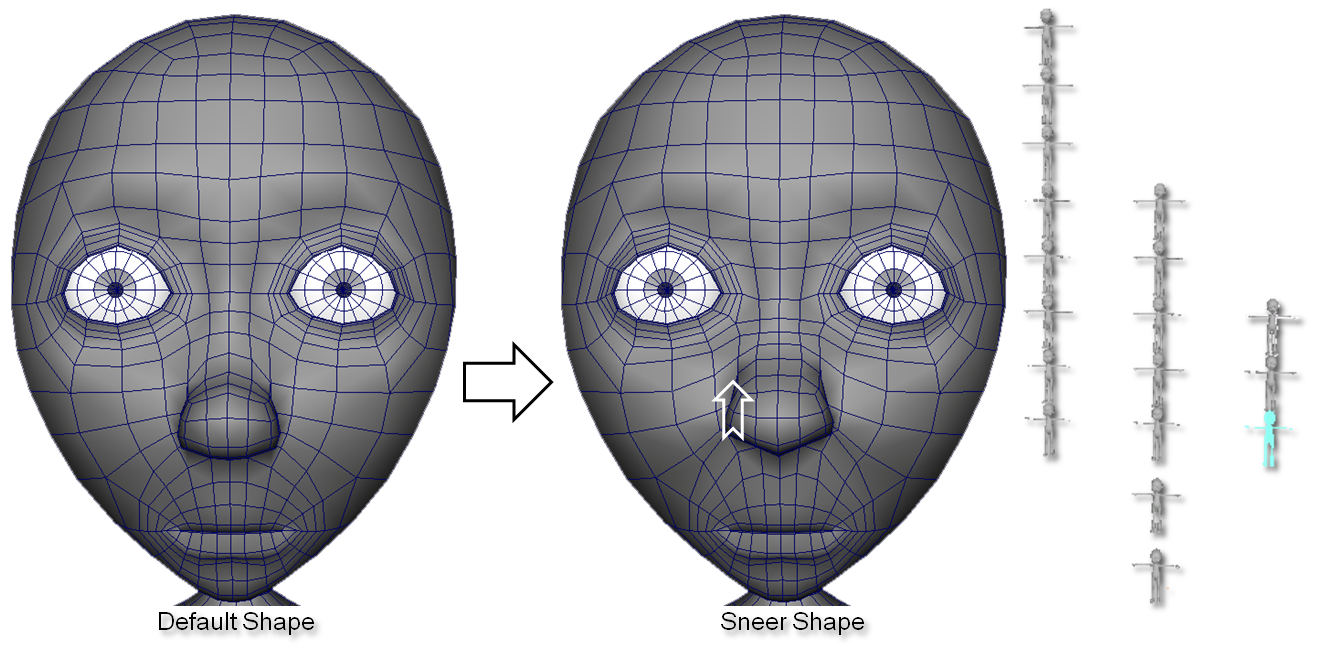
Nose Flare:
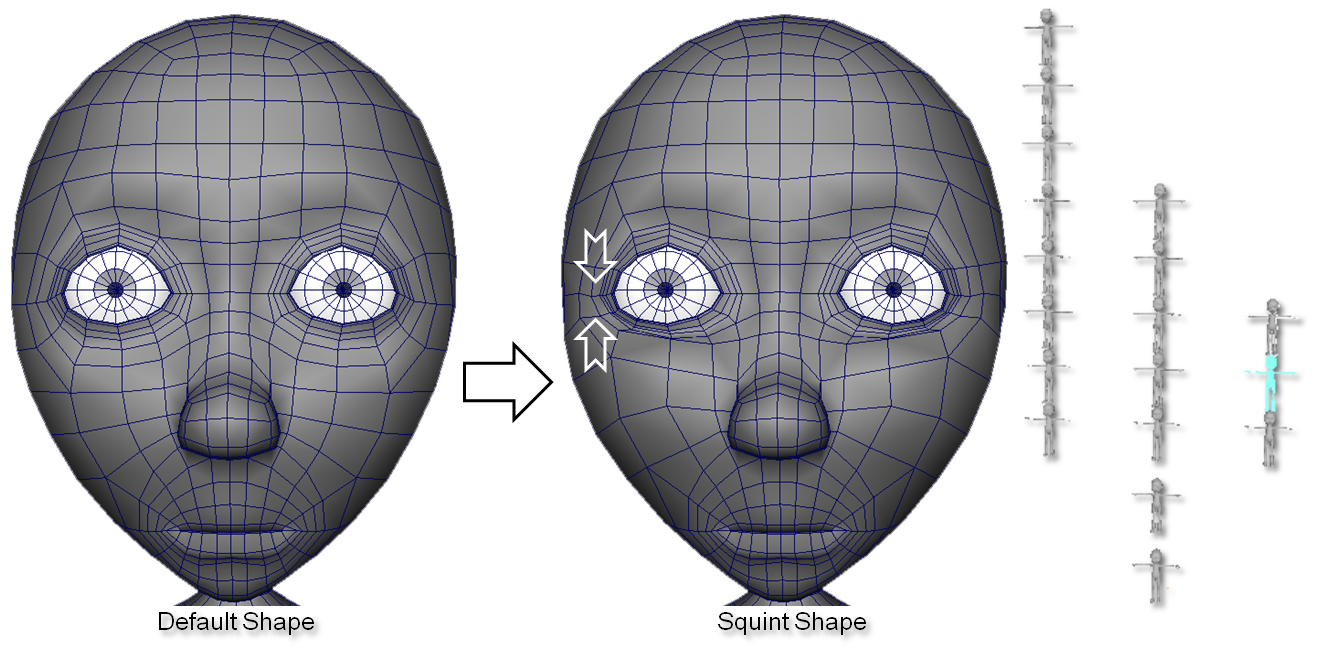
Squint:
Others:
These are only the most basic blend shapes necessary. You may produce many more (golemn from Lord of the Rings had over 2000 target shapes!).
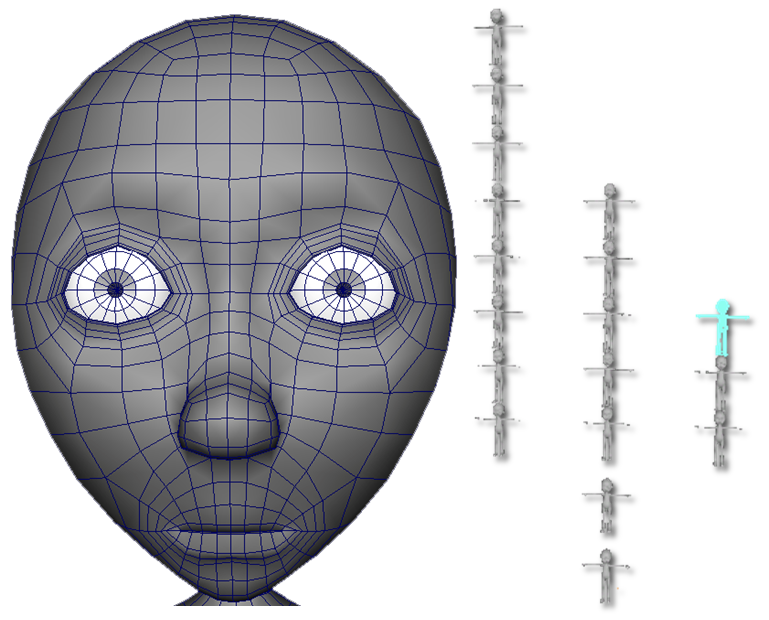
Assignment 03
Character Rig
Although auto-rigs are useful for quickly rigging characters you have little control over them. Instead it is a good idea to create custom rigs that you understand and can make adjustments to. In this next assignment you will manually produce a character rig. You may use any bipedal humanoid character you like.
For Next Class: Complete the blend shapes
You will be graded on the following:
- Model Prep & Skeleton Placement
- Evaluate and correct any problems in the model and create the skeleton.
- Weight Painting
- Adjust the default bind weights to develop more aesthetically desirable deformations.
- Rigging
- Create the rigging such as FK, IK, and Spline solvers with curves for controllers.
- Blend Shapes
- Design a variety of blend shapes to allow for facial movements.
Resources:
- You can find the rubric under the Assignments content folder in Canvas.
Assignment 03 Tutorial Videos
